To install a suction pool cleaner, start by gathering your tools, including hoses, adapters, and a test kit to verify your water chemistry is balanced. Turn off your pump, then connect the hose securely to the cleaner and your pool’s skimmer or dedicated line. Adjust the flow rate as needed and check for leaks. Make sure all connections are tight and the cleaner moves smoothly across the pool floor. If you keep going, you’ll discover detailed steps for a smooth setup.
Key Takeaways
- Gather all necessary tools, inspect components for damage, and ensure pool water chemistry is balanced before starting installation.
- Connect the hose sections securely, checking fittings for leaks or damage, and assemble the cleaner according to instructions.
- Choose the connection point—skimmer or dedicated line—and attach hoses tightly to ensure proper suction and prevent leaks.
- Adjust the cleaner’s settings, then test it in a small pool area to confirm smooth movement and debris pickup.
- Regularly monitor the cleaner’s performance, clean filters, and inspect hoses and brushes for wear to maintain optimal operation.
Top picks for "install suction pool"
Open Amazon search results for this keyword.
As an affiliate, we earn on qualifying purchases.
Gather Necessary Tools and Materials
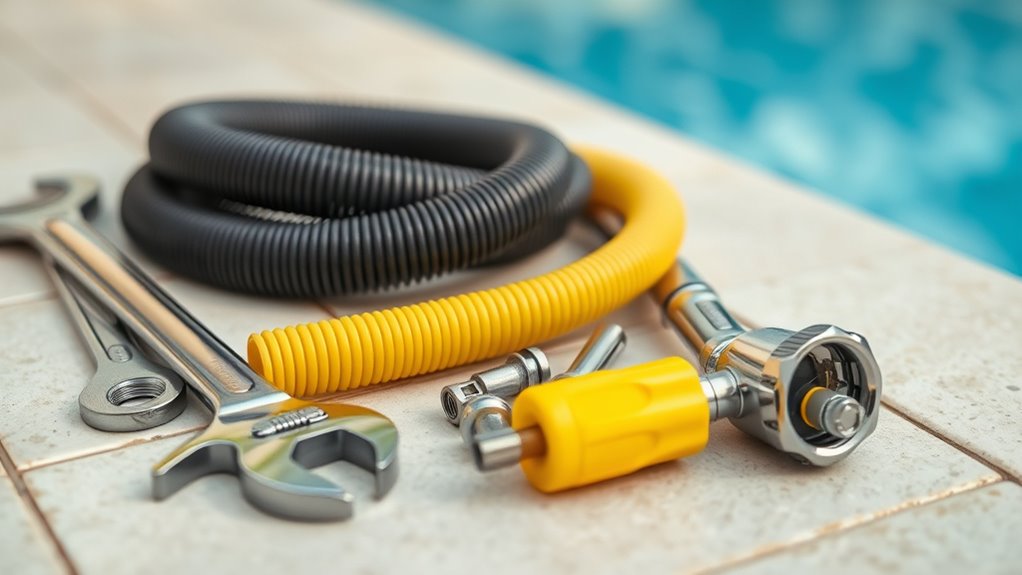
Before you begin installing your suction pool cleaner, you need to gather all the necessary tools and materials. Start with the cleaner itself, along with hoses, adapters, and a skimmer or dedicated suction line. Make sure you have a pool brush and a test kit to check pool chemicals before installation. It’s also helpful to have a waterproof marker and scissors for adjustments. Check the water temperature, as extreme cold or heat can affect the cleaner’s operation. Verify the pool’s water chemistry is balanced to prevent damage. Confirm that you have the right fittings for your pool type. Understanding the role of proper calibration can improve your cleaner’s efficiency and lifespan. Properly calibrating your pool equipment, similar to Honda Tuning adjustments, can optimize performance and extend the lifespan of your cleaner. Being aware of potential operational issues related to improper setup can help prevent malfunctions and ensure smooth operation from the start. Having these tools ready will streamline the setup process and ensure your cleaner operates efficiently from the start.
Prepare the Pool and Clean the Skimmer Basket
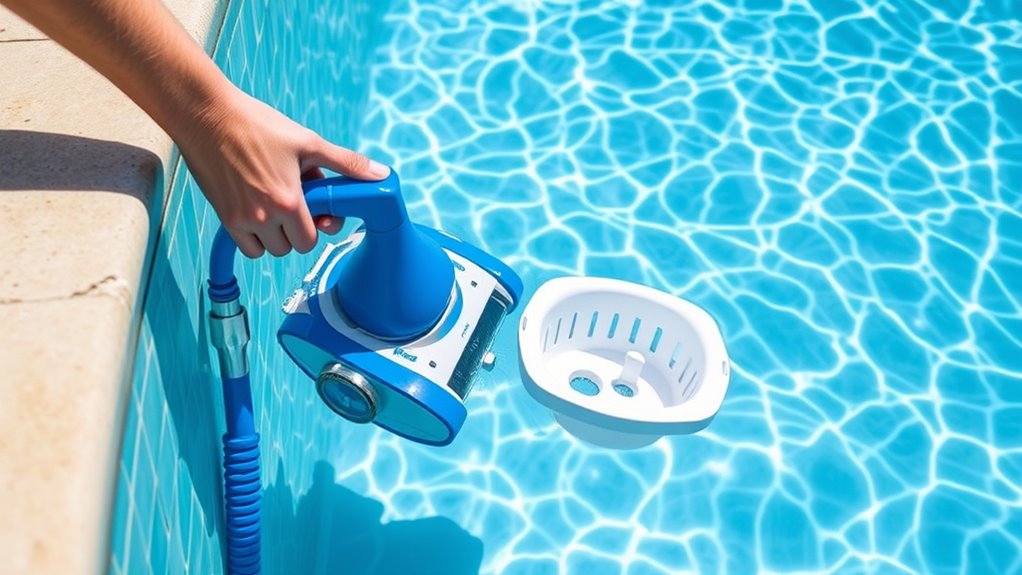
Start by preparing the pool surface and making certain clear access to the skimmer basket. Check the pool chemistry, balancing pH and chlorine levels to prevent debris buildup and algae growth. This step helps the cleaner work efficiently and keeps your pool safe for swimming. Next, remove any loose debris from the skimmer basket and clean it thoroughly to prevent clogs. Always follow safety precautions by turning off the pool pump before opening the skimmer. Wearing gloves is recommended to avoid contact with debris or chemicals. Confirming the skimmer basket is clean and accessible allows the suction pool cleaner to operate smoothly. Additionally, inspecting the self-watering plant pots can provide insights into maintaining optimal moisture levels for your plants. Proper pool maintenance practices, including regular skimmer cleaning, help ensure your pool remains inviting and reduces the risk of equipment failure. Regularly checking the filter system can also improve the overall efficiency of your pool cleaning process. Incorporating proper equipment setup ensures the cleaner functions correctly from the start, saving you time and effort. Taking these steps now will save time later and ensure your pool stays safe and well-maintained during the cleaning process.
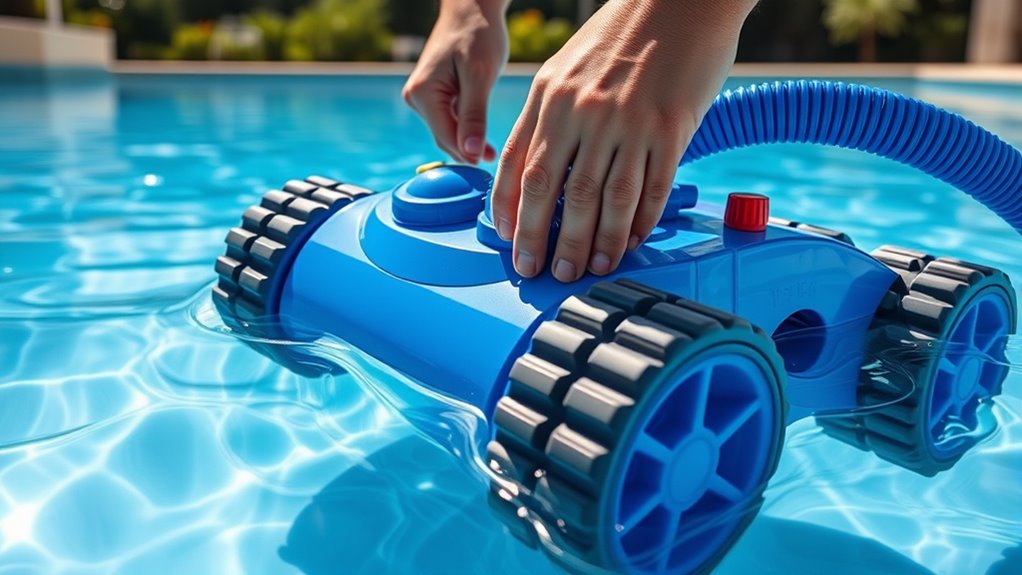
Assemble the Suction Pool Cleaner Components
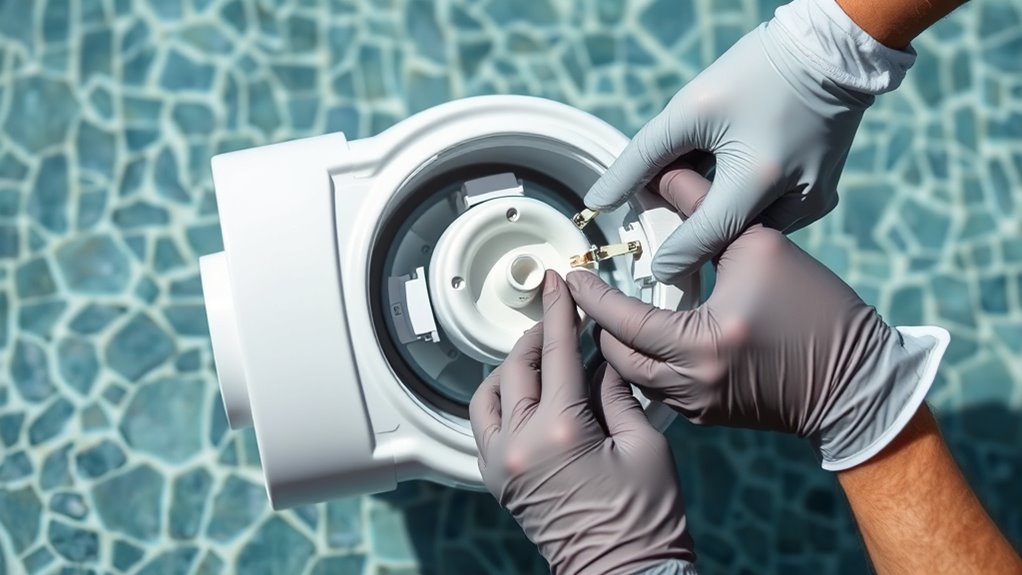
Start by inspecting all parts to guarantee nothing is damaged or missing. Next, carefully connect the hose to the cleaner and pool fittings, making sure each connection is secure. Proper assembly now will help your cleaner operate smoothly and efficiently. Additionally, ensuring all components are suitable for the task can prevent potential issues during cleaning. Checking the effectiveness of eye patches can also help you determine if they meet your skincare needs. A thorough check of the poolside environment can also improve the effectiveness of your cleaning routine. For optimal results, consider Mazda Tuning techniques to enhance your vehicle’s performance and durability. Paying attention to water efficiency features of your cleaner can also lead to long-term savings and better performance.
Inspect All Parts
Take a moment to carefully inspect all the parts of your suction pool cleaner before assembly. Check for any compatibility issues, ensuring each component matches your pool’s size and your cleaner’s model. Look for cracks, damages, or missing pieces that could affect performance. Confirm that hoses, brushes, and the float assembly are in good condition. Proper inspection helps prevent problems during operation. Also, consider storage tips—if you’re not installing the cleaner immediately, clean and dry all parts thoroughly, then store them in a cool, dry place to avoid deterioration. Ensuring all parts are intact and compatible reduces the risk of malfunctions and extends the lifespan of your cleaner. This simple step guarantees smoother assembly and ideal cleaning performance later on. Additionally, paying attention to tuning options can optimize your cleaner’s efficiency and longevity. Being aware of robotic automation trends in the industry can help you choose features that enhance your cleaner’s capabilities and adapt to future upgrades. A thorough inspection aligned with lifestyle considerations can also improve your overall pool maintenance routine. Incorporating AI-driven innovations into your maintenance approach can further enhance the effectiveness of your cleaning routine. Moreover, understanding professional advice can guide you through troubleshooting issues and ensuring optimal operation.
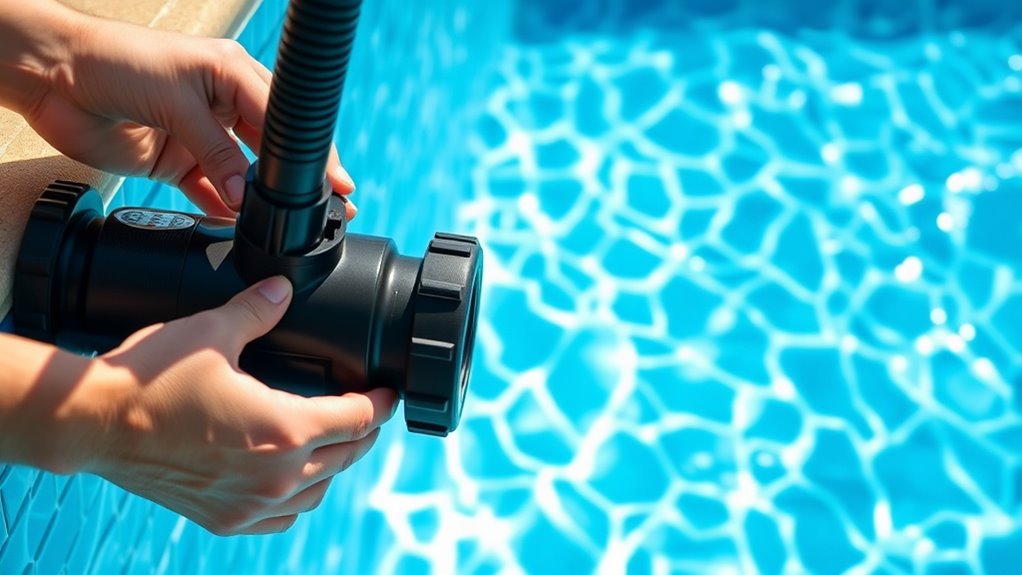
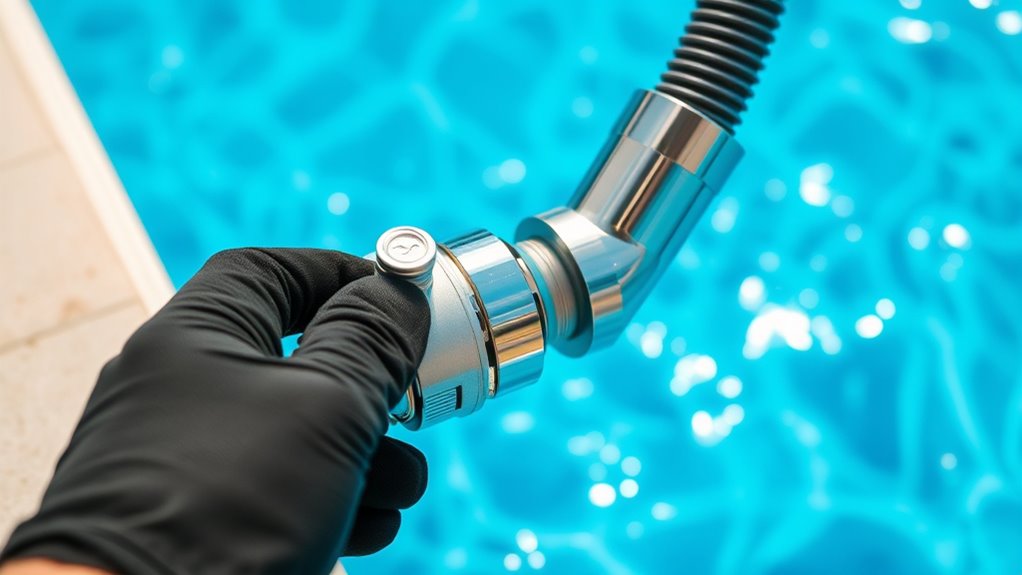
Connect Hose Properly
After inspecting all parts, it’s time to connect the hose properly to assemble your suction pool cleaner. First, verify the hose is compatible with your cleaner model to prevent any connection issues. Attach the hose sections firmly, aligning the fittings securely to avoid leaks or disconnections during operation. If you encounter connection troubleshooting problems, check for debris or damage in the fittings that might hinder a proper seal. Use clamps or locking mechanisms if available, ensuring they are tightened correctly. Confirm that each hose segment clicks into place and that the connection to the cleaner and skimmer is secure. Proper hose connection is essential for maximum suction and efficient cleaning, so take your time to verify each fit before proceeding. Additionally, choosing a hose made with durable, UV-protected materials can help prolong its lifespan and maintain optimal performance. Incorporating advanced manufacturing techniques can also improve the overall durability and flexibility of your pool hose. Ensuring all connections are tight and free of obstructions helps prevent leaks or loss of suction, which can significantly affect cleaning efficiency.
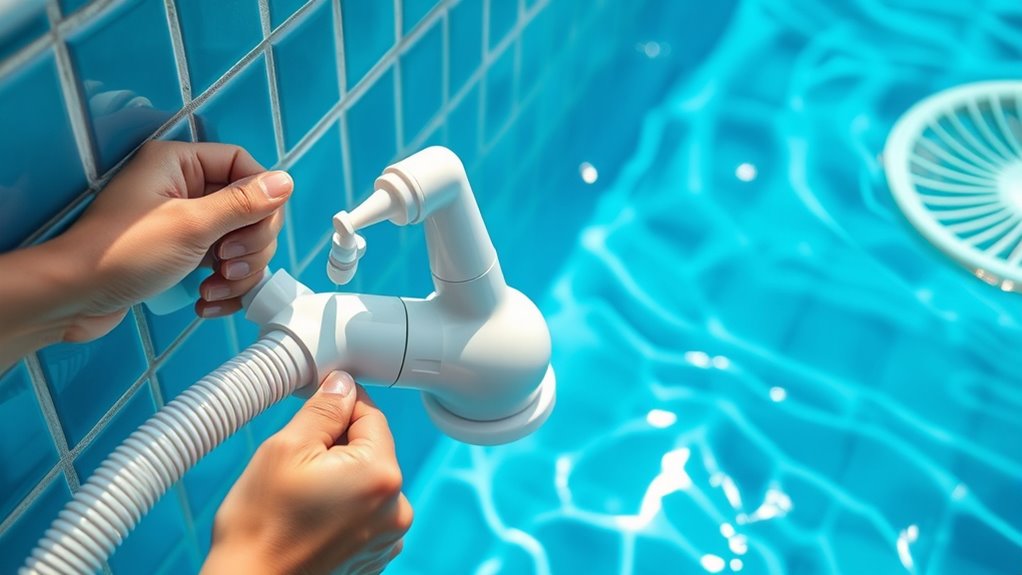
Connect the Cleaner to the Pool’s Skimmer or Dedicated Line
Start by locating the connection point on your pool, whether it’s the skimmer or a dedicated line. Make sure you attach the hoses securely to prevent leaks and guarantee proper suction. Double-check that everything is tight before moving on to the next step. Proper suction is essential for effective cleaning and can be maintained by ensuring all connections are airtight. For a more authentic look, consider using vintage decor elements in your pool area to enhance the rustic charm. Additionally, verifying the condition of your pool equipment can help ensure the cleaner operates smoothly.
Locate Connection Point
Locating the correct connection point is essential for your suction pool cleaner to work effectively. Choose between attaching it to the skimmer or a dedicated line, depending on your pool setup. Before proceeding, confirm the pool’s chemistry is balanced to prevent damage, and follow safety precautions to avoid accidents. Visualize the connection point as a gateway where the cleaner’s hoses will draw in debris.
Think of it as:
- A secure opening within the skimmer basket
- A dedicated line clearly marked for cleaner attachment
- A clean, unobstructed space free of pool toys or debris
- An accessible area with minimal pipe bends
- Properly labeled and free of sharp edges for safety
Identifying the right spot guarantees efficient operation and safe handling during installation.
Attach Hoses Securely
Once you’ve identified the correct connection point, proceed to attach the hoses securely. Ensure the hoses are compatible with your cleaner and pool system by checking hose compatibility. Connect the hoses to the cleaner and the skimmer or dedicated line, making sure each connection has secure fittings. Tighten fittings firmly but avoid over-tightening, which can cause damage. Properly connected hoses prevent leaks and loss of suction, ensuring the cleaner operates efficiently. If your hoses have adjustable fittings, double-check they are snug and locked in place. Once all hoses are attached, test the connections by turning on the pump to verify there are no leaks and that the cleaner moves smoothly through the pool. Secure fittings are key to a successful, hassle-free cleaning session. Understanding your pool’s system can help ensure optimal performance and longevity of your equipment.
Adjust the Settings and Test the Cleaner
Before you begin cleaning, it’s essential to adjust the suction and movement settings on your pool cleaner to guarantee peak performance. Proper calibration adjustments ensure the cleaner moves efficiently and covers all areas. Start by testing the performance of your cleaner on a small section of the pool. Observe how it navigates and whether it picks up debris effectively. To fine-tune, adjust the flow rate or directional settings as needed. Visualize these steps:
Adjust your pool cleaner’s settings for optimal performance and full coverage.
- The cleaner gliding smoothly over the pool floor
- Water swirling around as suction increases
- The cleaner turning seamlessly around corners
- Debris being lifted from the surface
- The cleaner completing its cycle efficiently
Performing thorough performance testing allows you to make precise adjustments, maximizing cleaning coverage and effectiveness. Monitoring air quality indicators can also help ensure your pool environment remains healthy and free from airborne pollutants. Additionally, ensuring the proper functioning of all components can prevent future issues and extend the cleaner’s lifespan.
Monitor and Maintain Your Pool Cleaner for Optimal Performance
After adjusting and testing your pool cleaner, maintaining it regularly guarantees it continues to perform at its best. Check for signs of trouble, such as reduced suction or uneven cleaning, and troubleshoot issues promptly. Regularly inspect hoses, brushes, and nozzles for blockages or wear. Keeping replacement parts handy ensures you can swap out worn or damaged components quickly, preventing downtime. Clean filters frequently to maintain ideal suction and filtration. If you notice persistent problems that troubleshooting doesn’t resolve, replacing parts might be necessary. Proper maintenance also includes storing the cleaner properly when not in use, which helps prolong its lifespan. Staying attentive to your cleaner’s condition ensures it runs efficiently, saving you time and effort while keeping your pool pristine.
Frequently Asked Questions
How Often Should I Run My Suction Pool Cleaner?
You should run your suction pool cleaner based on your pool’s maintenance schedule and cleaning frequency. Typically, running it 2-3 times a week keeps your pool clean and clear. Adjust the schedule if you notice more debris or algae. Regular use prevents buildup and keeps your water sparkling. Remember, consistent cleaning helps maintain your pool’s health and reduces the need for chemical treatments.
Can I Use a Suction Pool Cleaner in Saltwater Pools?
Yes, you can use a suction pool cleaner in saltwater pools, but you should consider proper saltwater maintenance. Salt can corrode parts over time, so regularly check and clean your cleaner, especially after use. Make sure to store it properly to prevent damage, and rinse it thoroughly with fresh water after each session. This will keep your cleaner in good shape and ensure it works efficiently in your saltwater pool.
What Should I Do if the Cleaner Gets Stuck?
When your cleaner gets stuck, it’s like a fish caught on a line, and you need to free it. First, turn off the pump and remove the cleaner. Check for tangled hoses or pool debris blocking movement. Clear any obstructions, then reposition the cleaner. Sometimes adjusting the float or weight helps with suction issues. With patience and a little detective work, your cleaner will glide smoothly again.
How Long Does Installation Typically Take?
Installation usually takes about 30 minutes to an hour, depending on your pool’s setup. During this process, you should follow maintenance tips to guarantee everything functions smoothly. If you encounter issues, troubleshooting techniques like checking for proper hose connections or leaks can help. Staying patient and double-checking each step will make the installation easier, so you enjoy a clean pool without unnecessary delays.
Are There Compatibility Issues With Certain Pool Types?
When considering compatibility, you need to check your pool’s surface, debris basket size, and plumbing setup. Not all suction pool cleaners work well on every pool surface—vinyl, concrete, or fiberglass—so guarantee the cleaner matches your pool type. Also, consider debris basket size; a larger basket handles more debris without clogging, ensuring smooth operation. Compatibility issues can cause inefficient cleaning or damage, so verify your pool’s specifics before purchasing.
Conclusion
Installing a suction pool cleaner is straightforward and can save you hours of manual cleaning. Did you know that regular maintenance can extend your cleaner’s lifespan by up to 50%? By following these steps and keeping an eye on its performance, you’ll enjoy a cleaner, clearer pool all season long. Just remember, consistent upkeep guarantees your cleaner works efficiently, so you can relax and enjoy your sparkling pool without worries.