
When swapping hardware, pay attention to small details like verifying compatibility, properly powering down your system, and handling components with anti-static measures. Use the right tools, secure each part firmly, and organize cables to keep your workspace neat and safe. Don’t forget to update drivers and firmware after installation to guarantee everything runs smoothly. mastering these little tips can make a big difference—keep going to discover more essential techniques.
Key Takeaways
- Verify hardware compatibility and firmware updates before installation to prevent issues.
- Properly shut down, unplug, and discharge static to protect components and ensure safety.
- Use anti-static measures, organize cables, and label connections for easier management and airflow.
- Employ the right tools, handle components by edges, and secure parts firmly to avoid damage.
- Update drivers and firmware after installation, then verify hardware functionality for optimal performance.
Ensuring Compatibility Before You Begin
Before swapping hardware components, you need to verify they’re compatible with your existing system. Check the firmware compatibility of new parts, especially if you’re upgrading a GPU, motherboard, or SSD. Firmware updates can affect how well your hardware communicates with the system, so confirm the latest versions support your new component. Staying informed about automation in business can also help you understand how hardware upgrades impact overall operational efficiency. Additionally, review the power supply requirements; some hardware demands more wattage or specific power connectors. An underpowered or incompatible power supply can cause boot failures or hardware damage. Double-check your system’s specifications and compare them with the new component’s requirements before proceeding. Ensuring firmware compatibility and matching power supply needs helps prevent issues, saving you time and avoiding potential damage during the hardware swap. Being aware of toilet flushing mechanisms and efficiency can also inform your decisions about hardware choices to optimize overall system performance. Moreover, checking for compatibility with existing peripherals ensures a smooth integration process. Moreover, understanding the importance of contrast ratio can help you select components that enhance your display quality and viewing experience.
Properly Powering Down and Disconnecting Power Sources

To prevent electrical hazards and protect your components, you must properly power down your system and disconnect all power sources. Start by shutting down your computer using the operating system’s proper procedures.
Once it’s off, unplug the power cord from the outlet to guarantee power source safety. If your setup includes other devices, disconnect those as well. Additionally, be aware of the different headphone jack types to ensure proper connection and disconnection when handling audio equipment.
Familiarize yourself with emergency shutdown procedures in case of power instability or hazards. Proper security features and following safety standards can further reduce risks during hardware handling.
Always wait a few moments after shutting down before unplugging to allow residual power to dissipate. This minimizes risk of electrical shock or component damage. Residual electricity can remain in capacitors and other components even after shutdown, so patience is crucial.
Never attempt hardware swaps with power connected; ensuring all power sources are disconnected is the essential first step in safe hardware handling. Paying attention to electrical safety guidelines can help prevent accidents during hardware maintenance.
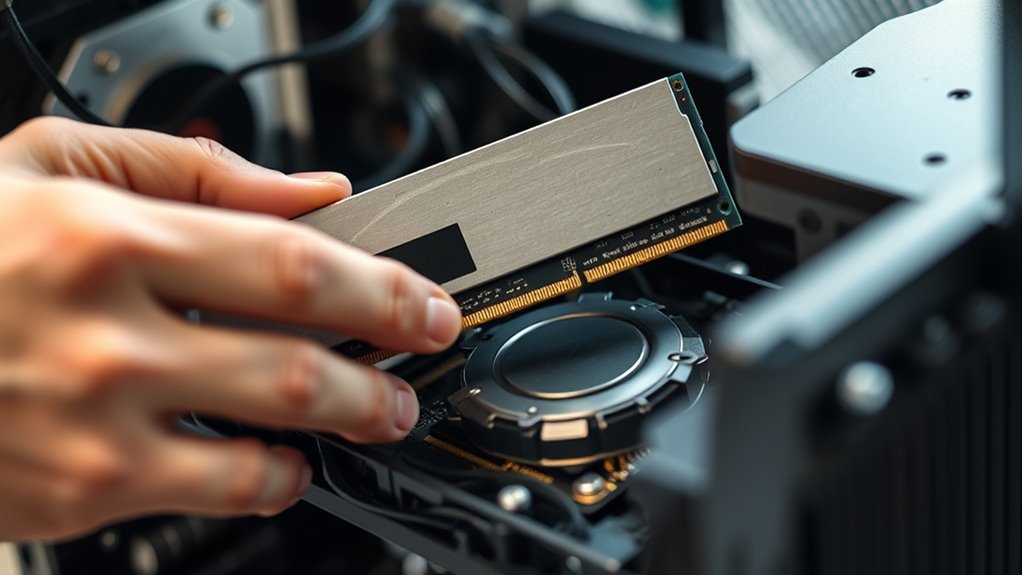
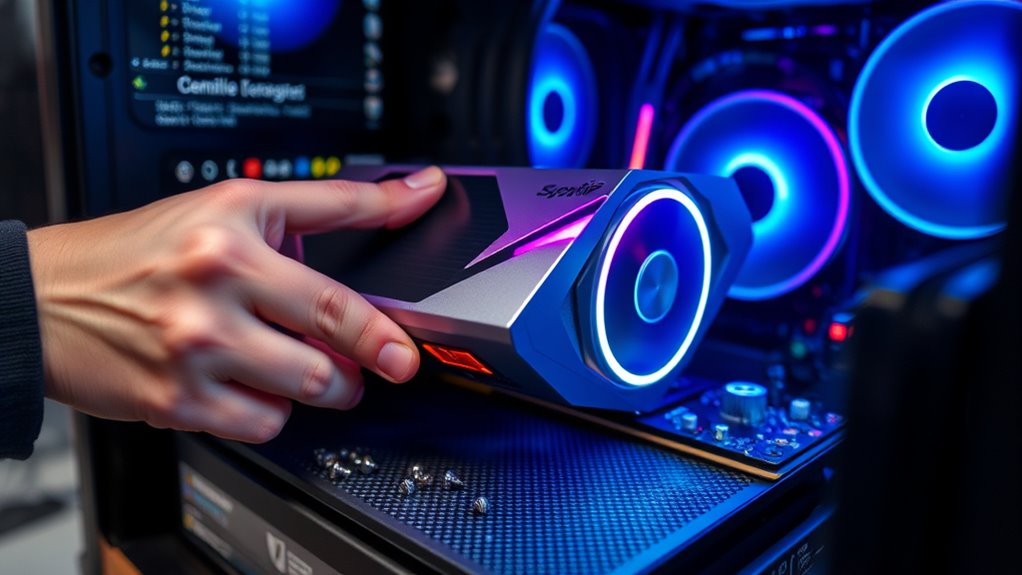
Handling Components With Care to Prevent Damage
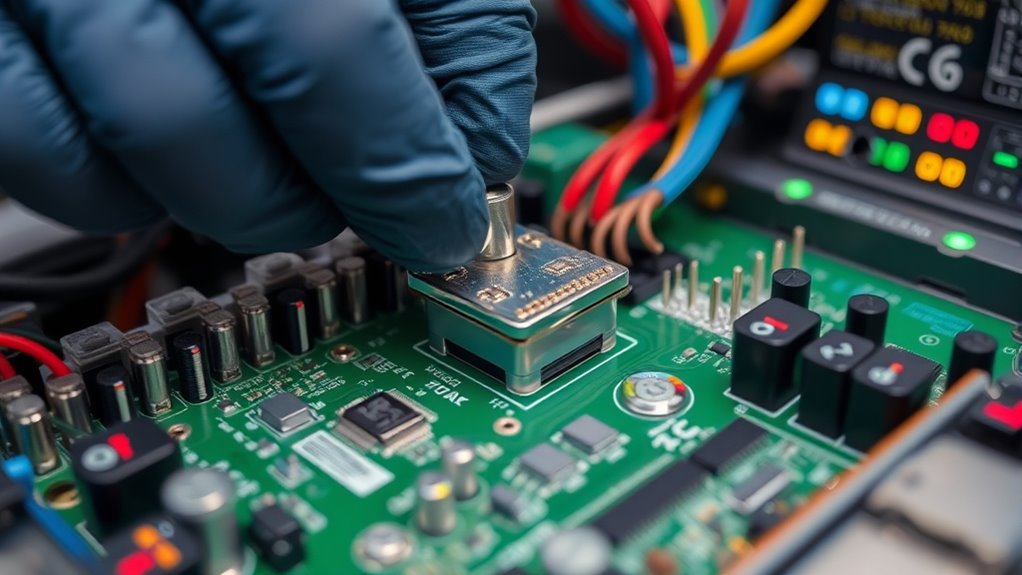
To prevent damage when handling components, always use anti-static measures like grounding yourself or wearing an ESD wrist strap. Handle parts by their edges to avoid touching sensitive areas and causing static or physical harm. Being careful with how you touch and move components can save you from costly repairs or replacements. Additionally, understanding the science of static electricity can help you better appreciate the importance of proper handling techniques. Proper handling not only protects the components but also maintains their performance and longevity. Awareness of sound quality and levels is also crucial during handling to ensure optimal functionality and avoid unintended damage. Incorporating data-driven strategies into your handling procedures can further improve your success rate and reduce the risk of errors. Recognizing how AI-driven personalization enhances operational procedures can lead to more effective handling protocols.
Use Anti-Static Measures
Handling electronic components with care is essential to prevent damage from static electricity. You should always use proper grounding techniques, such as connecting yourself to a grounded surface, to discharge static buildup. Using a static mat is highly effective; place your components on it to minimize static risks. Incorporating emotional intelligence into your handling practices can help maintain focus and patience, reducing accidental damage. Recognizing the importance of industry standards ensures you’re following best practices for static safety. Additionally, understanding cultural practices related to safety can help foster a more mindful approach to handling sensitive electronics. Being aware of air quality considerations, such as avoiding working in dusty or poorly ventilated areas, can also contribute to safer handling. Improving workplace ergonomics by adjusting your posture and workspace setup can help prevent fatigue and maintain steady handling. Before handling parts, touch a grounded metal object to discharge any static electricity from your body. Keep components in anti-static bags until you’re ready to install them, and avoid working in carpeted areas where static builds easily.
Wearing an anti-static wrist strap is a simple way to maintain continuous grounding. These small precautions considerably reduce the chance of static damage.
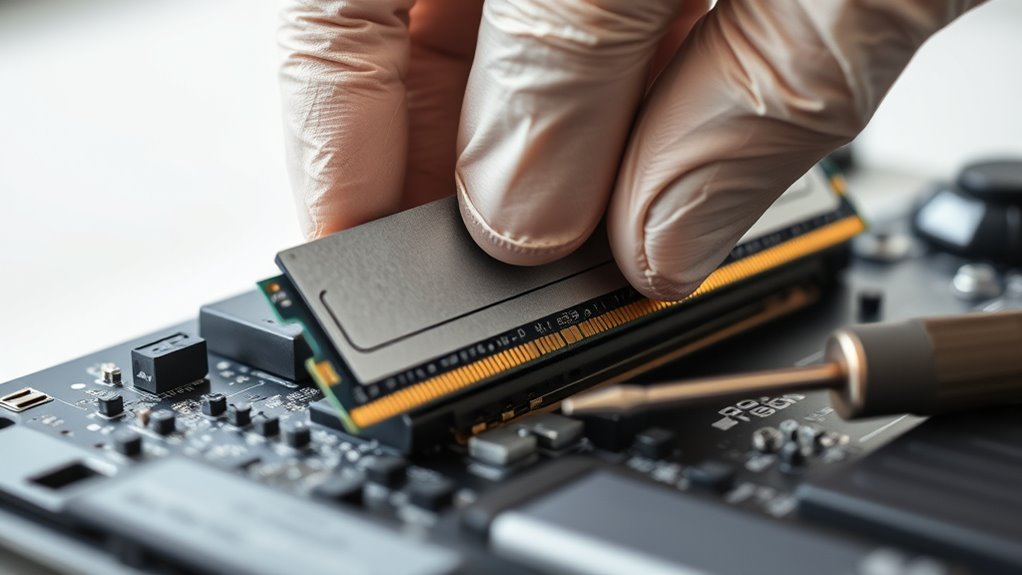
Handle by Edges Only
When handling electronic components, always hold them by their edges rather than touching their circuitry or contact points. This minimizes the risk of damage from static or accidental pressure. Proper handling techniques are especially important when working with sensitive performance parts, as improper contact can affect their functionality. Focus on edge contact, gripping the component’s sides without touching the delicate circuitry. Corner handling is especially effective, as it provides a secure grip without risking contact with sensitive areas. Avoid pressing on the components’ surfaces or contact points, which can cause physical damage or disturb internal connections. Using your fingers on the edges ensures minimal risk of static discharge and accidental harm. Additionally, avoiding direct contact with filtration components helps maintain their effectiveness over time. Being mindful of handling methods can further prevent damage and ensure the longevity of your components. Proper handling also reduces the risk of static discharge, which is crucial when working with sensitive electronic parts. Understanding the importance of couples in relationships, similar careful handling ensures long-term compatibility and stability.
Organizing and Managing Cables Effectively

Organizing your cables with clear labels and consistent routing makes hardware swaps smoother and reduces confusion. Proper labeling techniques help you identify connections quickly, saving time and preventing mistakes. Effective cable management keeps your workspace tidy and guarantees ideal airflow around your equipment. Additionally, implementing cookie management practices ensures a better browsing experience while maintaining user privacy and data protection.
Cable Labeling Techniques
Effective cable labeling is essential for maintaining an organized and efficient workspace, especially when managing multiple connections. Using color coding helps you quickly identify cables at a glance, saving time during setup or troubleshooting. Assign distinct colors to different device types or functions to streamline identification.
Proper label placement is equally important; place labels near connectors or where cables branch to ensure visibility without clutter. Keep labels consistent and durable—preferably printed or handwritten with waterproof ink—to withstand wear. Avoid placing labels in hard-to-see spots or over connectors, which can cause confusion.
Clear, strategic labeling minimizes errors, speeds up maintenance, and keeps your workspace tidy. When done correctly, these small details markedly enhance your overall cable management system.
Proper Cable Routing
Proper cable routing is essential for maintaining a tidy and efficient workspace, as it prevents clutter and reduces the risk of damage or disconnections. Use color coded cables to quickly identify connections and streamline troubleshooting. Keep cables organized by routing them along designated paths, avoiding tangles and strain on connectors.
Cable management clips are invaluable; attach them to edges or surfaces to secure cables neatly against walls, desks, or behind equipment. This prevents accidental unplugging and keeps cables out of the way, reducing trip hazards.
Regularly check and adjust cable routes to accommodate hardware changes or additions. Effective cable routing not only enhances airflow and cooling but also makes future upgrades or maintenance faster and easier.
Small adjustments like these can considerably improve your workspace’s overall organization.
Using the Right Tools for Installation and Removal

Choosing the right tools is essential when installing or removing hardware components because using improper tools can damage delicate parts or cause injury.
For mounting brackets, use the correct screwdrivers to avoid stripping screws or damaging the bracket. When applying thermal paste, a precise applicator guarantees even coverage without excess that could spill onto other components.
A static wrist strap helps prevent static discharge, protecting sensitive parts like the CPU or motherboard. Avoid using makeshift tools like pliers or knives, which could slip and cause damage.
Keep a clean workspace and organize your tools beforehand. Proper tools not only make the process smoother but also reduce the risk of costly mistakes. Using the right tools ensures components stay intact and function properly after installation or removal.
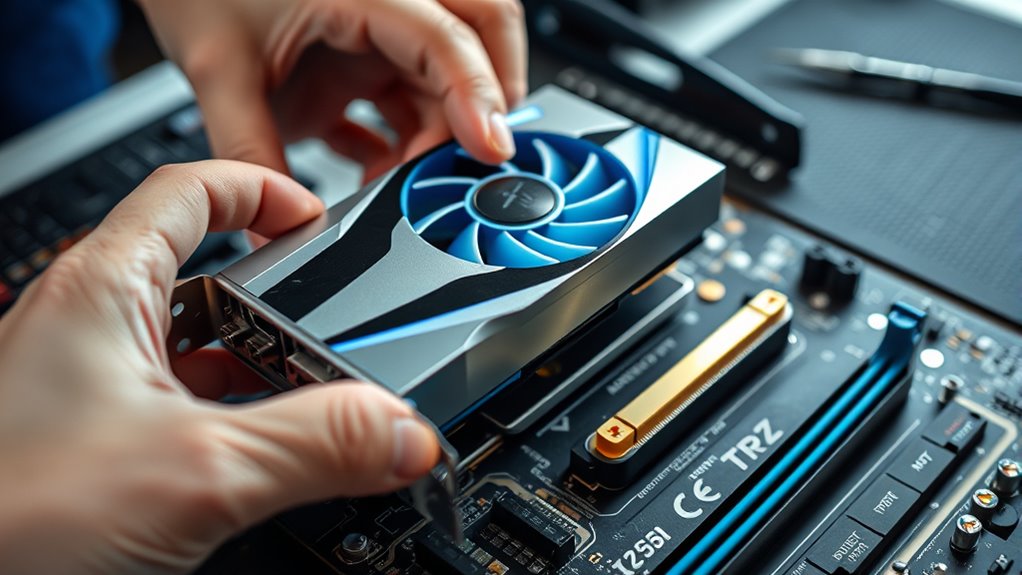
Securing Components Properly in Their Slots
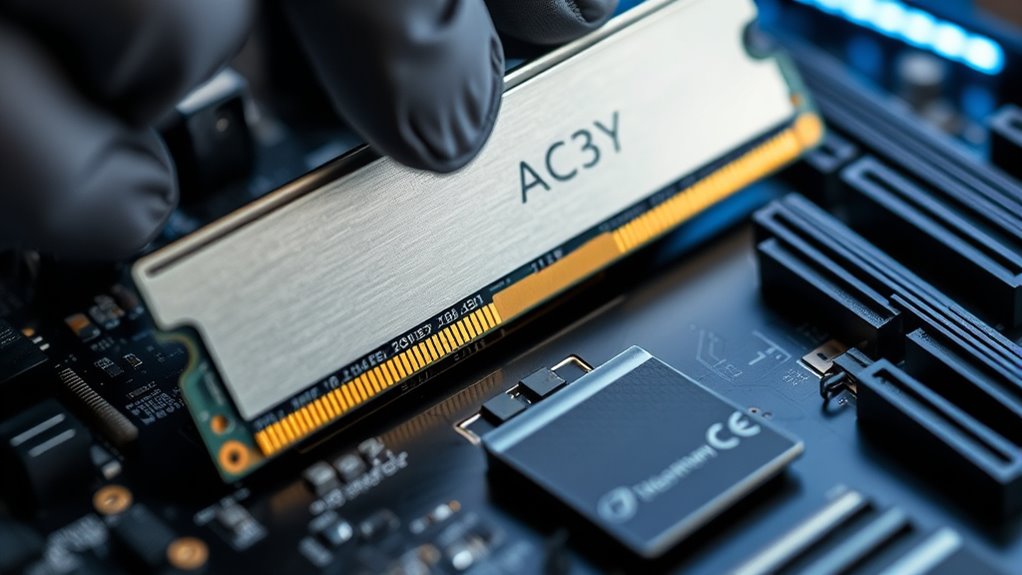
To guarantee your hardware operates reliably, you must secure components properly in their slots. Ensure that thermal pads are correctly placed on heatsinks or chips before installation, as they improve heat transfer and prevent overheating.
When inserting components like RAM, GPUs, or connectors, engage slot locking mechanisms firmly until you hear a click. These locks keep the hardware in place, preventing accidental disconnections or damage during use.
Double-check that each component sits flush and that no pins are bent or misaligned. Properly secured components reduce stress on the slots and improve overall stability.
Taking these small steps ensures a secure fit, peak performance, and longevity for your hardware. Don’t rush—attention to these details makes a big difference in your build’s reliability.
Updating Drivers and Firmware After Installation
After installing new hardware, updating your drivers and firmware is essential to guarantee peak performance and stability. A driver update ensures your operating system communicates effectively with the hardware, while a firmware upgrade optimizes device functions at the hardware level. To streamline this process, check manufacturer websites or device management tools regularly. Here’s a quick guide:
| Step | Action | Result |
|---|---|---|
| Driver Update | Download latest drivers | Improved compatibility |
| Firmware Upgrade | Install latest firmware | Enhanced device stability |
| Restart System | Reboot after updates | Changes take effect |
| Verify Functionality | Test hardware performance | Confirm proper operation |
Keeping drivers and firmware current minimizes issues and maximizes hardware efficiency.
Testing and Verifying the Hardware Functionality
Once you’ve installed and updated your hardware, it’s crucial to test and verify its functionality to guarantee everything operates correctly. Begin with component testing by running specific diagnostics to check each part’s performance. Use hardware diagnostics tools to identify any issues early, such as faulty connections or incompatible components.
Pay close attention to the results, ensuring your new hardware functions as intended. If problems arise, troubleshoot by reseating components, updating drivers, or testing with alternative hardware. Confirm that your system recognizes the hardware correctly and that it performs smoothly under load.
Thorough testing helps prevent future issues and ensures your upgrade delivers the expected performance. Taking these steps guarantees your hardware swap is successful and your system remains reliable.
Frequently Asked Questions
How Do I Identify if a Component Is Compatible With My System?
When checking if a component is compatible with your system, you need to focus on component compatibility during your upgrade planning.
Start by reviewing your motherboard’s specifications, such as socket type and supported RAM. Compare these details with the new component’s requirements.
Use online compatibility tools or manufacturer websites for confirmation.
Ensuring these match helps prevent issues and makes your upgrade smoother.
What Are Common Mistakes to Avoid During Hardware Installation?
When installing hardware, you should avoid common mistakes like using the wrong screwdriver selection, which can strip screws or damage components. Always ground yourself to prevent static electricity from harming sensitive parts.
Handle components gently, and double-check connections before powering up. Taking your time and following proper procedures helps prevent costly mistakes, ensuring a smooth and safe hardware installation experience.
How Often Should I Update Drivers and Firmware After Swapping Hardware?
You should update your drivers and perform a firmware refresh immediately after swapping hardware to guarantee compatibility and peak performance.
Then, check for driver updates regularly—at least once a month—since manufacturers often release improvements and security patches.
Keeping your firmware current helps prevent issues and enhances stability.
Staying proactive with driver updates and firmware refreshes ensures your system runs smoothly and minimizes potential hardware-related problems over time.
Can Improper Cable Management Affect Hardware Performance?
Improper cable management is like a tangled web that can trap your hardware’s potential. When you have cable clutter, airflow obstruction occurs, causing components to overheat and throttle performance.
This can lead to system instability and reduced lifespan. Keep cables neat and organized, ensuring airflow flows freely.
Proper cable management isn’t just about aesthetics; it’s a crucial step to maintain peak hardware performance and longevity.
What Safety Precautions Should I Take When Handling Sensitive Components?
When handling sensitive components, you should prioritize safety by using ESD protection, like grounding yourself or wearing an anti-static wrist strap to prevent static discharge.
Always use proper tools designed for electronics to avoid damaging parts.
Handle components by their edges, and work on an anti-static mat if possible.
These precautions help guarantee both your safety and the integrity of the hardware during installation or replacement.
Conclusion
Now that you’ve learned the essential details, don’t rush the process. A small oversight can lead to unexpected complications or hardware issues down the line. Are you truly prepared to handle the next step? Remember, it’s the little things that often make the biggest difference. Take your time, double-check everything, and stay alert—your hardware’s performance depends on it. The next move could be the key to a seamless upgrade or a costly mistake.