To ensure a successful bath remodel, thorough waterproofing is essential. Start by preparing surfaces—clean, dry, and free of debris—then choose high-quality membranes like liquid-applied or sheet options for seamless coverage. Properly seal all joints, seams, and penetrations with compatible sealants, and reinforce corners and edges. Conduct water tests before finishing to confirm system integrity. Mastering these waterproofing fundamentals safeguards your renovation from future water damage, mold, and decay—continue for detailed guidance.
Key Takeaways
- Proper surface preparation ensures waterproofing adhesion and prevents future leaks or damage.
- Selecting high-quality waterproofing materials, like liquid membranes or sheet barriers, is essential for durability.
- Seam sealing, overlapping joints, and sealing around fixtures prevent water intrusion at critical points.
- Conduct water tests before finishing to identify and fix any leaks or vulnerabilities.
- Waterproofing protects surfaces and structural integrity, ensuring a long-lasting, safe bathroom remodel.

Are you aware of the vital role waterproofing plays in a successful bath remodel? Proper waterproofing isn’t just a safety measure; it’s essential to preventing costly water damage, mold growth, and structural deterioration. When planning your renovation, you must understand that every surface exposed to moisture—walls, floors, and joints—requires meticulous sealing and barrier installation. This process begins with selecting high-quality waterproofing membranes tailored for wet environments, such as liquid-applied membranes, sheet membranes, or cementitious coatings. Each option has specific advantages: liquid membranes offer seamless coverage, sheet membranes provide robust physical barriers, and cementitious coatings are easy to apply but require careful surface preparation.
Before applying any waterproofing layer, surface preparation is paramount. You need a clean, dry, and structurally sound substrate free of dust, grease, or loose particles. Any imperfections, such as cracks or holes, must be addressed with appropriate patching compounds to ensure a uniform surface. Failing to do so risks compromised adhesion of the waterproofing material, which can lead to leaks over time. When installing the membrane, pay close attention to overlaps, sealing all seams and penetrations with compatible sealants or tape. These joints are potential failure points if not properly secured.
Attention to detail extends to penetrations—showerheads, valves, and drain pipes require specialized sealants or gaskets designed for waterproof systems. Installing a waterproof membrane around these fixtures guarantees water cannot bypass the barrier. Additionally, pay particular focus to corners and edges, as these areas are especially vulnerable to stress and potential cracking. Use reinforcing strips or corner beads to enhance durability and ensure continuous coverage. Incorporating proper waterproofing techniques can significantly improve the longevity of your installation.
Once the waterproofing layer is complete, conduct a thorough inspection, preferably with a water test before finishing surfaces. This involves temporarily sealing the drain and applying water over the area to check for leaks. Any detected issues must be promptly addressed—reapplying or repairing sections of the membrane as necessary. This step is vital to confirm the integrity of your waterproofing system before proceeding to tile or other finishing materials. Remember, a failure at this stage can result in water infiltration behind tiles, leading to mold, rot, and structural damage that will be costly to repair.

Muzata Waterproofing Membrane for Shower 3.8x33feet (125 Sq Ft) 23.6 Mil Thick Uncoupling Polyethylene Fabric Tile Underlayment Waterproof Shower Membrane for Sauna Bathroom Kitchen M034
Fewer Seams, Faster Install: The waterproofing membrane measures 3.77 ft X 33 ft. The Total spread area is…
As an affiliate, we earn on qualifying purchases.
As an affiliate, we earn on qualifying purchases.
Frequently Asked Questions
What Are the Best Waterproofing Materials for Different Bath Surfaces?
You should use a high-quality liquid membrane or sheet membrane tailored for each surface. For shower pans and walls, install a flexible, waterproof membrane like PVC or CPE sheets, guaranteeing seamless coverage. Use cementitious backer boards with waterproof coatings for walls. Apply a liquid waterproofing membrane on substrates like concrete or drywall, creating a continuous barrier. Seal joints meticulously with waterproof tape or sealant to prevent leaks and ensure durability.
How Often Should Waterproofing Be Inspected or Redone?
You should inspect your bathroom’s waterproofing annually to guarantee its integrity. If you notice cracks, mold, or water stains, it’s time to redo the waterproofing immediately. Regular inspections help prevent leaks, water damage, and mold growth, which can compromise your remodel’s longevity. For high-moisture areas like showers, consider reapplying waterproofing every 2-5 years, depending on the product’s durability and condition, to maintain effective protection.
Can DIY Waterproofing Methods Be as Effective as Professional Installation?
DIY waterproofing methods can be effective if you follow manufacturer instructions meticulously and use high-quality materials. However, professional installation often ensures superior integrity through precise application, proper surface preparation, and inspection. Mistakes in DIY waterproofing—such as improper sealing or inadequate coverage—can lead to leaks and damage over time. For critical areas like showers and tubs, hiring experienced professionals guarantees ideal performance, durability, and compliance with building codes.
What Are Common Signs of Waterproofing Failure in a Bath Remodel?
You’ll notice water stains or mold growth on walls and ceilings, signaling a waterproofing failure. Cracks or peeling paint around the shower or tub also indicate compromised barriers. Persistent dampness or musty odors suggest moisture seeping through, risking structural damage. You might see tiles loosening or grout crumbling, which exposes underlying surfaces to water. Address these signs promptly, as ignoring them can lead to extensive damage and costly repairs.
How Does Waterproofing Impact Long-Term Bathroom Durability?
Proper waterproofing greatly enhances your bathroom’s long-term durability by preventing water intrusion that can lead to mold, rot, and structural damage. You guarantee effective sealing of joints, surfaces, and fixtures, which minimizes moisture buildup. This proactive approach reduces maintenance needs and extends the lifespan of your remodel. When executed correctly, waterproofing creates a resilient barrier that protects your investment, ensuring your bathroom remains functional and dry for years to come.
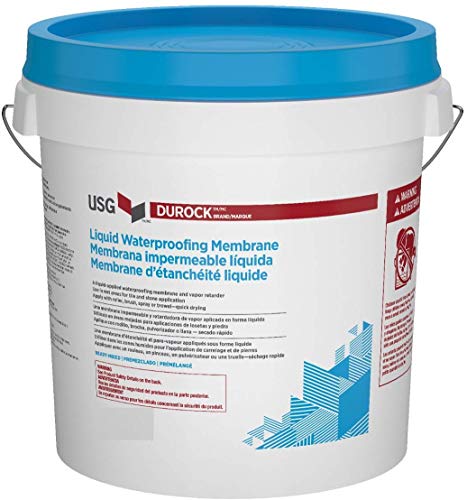
USG DUROCK Brand Liquid Waterproofing Membrane 1 Gallon
Can be rolled, brushed, troweled and sprayed
As an affiliate, we earn on qualifying purchases.
As an affiliate, we earn on qualifying purchases.
Conclusion
Remember, waterproofing your bath is like building a fortress—every layer must be airtight to prevent leaks and damage. I once saw a bathroom where improper waterproofing led to costly mold issues that took months to fix. According to industry standards, a properly waterproofed shower can extend the lifespan of your remodel by decades. Prioritize meticulous application of membranes, seals, and flashings—your bathroom’s integrity depends on it. In waterproofing, precision isn’t just recommended; it’s essential.

GE Advanced Silicone Caulk for Kitchen & Bathroom, Clear, 2.8 fl oz Tube, 1 Pack – 100% Waterproof Silicone Sealant, 5X Stronger Adhesion, Shrink & Crack Proof
100% Silicone Caulk Protection: This silicone caulk clear provides ultimate waterproof protection, ensuring a reliable seal against water…
As an affiliate, we earn on qualifying purchases.
As an affiliate, we earn on qualifying purchases.
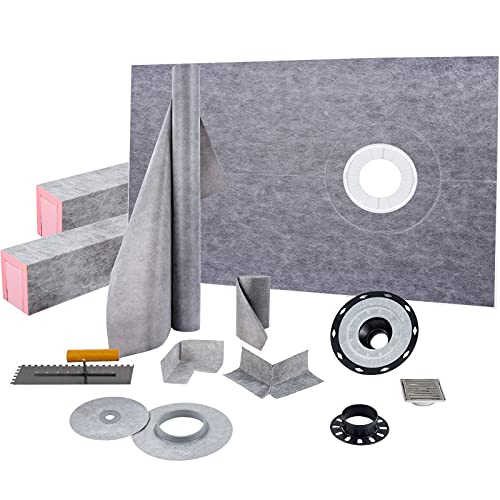
VEVOR Shower Curb Kit 38" x 60" Watertight Shower Curb Overlay with 4" PVC Offset Bonding Flange, 4" Stainless Steel Grate, 2 Cuttable Shower Curb and Trowel, Shower Pan Slope Sticks Fit for Bathroom
【PREMIUM SHOWER TRAY】 – Our shower curb kit provides you a shower tray made of EPS high-pressure foam…
As an affiliate, we earn on qualifying purchases.
As an affiliate, we earn on qualifying purchases.