Framing textiles for wall art is a fun way to showcase your unique style. Start by choosing a fabric that resonates with your decor. You'll need a picture frame, a backing board, fabric scissors, and staples. Clean the frame and cut the backing to fit. Lay the fabric centered on the backing, then secure it from the center outwards with staples. Trim any excess fabric for a clean edge. Reassemble the frame and attach hanging hardware. You can arrange your creations in a grid or mix different sizes for an eclectic look. There's even more inspiration ahead.
Key Takeaways
- Select durable and visually appealing fabrics that complement your decor theme for a cohesive look.
- Use old frames or thrifted materials to create a cost-effective and personalized wall art piece.
- Securely attach the fabric to the backing board using staples or adhesive, ensuring it's taut and wrinkle-free.
- Arrange framed textiles in a visually balanced grid or gallery wall for an engaging display.
- Regularly update your textile displays to keep your decor fresh and reflective of your personal style.
Benefits of Framing Textiles
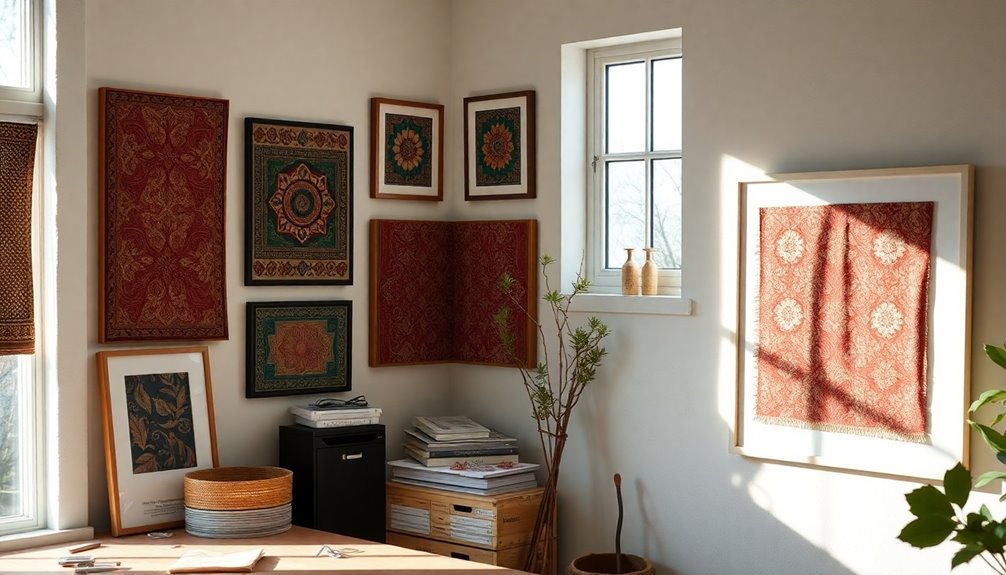
Framing textiles not only preserves unique fabrics but also transforms them into personalized art that can elevate your home decor.
With framed textile art, you can showcase your personality and style while adding texture and visual interest to your walls. This DIY project is a cost-effective alternative to pricey artwork, allowing you to create large-scale pieces for minimal investment. Additionally, proper planning can help ensure that your textile choices complement your overall design theme. For those interested in sustainability, using repurposed materials and fabrics aligns with the principles of environmentally friendly practices in various DIY projects. Incorporating expert strategies for sourcing unique fabrics can further enhance the creativity of your framed textile art.
By selecting sentimental fabrics or patterns, you express yourself creatively in your home decor projects. Plus, framing textiles is an environmentally friendly option, repurposing old fabrics and contributing to sustainable living practices. Additionally, incorporating cost-cutting strategies in your decor projects can enhance your overall budget management.
Selecting the Right Fabrics
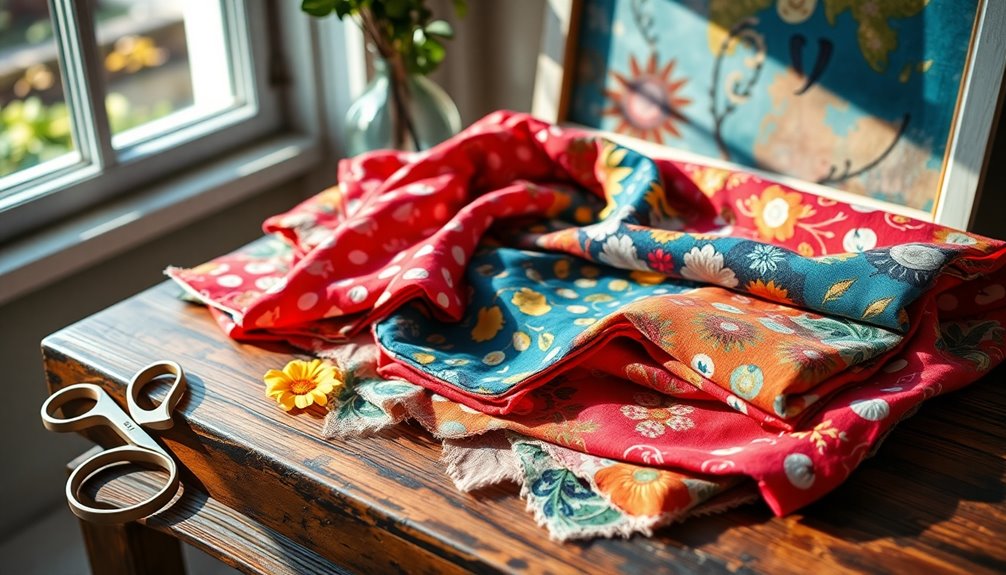
When choosing fabrics for your textile framing project, it's vital to evaluate both aesthetics and functionality.
Start by selecting the right fabrics that not only look great but also serve a purpose. Interesting fabrics like African mudcloth can provide trendy black and white patterns that complement your decor. Additionally, consider using fabrics that are high in durability to ensure they maintain their appearance over time. Incorporating sound healing concepts can also inspire color and texture choices that promote a calming atmosphere. Understanding how different brewing methods affect overall enjoyment can also guide your choices in creating a cozy atmosphere in your home.
Textures are essential too—consider vintage fabrics or quilts to add dimension. Opt for large pieces of fabric to make a bold statement, and remember that durable fabric, like quilting cotton, will hold up well when framed and hung.
Finally, pay attention to the scale and pattern; large patterns fit expansive walls, while smaller designs work better in cozy spaces. Your choices will enhance your wall art beautifully! Additionally, incorporating high-fiber fabrics can promote sustainability in your decor choices.
Essential Materials and Tools
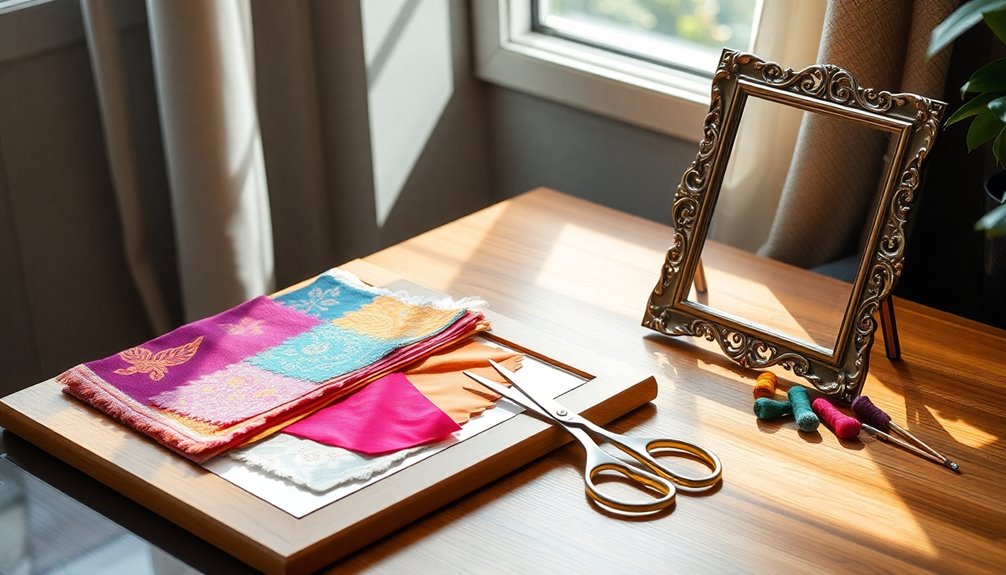
- Fabric of your choice: Pick something that resonates with your decor. Energy-efficient fabrics can also contribute to energy savings in your home. Additionally, using renewable resources for fabric production can further enhance your eco-friendly living efforts. Consider fabrics that promote scalp health if you're interested in incorporating wellness into your decor.
- Picture frame: Make sure it's suitable for your fabric's size and style.
- Backing board: This provides stability and a clean look.
- Fabric scissors: Use these for precise cutting to attach the fabric neatly.
Additionally, having a seam ripper, double-sided foam tape, and a stapler on hand is essential.
Don't forget Mod Podge or collage glue for delicate fabrics and optional decorative elements like buttons or ribbons to enhance your framed textile art!
Also, consider using cotton candy as a fabric choice if you're looking for something vibrant and unique.
Step-by-Step Framing Process
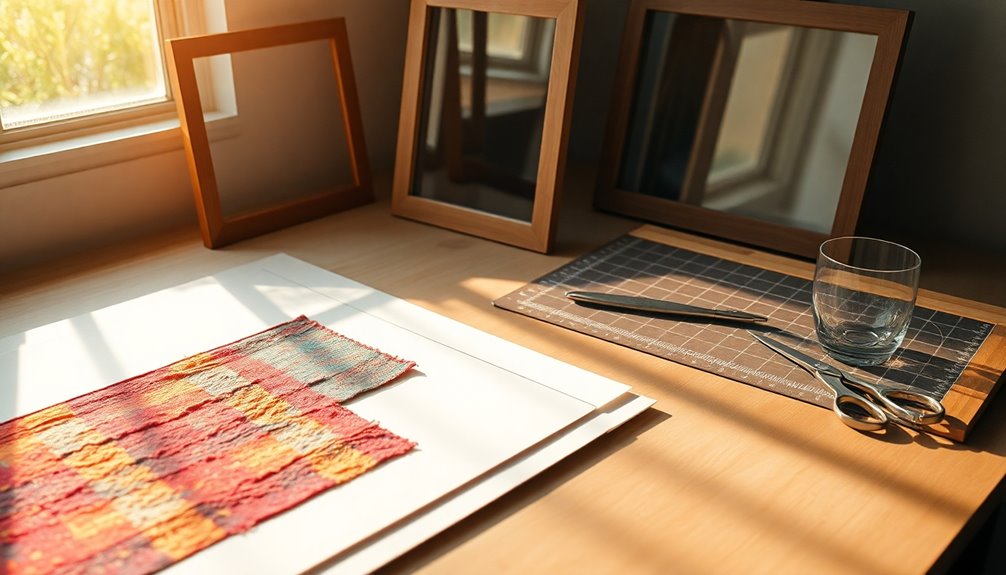
To start the framing process, you'll need to select a textile that speaks to you and a frame that enhances its beauty. A great choice would be a fabric that reflects the neutral color palettes often found in farmhouse decor. Additionally, choosing a fabric that aligns with your overall design theme can create a more cohesive look. Once you've got your materials, prepare the frame by ensuring it's clean and ready for your fabric. Additionally, using a fabric with natural materials can enhance the rustic charm of your decor. Finally, secure the fabric in place, making sure it's pulled taut to keep everything looking neat and professional. Additionally, incorporating natural elements into your textile choice can further promote tranquility in your space.
Selecting Your Textile Material
How do you select the perfect textile material for framing your art? Start by considering fabrics that enhance your home decor. Here are some tips to help you choose:
- Look for textiles like African mudcloth for trendy patterns or vintage fabrics for a nostalgic vibe.
- Confirm the fabric is durable and non-stretch; quilting cotton is ideal for stability in wall art. Additionally, consider using traditional farmhouses textiles that often feature unique patterns and craftsmanship, such as oak wood which is known for its strength and durability. Using acid-free foam board behind the fabric can also help maintain its shape over time.
- Measure your frame's dimensions, cutting the fabric to be 4-5 inches larger on each side for easy folding.
- Mark the corners and diagonals for precise cutting, confirming a clean fit within the frame.
Incorporating textiles that reflect modern farmhouse style can add warmth and character to your decor.
With the right fabric, your wall art will be a stunning addition to your decor!
Preparing the Frame
Preparing your frame is essential for showcasing your textile art beautifully. Start by selecting an old picture frame that complements your textile and has enough depth to accommodate the frame fabric without crushing it. A frame with high contrast ratios can further enhance the visual appeal of your artwork.
Carefully remove the backing and any existing mat, setting them aside. Cut a piece of canvas paper or mat board to fit snugly within the frame, marking where the textile will attach for alignment.
Lay your textile over the canvas, centering it smoothly. When you're ready to secure the fabric, use adhesive or staples, starting from the center and working outward. Regular maintenance of your frames can help prevent unexpected repair costs associated with wear and tear over time.
Finally, reassemble the frame, placing the backing securely to prevent shifting, and attach any hanging hardware for easy display.
Securing the Fabric
Securing your fabric properly is essential for a polished look in your textile framing project. Follow these steps to guarantee a clean finish:
- Measure your fabric, allowing it to extend 4-5 inches beyond the frame's edges for securing the fabric effectively.
- Use a staple gun to attach the fabric to the back of the frame, starting from the center and moving towards the corners to maintain tension.
- If you're using a canvas, stretch the fabric taut across the frame to avoid creases or wrinkles.
- After stapling, trim excess fabric to create a clean edge that won't interfere with the frame's backing.
Finally, reattach the backing and check that your fabric is secured tightly. Your wall space will look fantastic!
Creative Display Ideas
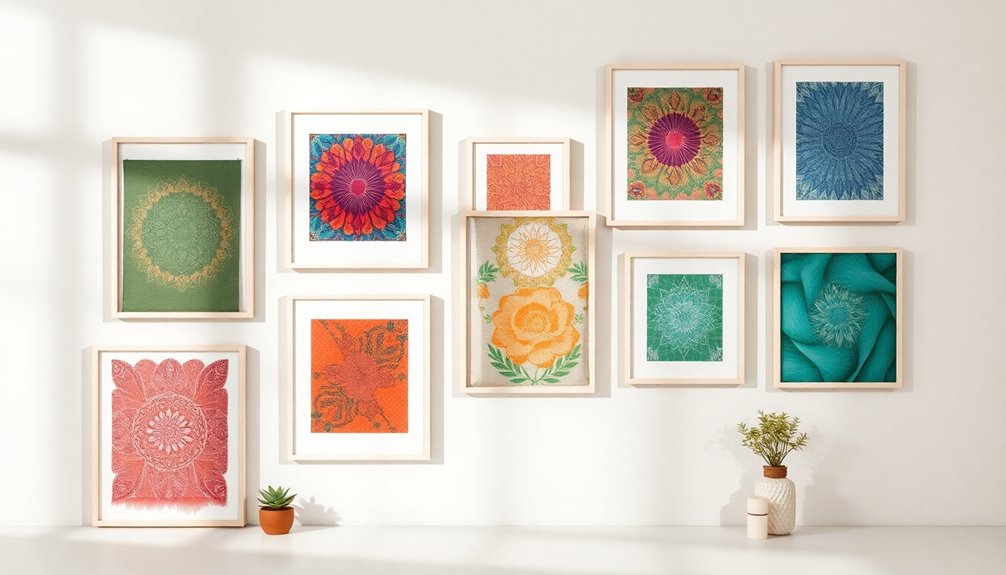
Arranging your framed textiles can transform any wall into an enchanting focal point. For a clean, organized look, try a grid pattern that enhances visual balance.
You can also create a dynamic gallery wall by clustering frames of varying sizes and orientations, showcasing interesting fabric and different patterns. Incorporate complementary color schemes to guarantee a cohesive aesthetic, guiding the arrangement of each piece.
Experimenting with Command Picture-Hanging Strips allows you to reposition your wall hanging without damage, perfect for trying out layouts.
Finally, mix different textures and colors within your fabric to the frame, adding depth and intrigue that makes each piece stand out. Your DIY wall art will truly reflect your personal style!
Cost-Effective DIY Tips
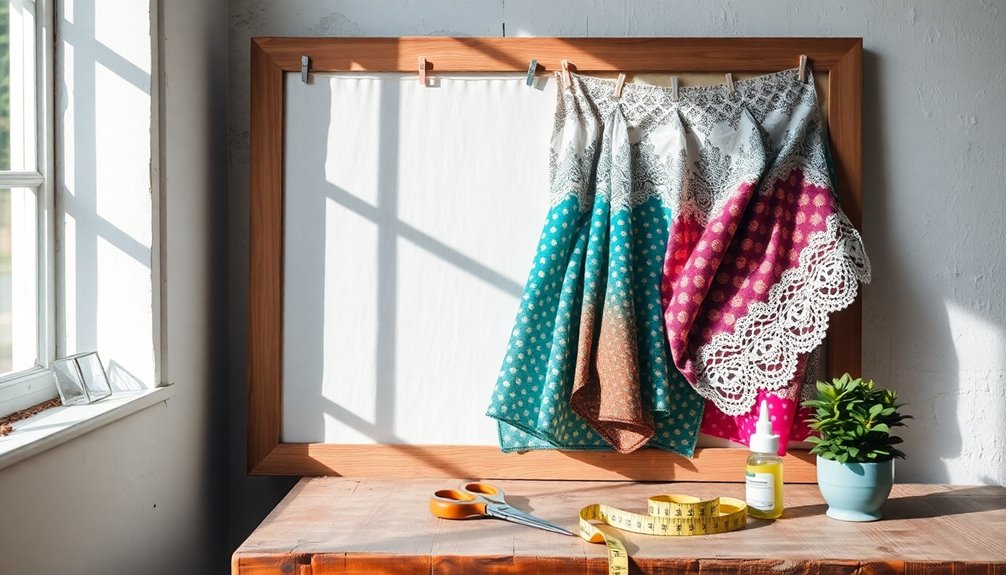
Creating stunning textile displays doesn't have to break the bank. You can create cost-effective DIY Fabric Wall Art with a little creativity and resourcefulness. Here are some tips to help you:
- Thrift Stores: Hunt for unique fabric and frames at local thrift shops to keep costs low.
- Old Frames: Repurpose old picture frames or make a custom frame using two 8-foot 1 x 2 boards for about $5.
- Simple Adhesives: Use staples or double-sided foam tape to attach fabric, saving on costly adhesives.
- Hanging Solutions: Opt for Command Picture-Hanging Strips for a damage-free way to hang your art, making it easy to reposition in your living room.
These tips will help you create beautiful displays without overspending!
Exploring More Fabric Projects
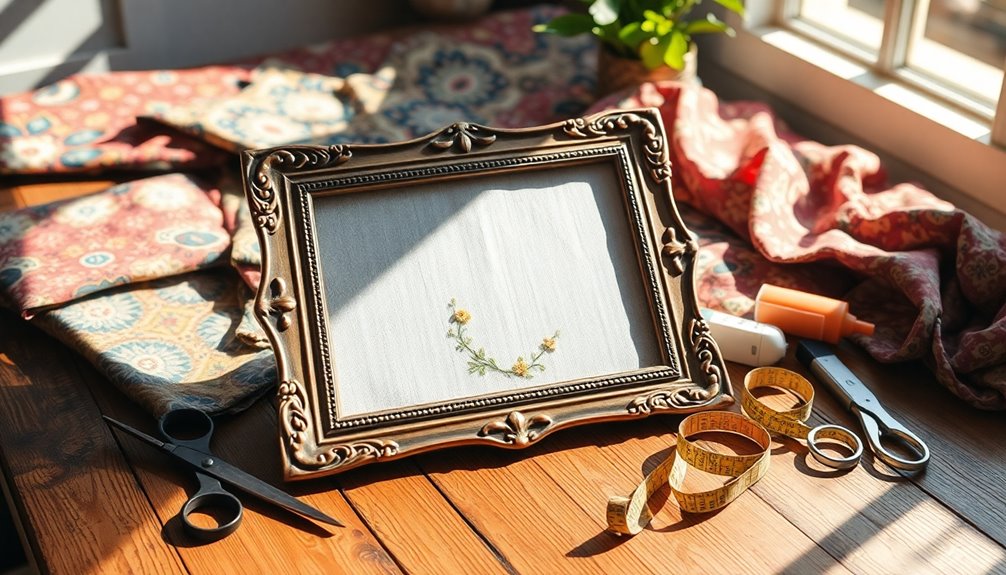
While you might think that textile projects are limited to simple wall art, there's a whole world of possibilities waiting to be explored.
You can create fabric-covered canvases by stapling vibrant fabric to a canvas frame, turning it into a colorful, textured piece of wall art.
Experiment with fabric wall hangings using dowels or rods, adding tassels or pom-poms for a unique touch.
Try crafting fabric banners or garlands by sewing or gluing pieces together, perfect for festive decor.
Repurpose vintage quilts or scarves into framed art, giving your home character while promoting sustainability.
Ultimately, make fabric-covered bulletin boards by wrapping corkboard in fabric, combining style with functionality for your wall decor.
Frequently Asked Questions
How to Frame Fabric for Wall Art?
To frame fabric for wall art, start by choosing your fabric and cutting it 4-5 inches larger than your frame.
Mark the corners and diagonals for accurate cutting.
Then, secure the fabric to the frame backing with Mod Podge or collage glue, folding the edges over the frame for a neat look.
Let it dry completely before hanging.
Feel free to add embellishments like buttons or ribbons for a personal touch!
How to Display Fabric on a Wall?
To display fabric on a wall, start by measuring your space to find the best arrangement.
You can mix picture frames and canvas for a vibrant gallery wall. Group smaller fabric pieces in clusters for intimacy, while placing larger ones on nearby walls.
Use Command Picture-Hanging Strips for easy mounting and repositioning.
Before you hang anything, outline frame sizes with painter's tape to visualize your layout and make adjustments as needed.
What Is the Best Frame for Fabric?
Think of a cozy hug for your fabric; the best frame wraps it gently without squishing its essence.
You'll want to choose a shadow box frame that creates a gap between the fabric and the glass, preserving its texture.
Opt for deep profiles to accommodate layered pieces, and lightweight materials for easy hanging.
Remember to select a backing sturdy enough to support your fabric, ensuring it hangs beautifully for years to come.
Should You Frame Textile Art?
Absolutely, you should frame textile art!
Framing not only enhances its visual appeal but also protects the fabric from dust and damage, ensuring it lasts longer.
Plus, it allows you to easily swap out pieces, revitalizing your decor without breaking the bank.
When you choose the right frame, it can become a stunning statement piece, adding depth and character to your walls while showcasing your personal style and stories through fabric.
Conclusion
Framing textiles transforms simple fabrics into stunning wall art that tells your unique story. You've learned how to select the right materials and bring them to life in your space. As you hang your creations, remember that each piece is a thread in the tapestry of your home, weaving together memories and personality. So, go ahead and let your walls breathe with creativity, turning your living space into a gallery of cherished moments.

