
Stop replacing trim blindly by learning to match profiles like a pro. Start by closely examining and comparing your existing trim’s shape, size, and details using tools like calipers or profile gauges. Proper surface prep, careful measurements, and matching paint are essential for a seamless look. Small tweaks like sanding or filling can fix minor mismatches, but don’t hesitate to replace larger ones. Keep these tips in mind, and you’ll master the art of trim matching with confidence.
Key Takeaways
- Carefully examine and compare existing trim profiles to identify subtle shape, size, and pattern differences before considering replacement.
- Use precise measuring tools like digital calipers or profile gauges to match dimensions accurately.
- Clean and prepare surfaces thoroughly to ensure a seamless fit and smooth finish when blending new trim with existing profiles.
- Utilize caulking, sanding, and paint techniques to correct minor profile mismatches and create a cohesive appearance.
- Consider repairing or modifying existing trim instead of full replacement for a more authentic, cost-effective match.

Saker Contour Gauge (10Inch) Profile Tool with Adjustable Lock,Fathers Day Gifts for Men Women Dad Boyfriend Husband-Precisely Copy Irregular Shape Duplicator-Cool Gadgets for Woodworking Tool Tracing
🎁 Saker Contour Gauge Perfect Gift for Him,Men,Women,Husband, Wife,Her,Anyone Who Loves DIY or Woodworking Projects🎁
As an affiliate, we earn on qualifying purchases.
As an affiliate, we earn on qualifying purchases.
Why Matching Trim Profiles Matters for a Cohesive Home Look
Matching trim profiles is essential because it creates a seamless and unified appearance throughout your home. When your decorative accents align in style and shape, the overall look feels intentional and polished. Consistency in trim profiles also respects the historical accuracy of your space, especially if your home has period-specific details. Using the same profile ensures that architectural integrity is maintained, preserving the home’s character. Mismatched trim can distract the eye and make rooms feel disjointed. By matching profiles, you highlight your attention to detail and craftsmanship. This uniformity helps your decorative accents stand out without clashing, giving your home a harmonious and timeless appeal. Additionally, energy-efficient cloud servers can support innovative design solutions by providing sustainable, reliable technology for smart home integrations. Incorporating proper documentation can further streamline your remodeling process and ensure your design choices are consistent with your overall aesthetic. To effectively match profiles, understanding trim profile standards and how they relate to your home’s style is key. Ultimately, matching trim profiles elevates your design and boosts your home’s classic charm.
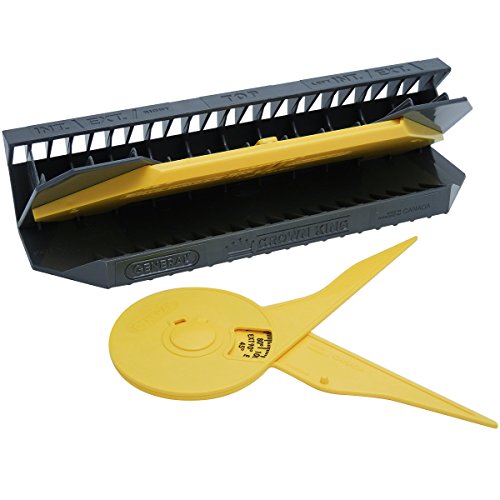
General Tools Crown King Molding Cutting Jig #881 with Protractor, Yellow
4 EASY STEPS: Perfectly mitered corner joints in four easy steps.
As an affiliate, we earn on qualifying purchases.
As an affiliate, we earn on qualifying purchases.
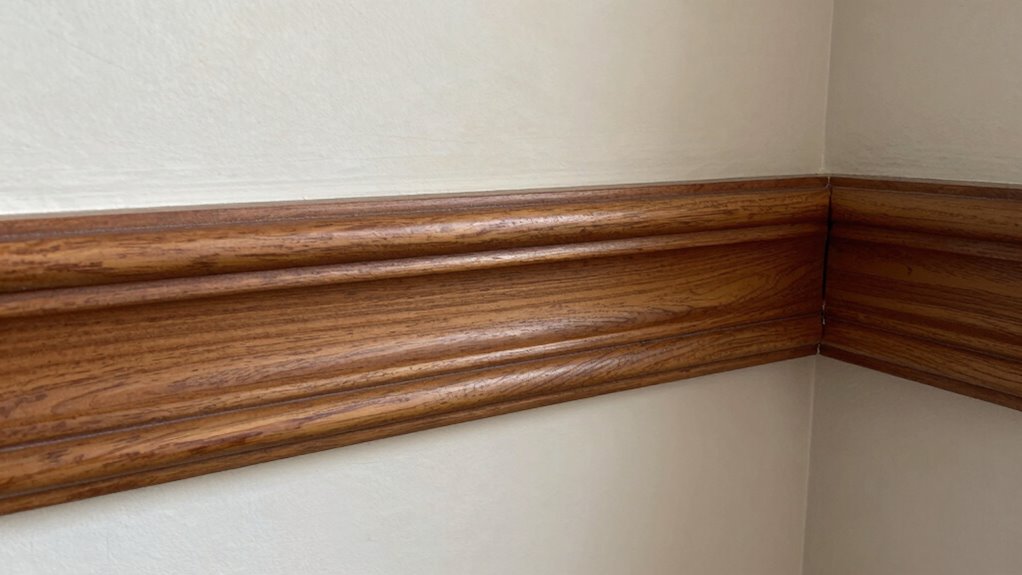
How to Recognize and Compare Different Trim Profiles

To effectively compare and recognize different trim profiles, you need to pay close attention to their unique shapes and details. Look for variations in crown molding, baseboards, and casings—note the curves, angles, and intricate patterns that define each style. Remember, matching profiles isn’t just about finding a perfect fit; it’s about crafting visual harmony across your space. When evaluating trim, consider how the profile’s shape interacts with your room’s architecture. Comparing profiles side-by-side helps you identify subtle differences and select the most complementary finishes. Recognizing these details guarantees your new trim blends seamlessly with existing elements, creating a cohesive and polished look. Developing a keen eye for profile nuances is key to professional-grade results. Paying attention to color consistency can further enhance the overall harmony of your trim choices. Additionally, understanding how profile matching techniques work can save you time and help achieve a seamless transition between different trim styles. Cultivating an appreciation for design harmony and visual cohesion enables you to make more confident and informed decisions.
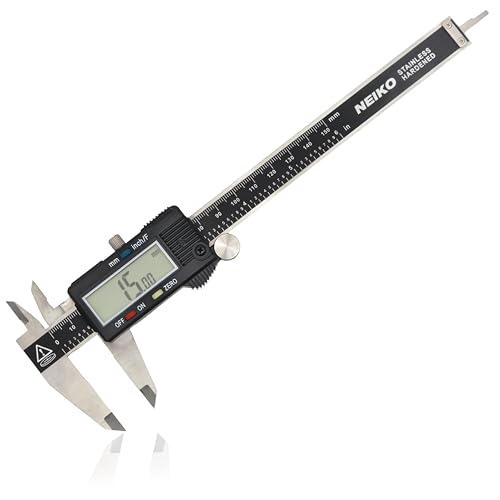
NEIKO 01407A Electronic Digital Caliper Measuring Tool, 0 – 6 Inches Stainless Steel Construction with Large LCD Screen Quick Change Button for Inch Fraction Millimeter Conversions, Digital Caliper Measuring Tool
MULTI-FUNCTION: This measuring tool has a quick-change button that changes between three measuring modes such as inch, fraction,…
As an affiliate, we earn on qualifying purchases.
As an affiliate, we earn on qualifying purchases.
Essential Tools and Resources for Matching Trim Profiles

Having the right tools and resources makes identifying and matching trim profiles much easier. With the right equipment, you can accurately compare details like paint color and furniture style, ensuring a seamless blend. Essential tools include a digital caliper or profile gauge to measure trim dimensions precisely, a high-quality paint color chart to match finishes accurately, and a collection of reference images of various furniture styles to guide your selection. These resources help you analyze the subtle differences in profiles and finishes, making your project more professional. Additionally, a good flashlight can highlight details in low light, and a camera helps you compare profiles on-site. Using these tools, you’ll confidently select trim that complements your existing decor. Incorporating expert voice actors or engaging narratives into your process can also elevate your presentation and decision-making confidence. Understanding profile matching techniques can further refine your ability to create a cohesive look. Paying attention to home automation features like lighting and scene settings can help visualize how your trim choices will interact with the overall environment. Being aware of Glycolic Acid Benefits can also inspire new ideas for finishing touches that enhance your space’s brightness and texture. Recognizing material compatibility is crucial for ensuring your chosen finishes and profiles work well together over time.

Baseboard Cleaner Tool with Handle, 60" Extendable Long Handle Baseboard Cleaner with 5 Reusable Pads for Baseboards Cleaning, Ceiling, Wall, Floor, Bathroom Kitchen
【Baseboard Cleaner Tool with Handle】With 60"/152cm long handle, we no longer need to bend down to clean the…
As an affiliate, we earn on qualifying purchases.
As an affiliate, we earn on qualifying purchases.
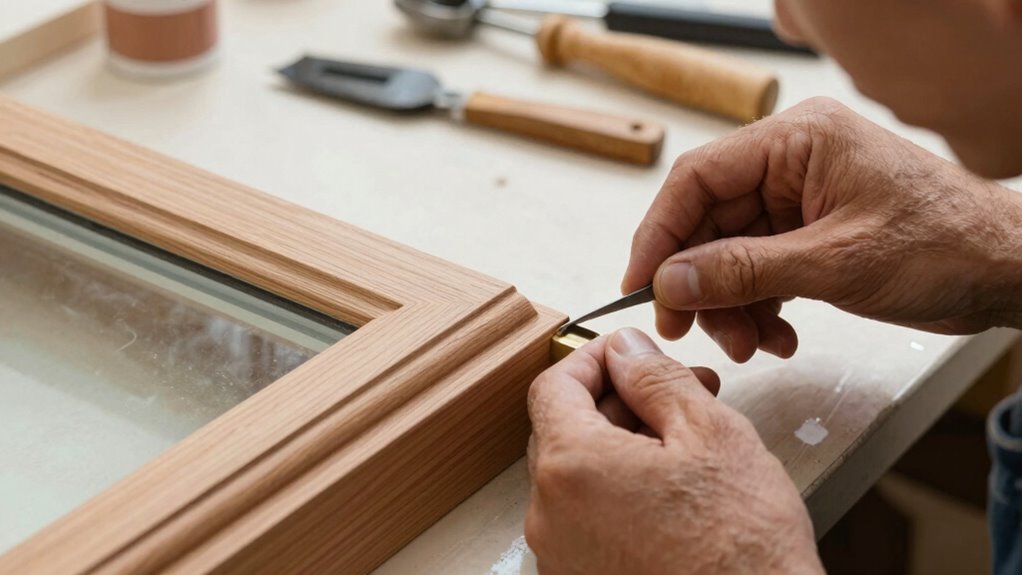
How to Measure and Match Your Existing Trim
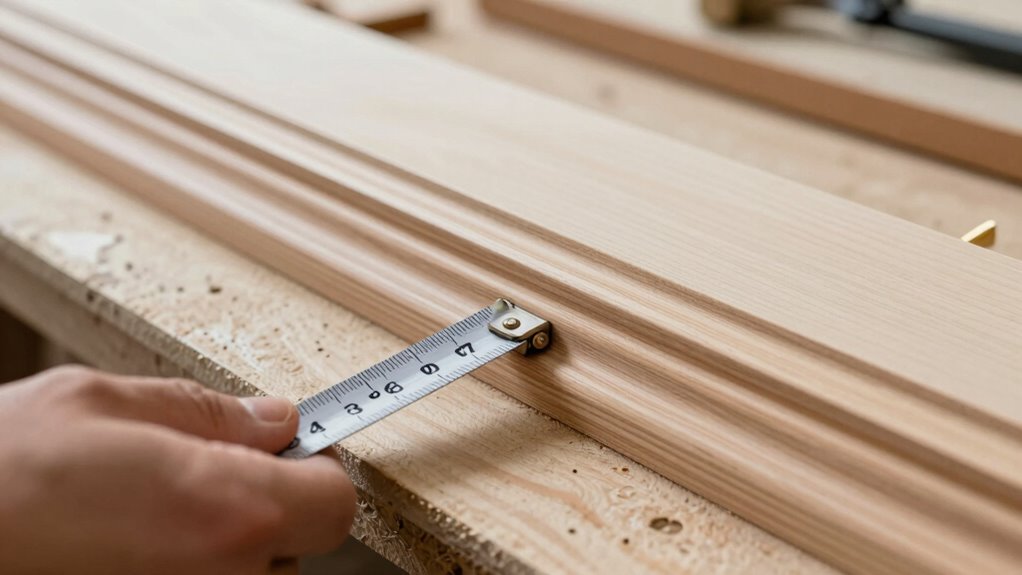
Measuring and matching your existing trim accurately is essential for a seamless repair or replacement. To achieve this, carefully examine the profile’s shape, size, and details, especially if you’re aiming for historical accuracy or decorative molding consistency. Use a caliper or ruler to measure the width, height, and thickness precisely. Take note of any unique features that define the profile’s character. When selecting a match, compare the measurements with sample trims. Keep in mind that subtle differences can affect the overall look. Here’s a quick reference:
| Feature | Measurement | Notes |
|---|---|---|
| Width | 1.5 inches | Match for decorative molding |
| Profile Depth | 0.75 inches | For seamless fit |
| Corner Detail | Rounded | Preserve historical accuracy |
| Overall Height | 2 inches | Consistent with existing trim |
Being aware of profile matching techniques ensures your project looks cohesive and professional. Additionally, understanding how wood movement can influence fit and appearance helps maintain long-term integrity of your work. Recognizing the importance of material compatibility can also prevent issues like warping or separation over time. Incorporating accurate measurement methods further enhances precision and reduces guesswork during the matching process. Paying attention to grain direction can also ensure a more natural and durable fit over time.
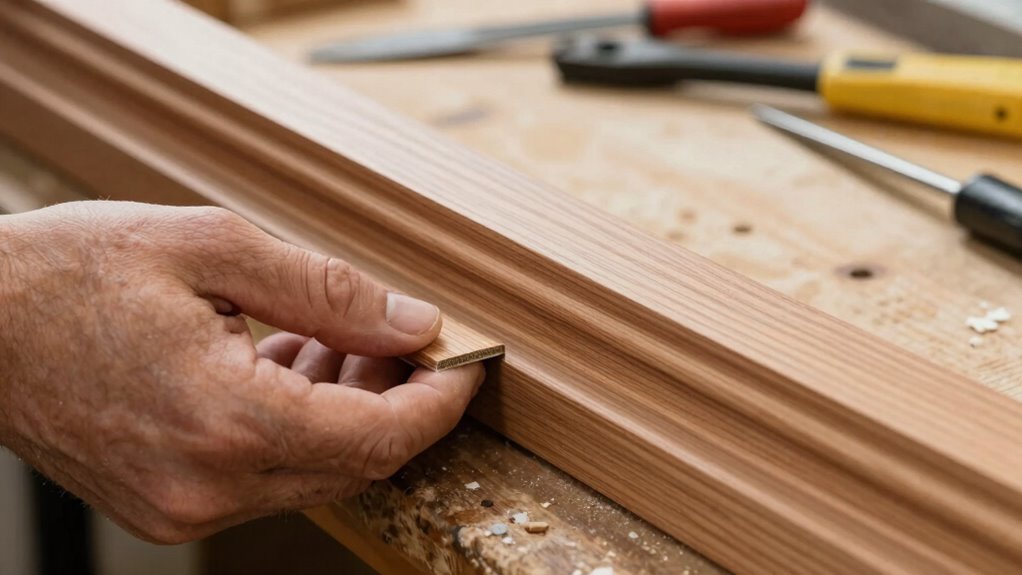
Troubleshooting Mismatched Profiles: Fix or Replace?

When you find that your new trim doesn’t quite match the existing profile, it’s time to evaluate whether fixing or replacing is the best course. Consider the paint color and material durability—if the paint won’t blend well or the material is fragile, replacement might be better. Repairing can work if the profile difference is minor and you can carefully sand or fill gaps, but it’s not always seamless. Additionally, understanding deep-sky imaging principles can help you appreciate the importance of precise details and consistency in your projects, similar to achieving a seamless trim match. Recognizing nanostructure interactions can also offer insights into how tiny differences may affect the overall outcome, emphasizing the need for careful assessment before proceeding. Incorporating smart technology into your assessment process can provide real-time feedback to ensure your repairs or replacements meet the desired standards. Using advanced diagnostics tools can further improve your ability to determine whether a repair will hold or if a full replacement is necessary. Employing these precision measurement techniques can help you make more informed decisions and achieve better results.
Tips for Installing and Finishing Your Trim Seamlessly
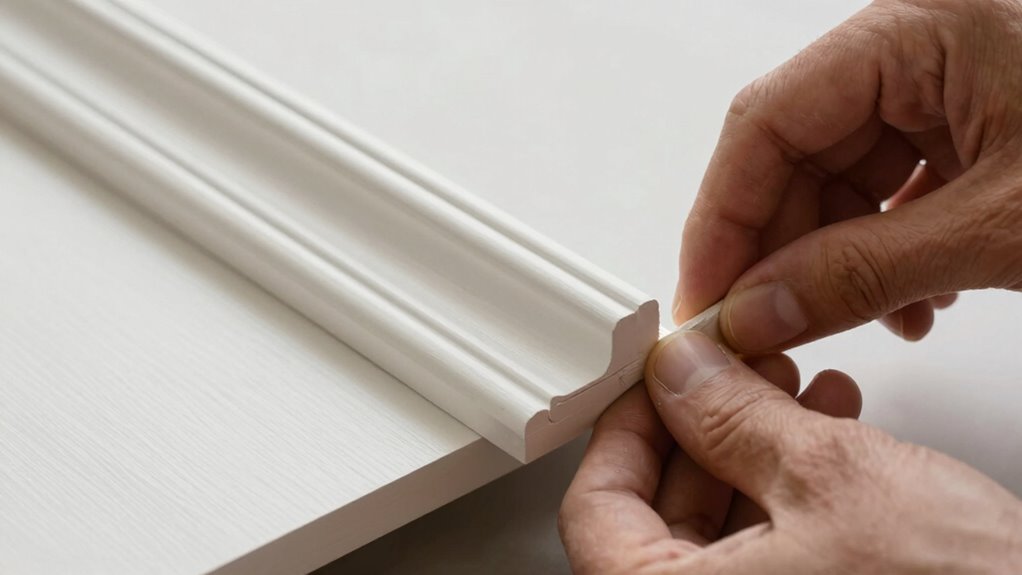
To achieve a seamless finish when installing your trim, start by preparing the surfaces thoroughly. Clean dust, debris, and old adhesive to guarantee a smooth, secure fit. When adding decorative accents, use painter’s tape for clean edges, preventing paint from bleeding onto surrounding walls. During finishing, pay close attention to paint color coordination; matching or complementing your wall color helps hide small gaps or imperfections. Caulk gaps carefully, smoothing the bead for a neat, professional look. Sand any rough edges before painting to attain a flawless surface. For the best results, apply paint in thin, even coats, and let each coat dry completely. Proper preparation, attention to detail, and thoughtful finishing will give your trim a polished, seamless appearance. Additionally, understanding profile matching techniques can help create a cohesive and professional look that enhances your overall decor. Emphasizing surface preparation can significantly improve adhesion and final appearance, ensuring your trim looks flawless over time.
Key Takeaways for Perfectly Matching Your Trim Profiles
Matching your trim profiles precisely guarantees a cohesive and polished look throughout your space. To achieve this, focus on key takeaways that ensure a seamless blend of decorative accents and color coordination. First, always compare profiles carefully, noting subtle curves and angles to replicate the original design. Second, choose trim that complements your wall color and decor, creating harmony through color coordination. Lastly, pay attention to decorative accents—like ornate moldings or simple edges—that match the style of your existing trim. These details enhance visual flow and avoid jarring contrasts. By following these tips, you’ll create a unified, professional appearance that elevates your space without replacing trim blindly. Consistency is your best tool for a flawless finish.
Frequently Asked Questions
Can I Mix Different Trim Profiles Intentionally for Aesthetic Effect?
Yes, you can intentionally mix different trim profiles for aesthetic effect. Use decorative accents to highlight the contrast and create visual interest. Focus on color coordination to guarantee the varied profiles complement each other rather than clash. By thoughtfully combining profiles, you add depth and personality to your space, making it uniquely yours. Just be sure to balance the different styles to maintain harmony and avoid a chaotic look.
How Do Environmental Factors Affect Trim Profile Matching Over Time?
Like the tale of Icarus, environmental factors can cause your trim profile to drift. Wood expansion and moisture effects lead to changes in trim over time, making initial matches less precise. Humidity causes wood to swell or contract, which may distort profiles and create gaps or misalignments. To maintain a consistent look, consider climate control and selecting materials resistant to moisture, ensuring your trim remains visually cohesive and structurally sound.
Are There Specific Brands That Offer Universally Compatible Trim Profiles?
Some brands do offer universally compatible trim profiles, making it easier for you to match and replace without hassle. Look for brands that prioritize brand compatibility, ensuring their profiles work across various systems. Always check product specifications for universal profiles, which are designed to fit multiple brands. This way, you save time, reduce errors, and maintain a cohesive look, even if you switch brands or need to make future replacements.
What Are Common Mistakes to Avoid When Matching Trim Profiles?
Imagine measuring a window trim but forgetting to double-check your measurements; that’s how incorrect measurements lead to mismatched materials. To avoid this, always measure carefully and verify measurements before cutting. Don’t assume all trim profiles are compatible—mismatched materials can ruin the look. Also, avoid rushing the process, as precision guarantees seamless matches and a professional finish. Taking your time prevents costly mistakes and ensures perfect trim alignment.
How Can I Restore Old, Damaged Trim to Match New Profiles Seamlessly?
To restore old, damaged trim and match new profiles seamlessly, start with careful cleaning and filling in cracks or gouges using wood filler. Use restoration techniques like gentle sanding and detailed profile matching with a template or profile gauge. When installing, cut precisely and sand edges smoothly to blend the new with the old. Focus on replicating the original profile‘s contours for a cohesive, professional finish.
Conclusion
Matching trim profiles isn’t just about aesthetics; it’s about creating harmony in your home. When you take the time to recognize and match profiles, you avoid the chaos of mismatched edges and uneven finishes. Think of it as tailoring your space—precision brings beauty, while shortcuts can leave it looking jumbled. So, invest in the details, and watch your home transform from cluttered to cohesive with every perfectly matched line.