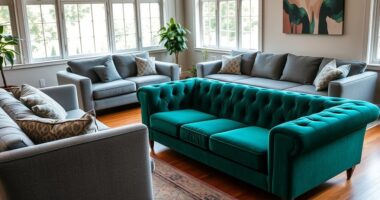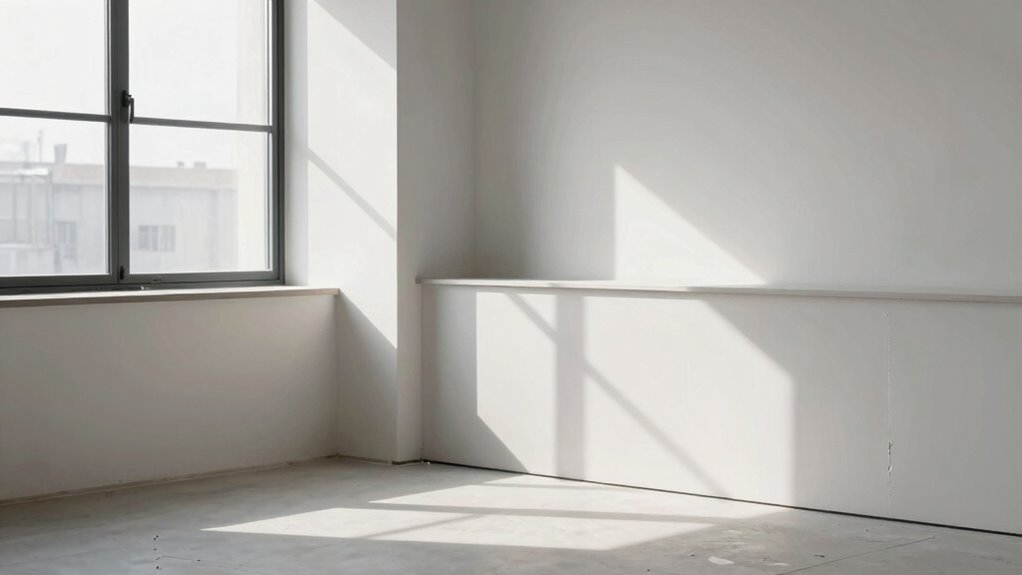

To show design problems clearly, focus on lighting and perspective. Use natural daylight to highlight shadows and uneven spots, then add diffused artificial light if needed. Change your camera angles—shoot from corners or at different heights—to reveal layout issues or awkward alignments. Pay attention to converging lines and visual flow, as they expose flaws. By experimenting with these techniques, you’ll uncover subtle flaws and learn how to fix or improve the space.

Get furniture and decor delivered free with Prime
- Fast, free delivery on millions of items
- Prime Video, Amazon Music and more included
- Member-only deals all year
Key Takeaways
- Use varied angles and perspectives to uncover layout issues and spatial inconsistencies.
- Adjust lighting to create shadows and highlights that reveal underlit or overly bright areas.
- Incorporate wide-angle shots cautiously to identify distortion and misaligned features.
- Focus on lines and shapes to detect visual tension, misalignments, or design flaws.
- Capture images at different times and lighting conditions to expose hidden flaws and inconsistencies.
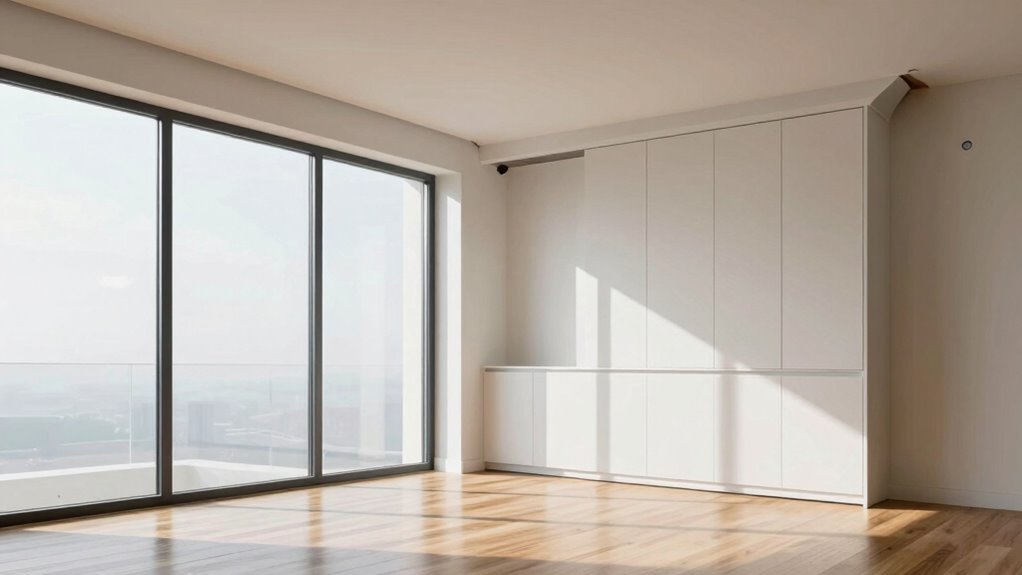
Have you ever wondered how to capture the vastness and beauty of a space through your camera? The secret lies in understanding how to use lighting techniques and perspective choices to reveal design problems and highlight the space’s true character. Proper lighting can transform a simple shot into a compelling narrative, emphasizing the depth and dimensions of a room. Natural light is your best friend, so plan your shoot during the day when sunlight filters through windows, casting soft shadows and adding warmth. If natural light isn’t enough, supplement with strategically placed artificial lighting, such as sconces or diffused overhead lights, to eliminate harsh shadows and create a balanced ambiance. Play with different intensities and angles to see how light accentuates architectural features or reveals flaws you might not notice otherwise. Experimenting with lighting techniques can help you uncover subtle issues that influence the overall harmony of a space. For example, adjusting light placement can help you see how shadows fall and whether certain areas are underlit or overly bright. Perspective choices are equally vital. Instead of shooting from a standard eye level, experiment with angles that give a sense of scale and drama. Low or high vantage points can make a small space seem larger or a large room more intimate, respectively. Use wide-angle lenses to encompass more of the room, but be cautious of distortion that can exaggerate or hide certain design elements. Sometimes, shooting from a corner or a doorway offers a fresh perspective that exposes design inconsistencies or spatial issues. By changing your viewpoint, you can uncover problems like awkward layouts, poor lighting distribution, or mismatched materials that may not be obvious from a straightforward shot. Think about how lines and shapes guide the viewer’s eye. Converging lines from furniture, flooring, or ceiling details can lead the eye into the scene, revealing the flow of the space. If these lines seem off or create visual tension, it might indicate underlying design flaws or areas that need rethinking. Additionally, paying attention to visual harmony can help you identify misalignments that disrupt the overall aesthetic. Paying attention to vertical and horizontal alignment helps you identify uneven surfaces or misaligned features that disrupt the harmony of the space. Developing an eye for detail can enhance your ability to spot even the smallest design inconsistencies that might otherwise go unnoticed. Furthermore, understanding how lighting and perspective work together allows you to create more accurate and insightful representations of a space, making it easier to diagnose and address potential issues. Being mindful of spatial relationships in your photography can also reveal how different elements interact and whether the layout supports the intended function or aesthetic.
Frequently Asked Questions
What Camera Settings Are Best for Space Photography?
You should use a camera with manual settings and a wide-angle lens for space photography. Set your aperture to a smaller f-stop, like f/8 or f/11, to get sharp details throughout the scene. Use a tripod to stabilize your camera, and adjust ISO to keep noise low. Incorporate aperture techniques, such as bracketing, to capture both bright and dark areas, revealing design issues and spatial problems effectively.
How Do Lighting Conditions Affect Revealing Design Flaws?
Lighting conditions greatly impact how design flaws appear in your photos. Good lighting creates shadow play that highlights uneven surfaces or misplaced elements, making flaws more noticeable. It also enhances color contrast, revealing inconsistencies in paint, materials, or finishes. By adjusting your lighting, you can emphasize or diminish certain features, ensuring that flaws stand out clearly, helping you identify areas that need improvement or redesign.
Should I Include People in My Space Photos?
Including people in your space photos can markedly enhance scale perception, helping viewers understand the size and functionality of the area. People presence offers a sense of real-life use, revealing design flaws that might otherwise go unnoticed. It’s often true that spaces feel different when occupied. As a result, featuring people not only adds context but also emphasizes how well the design accommodates actual human activity, making flaws more visible.
What’s the Ideal Time of Day for Photographing Interiors?
The ideal time for photographing interiors is during the golden hour, right after sunrise or before sunset. During these times, natural lighting moods create warm, inviting atmospheres, enhancing color accuracy. The soft, diffused light minimizes harsh shadows and highlights, making your photos look true to life. Shooting then helps reveal design details clearly, ensuring the space’s best features stand out without color distortions or uneven lighting.
How Can I Highlight Specific Design Features Effectively?
To highlight specific design features, choose focal length choices that emphasize those details, like a macro lens for intricate textures or a wider lens for room context. Use your camera’s settings to emphasize the color palette, making colors pop or soften as needed. Play with lighting to cast shadows or highlight features, ensuring the focal length and color emphasis draw viewers’ attention directly to the design elements you want to showcase.
Conclusion
By applying these photography tips, you’ll uncover design flaws and strengths you might not notice otherwise. Did you know that 90% of information transmitted to our brains is visual? That means your photos can reveal hidden issues or highlight great features, guiding smarter design decisions. So grab your camera, step back, and see your space through a new lens. This perspective can make all the difference in transforming a good space into a great one.
Halloween Picks
halloween
As an affiliate, we earn on qualifying purchases.