To install a pressure-side pool cleaner, turn off your pump and disconnect the power for safety. Attach the hose firmly to the cleaner and check for leaks, then connect it to your skimmer or dedicated fitting. Position the cleaner on the pool floor and submerge it completely. Turn the pump back on, observe its movement, and adjust the hose length for ideal coverage. Keep going to discover more tips for a smooth installation.
Key Takeaways
- Turn off the pool pump and disconnect power before beginning installation for safety.
- Review the manufacturer’s instructions thoroughly and gather all necessary tools and equipment.
- Connect the cleaner’s hose securely to the inlet and the pool’s return fitting, ensuring fittings are tight and leak-free.
- Position and submerge the cleaner on the pool floor, avoiding tangles and sharp bends in the hose.
- Turn on the pump, monitor operation, and inspect for proper movement and debris collection, adjusting as needed.
Top picks for "install pressure side"
Open Amazon search results for this keyword.
As an affiliate, we earn on qualifying purchases.
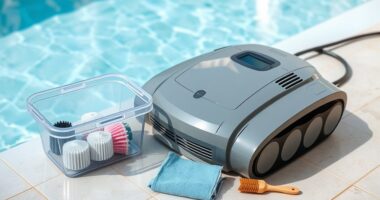
Gather the Necessary Tools and Equipment
Before you begin installing your pressure-side pool cleaner, it’s essential to gather all the tools and equipment you’ll need. You’ll want a basic set of pool maintenance tools, including a telescopic pole, brushes, and a test kit to check water chemistry. Proper water chemistry is crucial for ideal cleaner performance and overall pool health. Maintaining proper water chemistry helps ensure your cleaner functions efficiently and extends its lifespan. Make sure you have hoses, adapters, and the cleaner’s mounting hardware ready. Check that your pump and filter system are functioning well, as they directly impact cleaning efficiency. Having these items on hand ensures a smooth installation process. Taking time to prepare now prevents interruptions later and helps maintain your pool’s cleanliness with minimal hassle. Properly prepared tools set the foundation for effective pool maintenance. Additionally, understanding the angel number symbolism can inspire patience and trust during the setup process, knowing that everything is aligning for optimal results. Being familiar with pool equipment operation can also help troubleshoot any issues that may arise during installation. To ensure your pressure-side cleaner works effectively, review the manufacturer’s instructions carefully before starting assembly. Moreover, staying informed about appliance maintenance plans can help keep your pool equipment in top condition over time.
Read the Manufacturer’s Instructions Carefully

You should carefully read the manufacturer’s instructions before starting installation to guarantee you understand all steps. Follow the installation steps precisely to avoid mistakes that could affect performance. If you encounter issues, consult the troubleshooting tips provided to resolve common problems quickly. Properly understanding drivetrain components can help ensure smooth operation during setup. Additionally, being aware of toilet maintenance practices can prolong the life of your pool cleaner and prevent future problems. Recognizing risk assessment for merchant services can also improve your ability to communicate effectively during installation, especially if working with a partner. Engaging with professional voice actors can enhance your understanding of narration techniques that make instructions clearer and more engaging.
Read Manual Thoroughly
Reading the manufacturer’s instructions carefully is essential to guarantee you install and operate the pressure-side pool cleaner correctly. By thoroughly understanding the manual, you’ll learn how different components interact and avoid common mistakes. Pay close attention to recommended pool chemistry levels, as improper balance can impair cleaner performance. The manual also highlights safety precautions, such as disconnecting power when handling parts or inspecting the device. Skipping these steps could result in damage or injury. Make sure to review all warnings and instructions before starting installation. Familiarizing yourself with the guidelines ensures you follow proper procedures, reducing the risk of errors and prolonging the cleaner’s lifespan. A careful read helps you avoid costly mistakes and guarantees a smooth, safe setup process. Additionally, understanding electric power generation with bike generators can help you create a more comfortable and efficient environment while maintaining focus during installation. Being aware of regular maintenance practices can further enhance the cleaner’s durability over time. Moreover, consulting the manual can provide insights into troubleshooting common issues, which can save you time and effort should problems arise later. Furthermore, exploring industry innovations can help you stay informed about new features and improvements that might benefit your pool maintenance routine.
Follow Installation Steps
By carefully following the manufacturer’s installation steps, you guarantee your pressure-side pool cleaner functions properly and safely. Precise installation ensures effective pool cleaning and reduces the need for frequent equipment maintenance. Always read the instructions thoroughly before starting, focusing on connecting hoses, skimming debris, and securing fittings. Use the table below as a guide:
| Step | Action | Tips |
|---|---|---|
| Read instructions | Familiarize yourself with the manual | Avoid mistakes during setup |
| Connect hoses | Attach hoses securely to cleaner and skimmer | Check for leaks |
| Prime equipment | Fill hoses with water before use | Prevent airlocks |
| Position cleaner | Place it correctly in the pool | Optimize coverage |
| Test operation | Turn on pump and observe cleaner’s movement | Adjust if necessary |
Following these steps ensures efficient pool cleaning and smooth equipment maintenance. Additionally, proper installation can help prevent issues related to automation and ensure your system operates at peak efficiency. Being attentive to hose connections and ensuring they are secure can further prolong the lifespan of your cleaner and improve cleaning performance. It is also beneficial to periodically check the manufacturer’s instructions for updates or additional tips to maintain optimal operation. Properly maintaining your equipment can also extend its longevity and effectiveness.
Consult Troubleshooting Tips
Consulting the manufacturer’s troubleshooting tips is essential for resolving common issues and guaranteeing your pressure-side pool cleaner works smoothly. Many common problems, like poor debris pickup or erratic movement, can be fixed quickly by following these tips. Always read the instructions carefully before troubleshooting. They often include solutions such as:
- Checking for clogs in hoses or filters
- Ensuring proper pressure and flow rate
- Inspecting the cleaner’s brushes and wheels
- Verifying hose connections are secure
- Adjusting the cleaner’s settings as recommended
Additionally, understanding cybersecurity vulnerabilities related to your equipment or online controls can help prevent potential security breaches. These troubleshooting tips help you identify and fix issues promptly, saving you time and preventing unnecessary repairs. Proper maintenance practices are crucial for extending the lifespan of your cleaner and maintaining optimal performance. Familiarizing yourself with cookie consent management can also help safeguard your privacy when accessing online tutorials or manufacturer support sites. Staying informed about regional legal resources can be beneficial if legal issues arise with your equipment or service providers. Moreover, regularly reviewing manufacturer updates can provide insights into new features or safety notices that enhance your equipment’s longevity. Remember, understanding the specific troubleshooting steps provided by the manufacturer ensures your cleaner performs at its best and lasts longer.
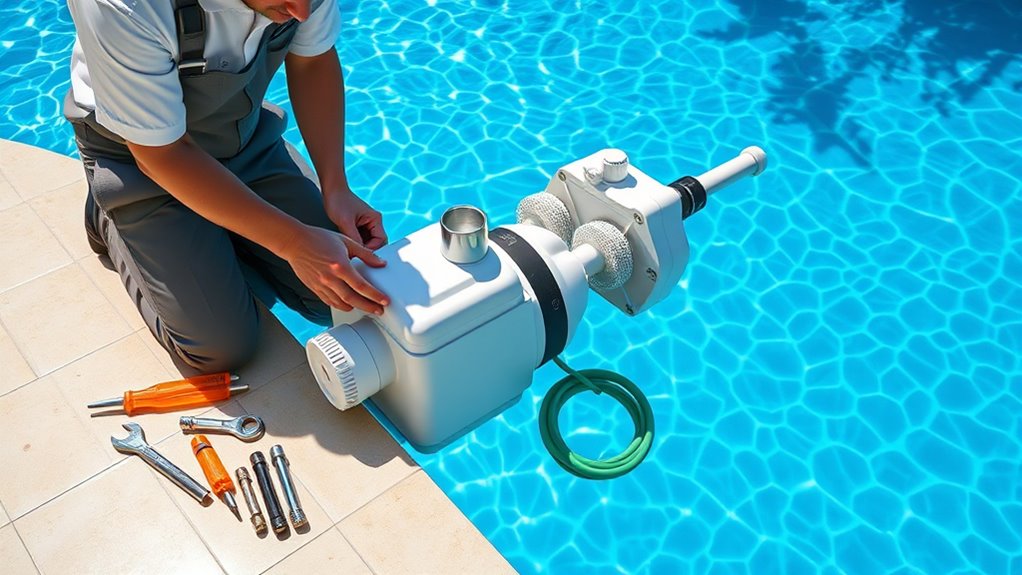
Turn Off the Pool Pump and Power Supply
Before installing the pressure-side pool cleaner, you should turn off the pool pump and disconnect the power supply to guarantee safety. This step prevents accidental activation during installation, reducing the risk of injury or damage. It’s also a good time to review your pool chemistry to ensure proper chemical balance, which helps protect your equipment and maintain water quality. Always follow safety precautions, such as wearing gloves and eye protection, to avoid contact with pool chemicals or moving parts. Turning off the pump and power supply minimizes electrical hazards and prevents debris from circulating while you work. Confirm the pump is completely off before proceeding, ensuring a safe environment for the installation process. Additionally, verifying your pool chemistry ensures optimal water balance and equipment longevity, which is essential for preventing corrosion and scaling.
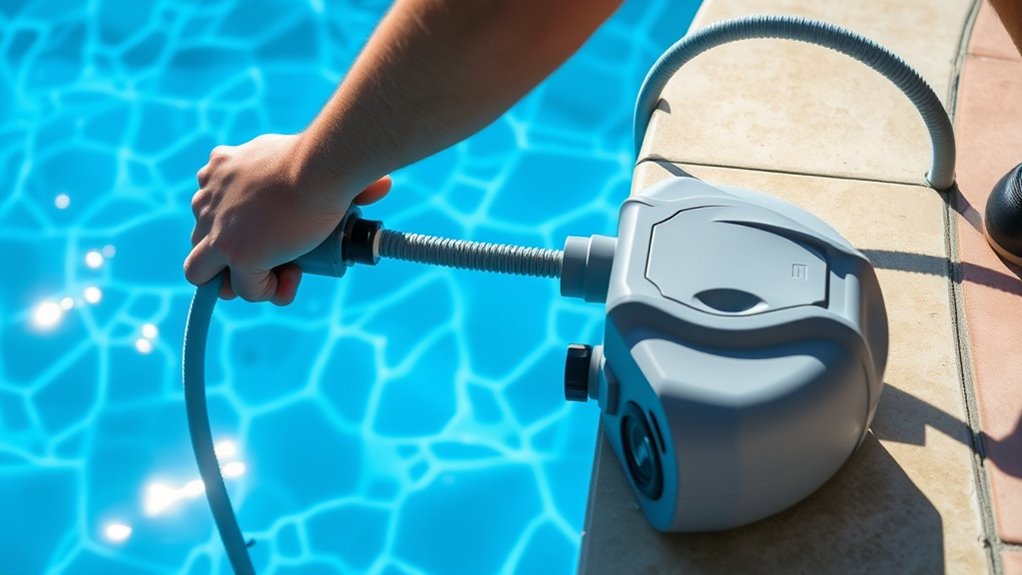
Attach the Hose to the Cleaner and Check for Leaks
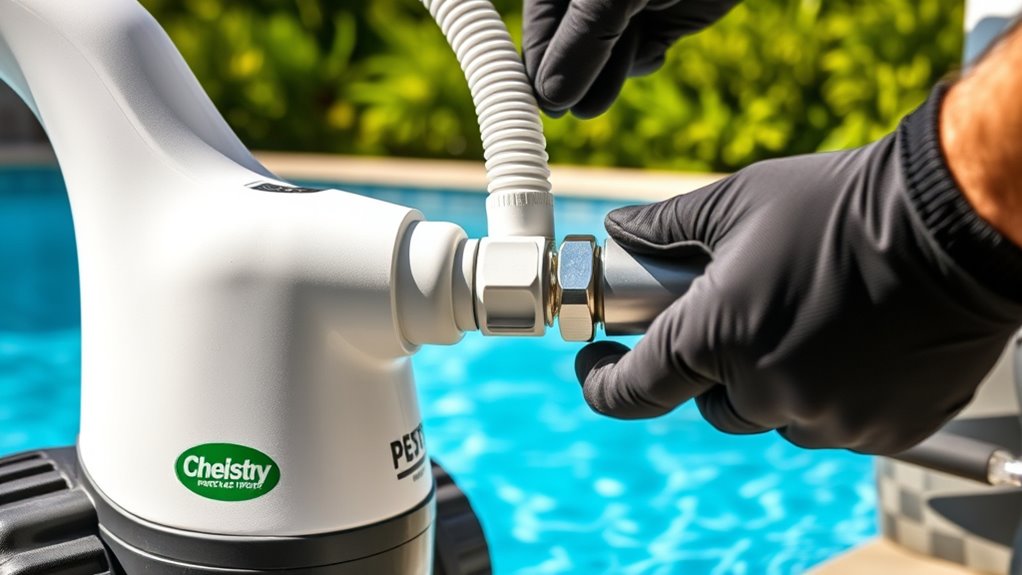
Start by attaching the hose securely to the cleaner’s inlet and your pool’s return fitting. Confirm the hose material is flexible yet durable, preventing kinks and leaks. After connecting, turn on the pump briefly to pressurize the system. Check for leaks at connection points, keeping these tips in mind:
- Tighten fittings firmly without over-tightening
- Inspect hose connections for cracks or damage
- Use fittings designed for leak prevention
- Avoid sharp bends in the hose
- Double-check all connections after initial testing
If you notice leaks, reseat fittings or replace damaged hose sections. Proper attachment and leak prevention ensure maximum cleaning performance and prevent water wastage. Taking these steps guarantees your pressure-side cleaner operates efficiently and effectively.
Connect the Hose to the Skimmer or Dedicated Fitting
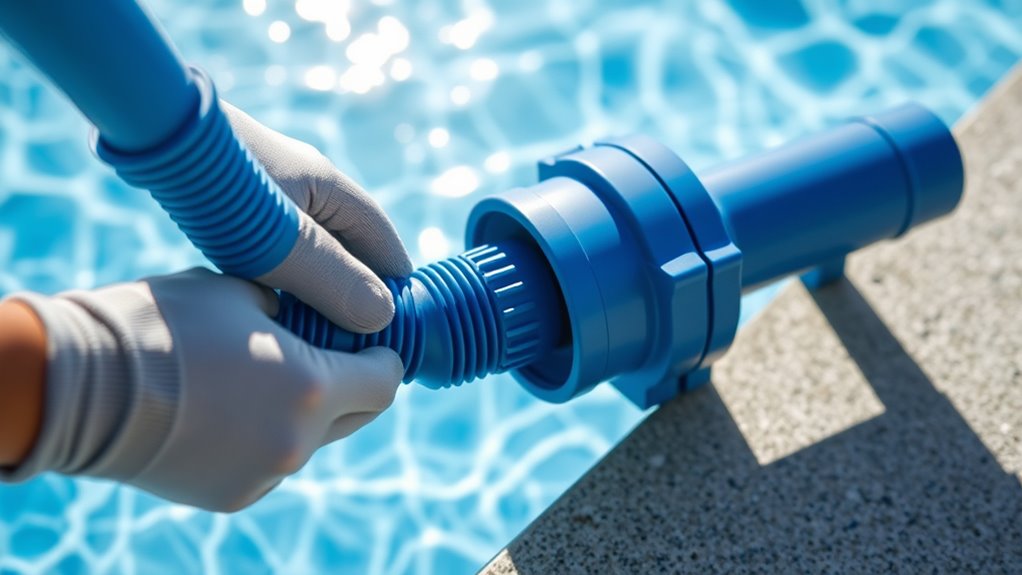
Have you connected the hose to the skimmer or dedicated fitting yet? Making sure a secure connection is essential for maximum cleaning effectiveness. Check that the hose material is compatible with your pool’s fittings and that the connector fits snugly. Using the right connector prevents leaks and maintains proper water flow.
Here’s a quick guide:
| Hose Material | Connector Compatibility |
|---|---|
| Reinforced vinyl | Compatible with standard fittings |
| Rubber | Fits flexible or adjustable fittings |
| Polyethylene | Needs specific adapters |
| PVC | Use compatible PVC connectors |
Always verify that your hose material matches the connector to avoid leaks and ensure smooth operation. Proper connection guarantees your cleaner works efficiently.
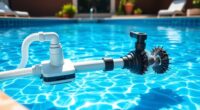
Position the Cleaner in the Pool and Submerge It
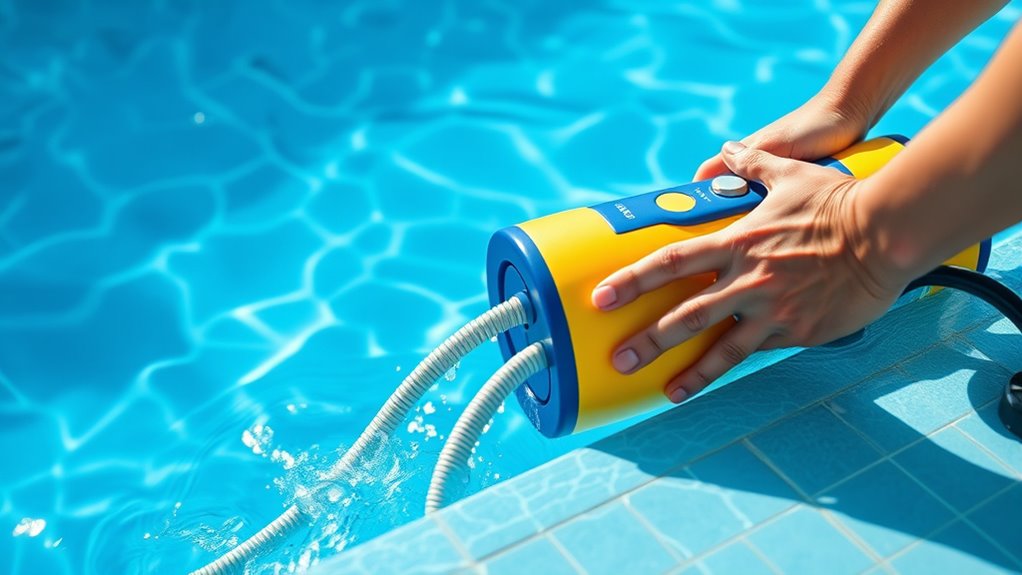
Once you’ve connected the hose properly, position the cleaner in the pool by gently placing it on the pool floor. Make sure the cleaner is evenly balanced and not tangled with any pool accessories. Submerge it fully to prevent air pockets, which can affect water chemistry and cleaning efficiency. Keep in mind:
- Ensure the water is properly balanced with pool chemicals before starting
- Avoid placing the cleaner near skimmers or return jets initially
- Check that the hose is free of kinks to maintain optimal water flow
- Confirm the cleaner’s weight distribution for smooth movement
- Regularly monitor water chemistry to prevent debris buildup
Proper positioning helps the cleaner operate efficiently, but it’s essential to maintain balanced pool chemicals for optimal water chemistry and cleaning results.
Turn On the Pump and Observe the Cleaner’s Operation
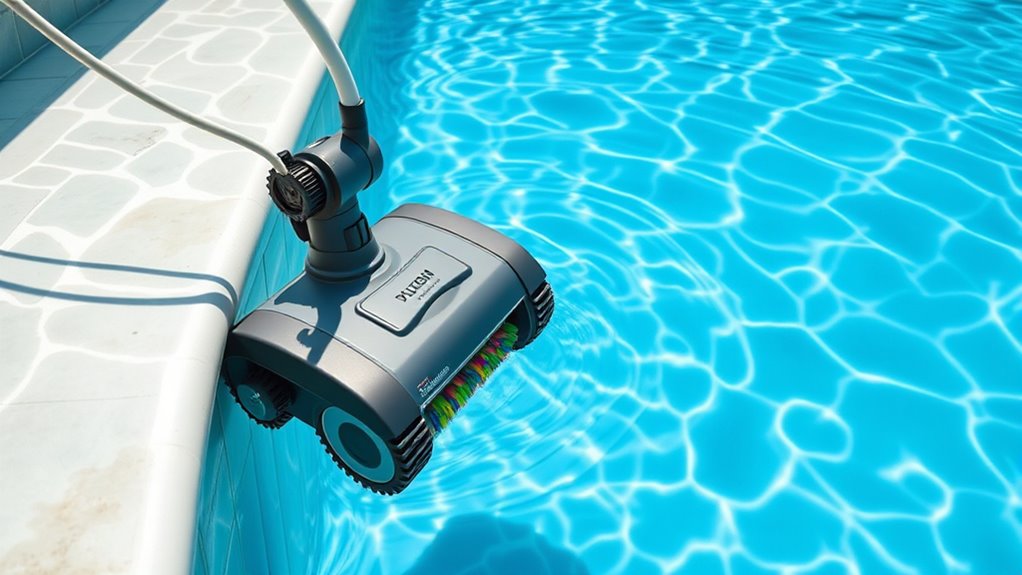
Before turning on the pump, make sure the cleaner is properly positioned and the hose is free of kinks. Once you switch on the pump, observe how the cleaner moves across the pool surface. Guarantee it’s operating smoothly and covering the entire area. Check that the water flow is consistent and that the cleaner is suctioning debris effectively. Remember, proper pool chemistry is essential—balanced pH and chlorine levels prevent algae buildup and keep the cleaner functioning properly. Follow safety precautions by keeping hands and loose clothing away from the suction areas during operation. If you notice irregular movement or poor performance, turn off the pump and inspect the hose and cleaner for blockages. Regular observation helps ensure ideal cleaning and long-lasting equipment.
Adjust the Hose Length and Position for Optimal Cleaning

Start by measuring and cutting the hose to the right length so it fits your pool setup without sagging. Then, position the hose strategically to guarantee the cleaner covers all areas effectively. Finally, test the cleaner’s operation and make any necessary adjustments for maximum performance.
Measure and Cut Carefully
To guarantee your pressure-side pool cleaner operates effectively, carefully measure and cut the hose to the correct length. Proper measurement ensures the cleaner reaches all pool areas without tangling or stressing the hose. Before cutting, check the pool’s current pool chemistry to maintain safety precautions and ensure the cleaner functions smoothly. When measuring, keep these tips in mind:
- Measure from the skimmer to the farthest wall
- Add a few extra inches for flexibility
- Use a sharp cutter for clean cuts
- Avoid cutting too short, which limits movement
- Test fit before finalizing the cut
Position Hose Strategically
Positioning your hose correctly is essential for the cleaner to operate efficiently. Proper hose routing ensures water flows smoothly, preventing tangles and gaps that can limit cleaning. Start by attaching the hose to the cleaner and connecting it to the skimmer or dedicated pressure line. Adjust the hose length so it fits comfortably without excess slack or tightness. When positioning the hose, consider the pool surface positioning; aim to keep the hose straight and avoid sharp bends that could impede movement. Distribute the hose evenly around the pool, ensuring it doesn’t drag or catch on the pool’s edges. Correct hose placement allows the cleaner to reach all areas and maintain steady pressure, maximizing cleaning coverage and efficiency.
Test and Adjust Properly
Once you’ve connected the hose, it’s important to test the cleaner’s operation and make necessary adjustments for ideal performance. Check if the cleaner moves smoothly and covers the pool evenly. Ensure the hose length isn’t too long or short, which can affect cleaning efficiency. Adjust the hose to maintain proper water flow, considering the pool’s chemical balance and water temperature, as these can influence cleaner performance.
Remember to:
- Keep the hose straight and free of tangles
- Position the cleaner in an area with optimal water flow
- Avoid obstructions that hinder movement
- Regularly check for leaks or blockages
- Reassess and fine-tune after initial runs for better coverage
Proper testing and adjustments help guarantee your cleaner works efficiently, saving time and energy.
Frequently Asked Questions
How Often Should I Clean or Replace the Pool Cleaner’S Filter?
You should clean your pool cleaner’s filter regularly to guarantee ideal performance. Typically, perform filter maintenance once a week, but increase frequency if your pool gets heavy use or debris. Follow your manufacturer’s replacement schedule; most filters need replacing every 1-2 years. Keep an eye on flow and suction, and replace filters when they become worn or damaged to maintain efficient cleaning and extend your cleaner’s lifespan.
Can I Use a Pressure-Side Cleaner With a Solar Pool Heating System?
Thinking about solar compatibility, you might wonder if a pressure-side cleaner can work with your solar pool heating system. The good news is, yes, it generally can, but keep in mind cleaner maintenance is key to prevent any issues. Confirm the cleaner’s hose and fittings don’t interfere with your solar setup, and regularly check for proper operation. With a little attention, your cleaner can dance happily alongside your solar heater.
What Safety Precautions Should I Take During Installation?
During installation, prioritize electrical safety by turning off power sources before starting. Make certain proper grounding of all equipment to prevent electrical shocks. Follow manufacturer instructions carefully, and use insulated tools when handling electrical connections. Keep the work area dry, and avoid working near water or wet surfaces. If unsure about electrical safety, consider hiring a professional to avoid accidents. These precautions help keep you safe throughout the installation process.
Is It Necessary to Backwash the Pool After Installing the Cleaner?
Did you know that neglecting proper filter maintenance can reduce your pool’s efficiency by up to 50%? After installing a pressure-side pool cleaner, a backwash procedure isn’t always necessary unless you notice cloudiness or reduced flow. It’s a good idea to check your filter and perform a backwash if needed. Regular filter maintenance keeps your pool clean and extends the life of your equipment, ensuring everything runs smoothly.
How Do I Troubleshoot if the Cleaner Isn’t Moving or Cleaning Properly?
If your pressure-side pool cleaner isn’t moving or cleaning properly, start by inspecting the pressure hose for kinks or leaks. Check the nozzle for blockage, as debris can hinder operation. Make certain the hose is securely connected and that the cleaner is properly anchored. Adjust the pressure if needed, and clean or replace the nozzle if it’s clogged. These steps help restore ideal movement and cleaning performance.
Conclusion
Installing a pressure-side pool cleaner is straightforward when you follow these steps. Did you know that a clean pool can reduce algae growth by up to 80%? Regular maintenance not only keeps your pool sparkling but also saves you time and money in the long run. So, take your time during installation, and enjoy a pristine pool all season. With proper setup, you’ll be swimming in crystal-clear water before you know it!