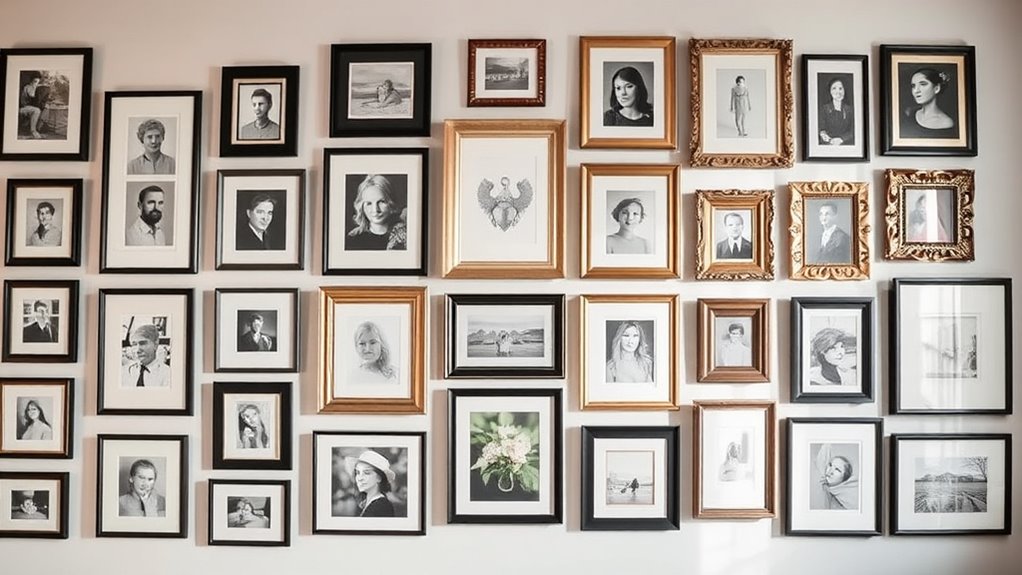
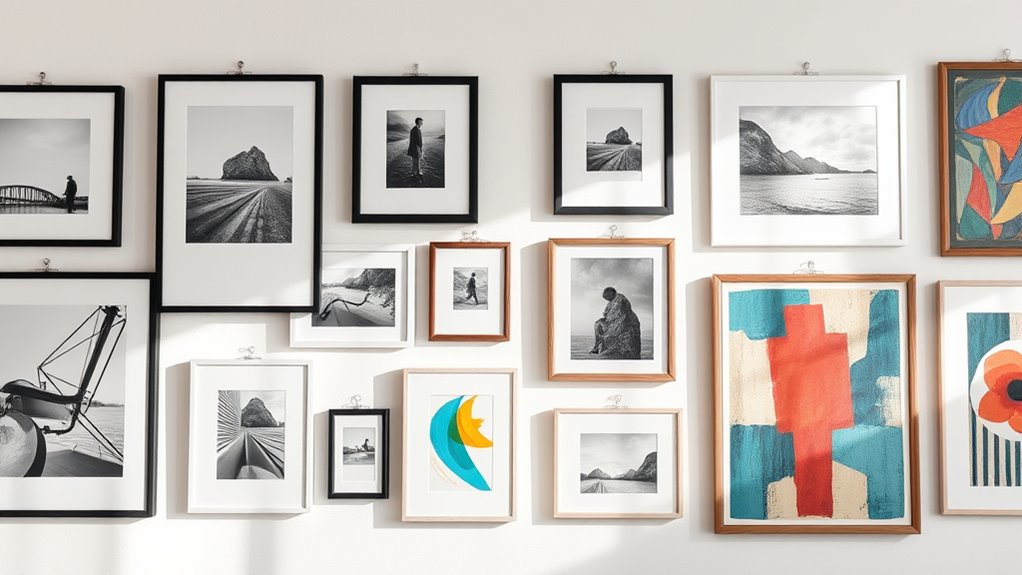
To display art like a gallery, start by planning your layout, considering your space’s vibe and balance. Measure carefully to mark precise spots for hanging, using the right hardware for your wall type. Arrange your pieces at eye level, mixing sizes and styles for interest while keeping a balanced flow. Step back often to assess harmony and adjust as needed. If you keep exploring, you’ll discover more tips to perfect your display.
Key Takeaways
- Plan your layout by considering room’s vibe, size, and visual balance, grouping similar pieces for cohesive flow.
- Measure and mark wall positions accurately, using appropriate hardware based on wall type and artwork weight.
- Hang art at eye level (~57-60 inches) and vary sizes and frames to create visual interest and balance.
- Incorporate diverse styles and materials, balancing focal points and ensuring even distribution across the wall.
- Regularly assess and adjust the arrangement to maintain harmony, flow, and a professional gallery-like appearance.

Go Hang It! Pro, All-in-One Picture Hanging Kit – Picture Leveling and Hanging Tool – Hang Sawtooth/Wire Hangers – Wall Hanging Kit and Level Tool – Hardware Case with 85-Piece Hanging Essentials
Easy Picture Hanging with Precision : Hang your saw-tooth or wire picture frames effortlessly without the hassle of…
As an affiliate, we earn on qualifying purchases.
As an affiliate, we earn on qualifying purchases.
Choosing the Right Art and Frame Styles
How do you select the perfect art and frame styles to complement your space? Start by considering your room’s overall vibe and color palette. Your art selection should reflect your personality and match the room’s purpose. Think about the frame styles that enhance your artwork without overpowering it; sleek metal frames work well for modern spaces, while ornate wood frames suit traditional decor. Balance size and scale, choosing artwork that fits the wall and draws attention. Don’t forget, the right frame can elevate a piece and tie your display together. Keep your aesthetic in mind, and don’t be afraid to mix styles for an eclectic look. Incorporating antique pieces can add character and charm to your gallery display, creating a unique and inviting atmosphere. Thoughtful choices in art selection and frame styles will create a cohesive, stylish display.
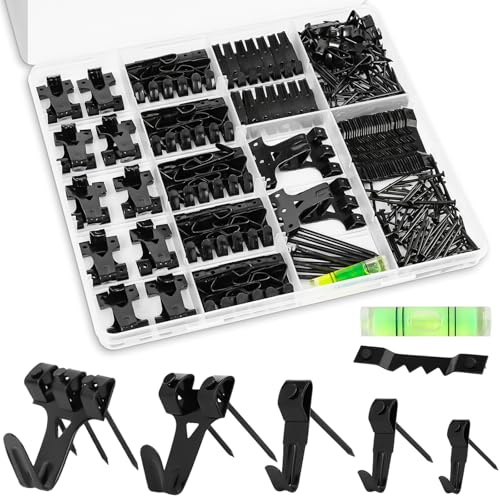
KURUI Picture Hangers, 385Pcs Picture Hanging Kit with Heavy Duty Picture Hanging Hooks, Sawtooth, Hardware Nails and Picture Hanging Tool, Wall Hangers for Frame, Painting, Art, Photo (Black)
EFFORTLESS ORGANIZATION: Our 385pcs Heavy Duty Picture Hanging Kit boasts an exceptional design with categorized compartments, saving you…
As an affiliate, we earn on qualifying purchases.
As an affiliate, we earn on qualifying purchases.
Planning Your Gallery Layout
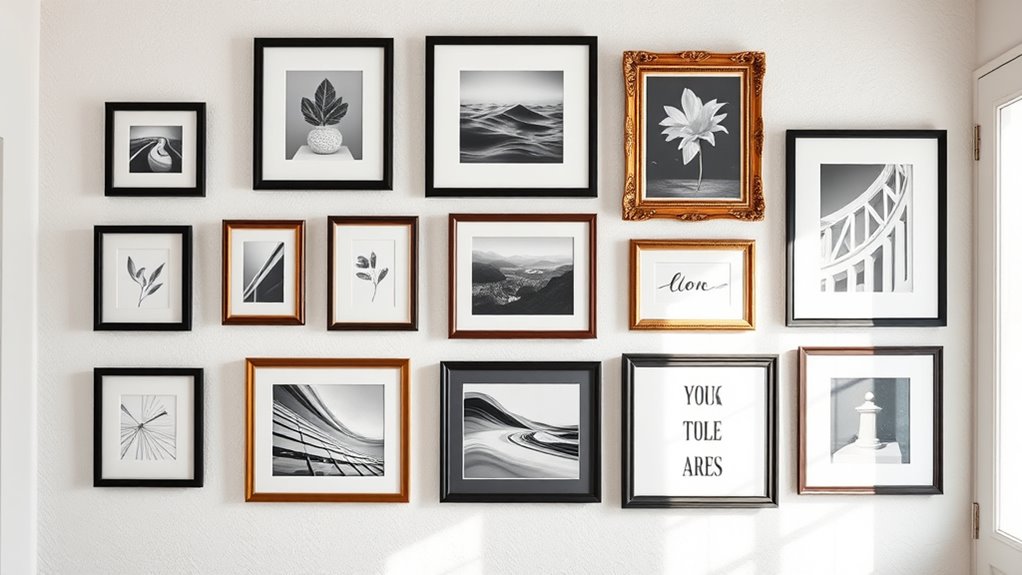
Before hanging your artwork, it’s essential to plan your gallery layout to create a balanced and visually appealing display. Start by considering your artwork themes and how they relate to each other—group similar styles or colors for cohesion. Think about gallery lighting, ensuring each piece receives adequate illumination without glare or shadows. Arrange your artworks at varying heights to add visual interest, but keep a sense of harmony throughout the space. Visualize how pieces will flow from one to the next, avoiding clutter or overcrowding. Use a mix of large and small works strategically to anchor focal points. Planning your layout in advance helps you achieve a professional, gallery-like environment that highlights your art’s beauty and themes effectively. Additionally, understanding art hanging techniques can further enhance the overall presentation.

Adjustable Picture Hanging Wire, Upgrade Mirror Frame Hanging Kit, 6.6FT Heavy Duty Stainless Steel Wire Rope, Supports Up to 100lbs (Silver, 2PC-6.6FT)
【𝐇𝐞𝐚𝐯𝐲 𝐃𝐮𝐭𝐲 𝐌𝐞𝐭𝐚𝐥 𝐇𝐚𝐧𝐠𝐢𝐧𝐠 𝐖𝐢𝐫𝐞 𝐑𝐨𝐩𝐞 】Package included 2pcs high quality stainless steel picture hanging wire ropes with…
As an affiliate, we earn on qualifying purchases.
As an affiliate, we earn on qualifying purchases.
Measuring and Marking Wall Spots
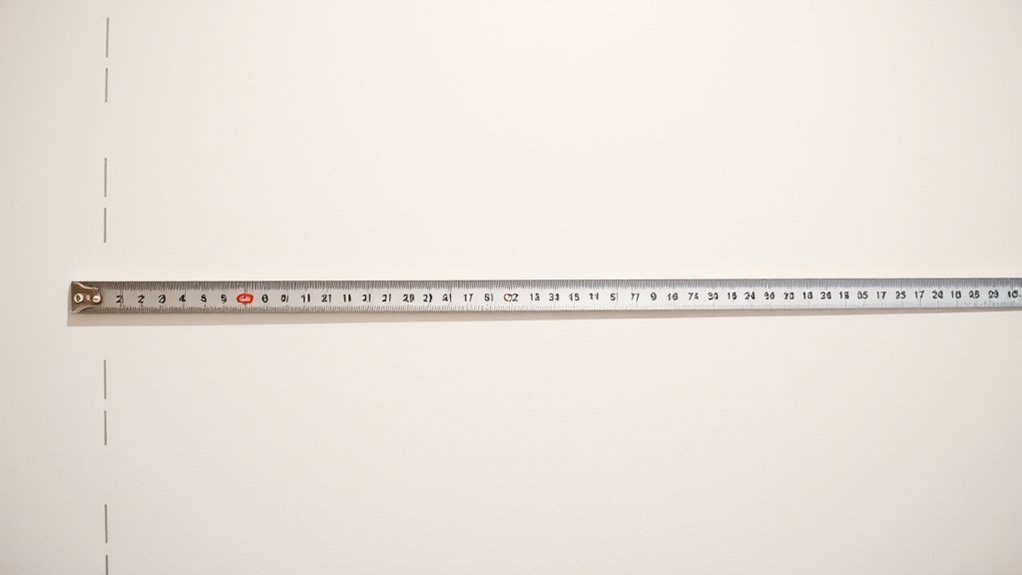
Start by grabbing a measuring tape to determine the right spots for your art. Use a pencil to mark each location clearly, so you don’t forget your measurements. Finally, double-check that your marks are level before hanging to guarantee everything looks perfect.
Use a Measuring Tape
Using a measuring tape is essential for accurately determining where your art should hang. To guarantee measuring tape accuracy, follow precise wall marking techniques that align with your desired layout. First, measure the height from the floor to the midpoint of your art piece. Second, determine the spacing between multiple artworks if hanging in a gallery style. Third, use the tape to mark the exact spots where hooks or nails will go. Fourth, double-check your measurements to avoid mistakes. These steps help you avoid uneven spacing or misaligned art. Always work carefully, keeping the tape straight and tight. Accurate measurements prevent unnecessary holes and ensure your art is displayed perfectly, mimicking professional gallery standards. Proper use of a measuring tape makes all the difference in creating a polished display. Additionally, understanding measurement techniques can further improve your wall arrangement skills.
Mark With a Pencil
To guarantee your art hangs exactly where you want it, mark the wall with a pencil at the spots you’ve measured. Use light pencil shading to make your marks easily visible yet simple to erase if needed. Sketching tips come in handy here—hold your pencil lightly to create faint lines that won’t damage the wall or interfere with future adjustments. Mark each measurement carefully, ensuring the spots align with your hanging hardware or wire. Double-check your marks before proceeding to the next step. Remember, these pencil marks are your guide, so keep them subtle but visible. Accurate marking now prevents misaligned art later, making the hanging process smoother and more precise. Trust your measurements and pencil shading to create a clear, usable plan for hanging your artwork perfectly. Being aware of local laws and regulations can also help ensure your display complies with any building or community guidelines.
Ensure Level Placement
Ensuring your artwork is level is essential for a polished display, and measuring accurately plays a key role in this. Proper art placement depends on consistent wall measurements and precise markings. To achieve this, follow these steps:
- Use a level to draw a straight horizontal line at the desired height.
- Measure the center point of your art and mark it on the wall.
- Determine the appropriate hanging height, considering eye level and wall space.
- Mark the spots for hooks or wires, ensuring they align with your initial level line.
These steps promote wall consistency and prevent crooked art. Taking your time with accurate measurement and marking guarantees a clean, professional look for your gallery wall.

Vowcarol Small Art Drying Rack, Art Storage Rack, 5 Layers Paint Display Rack Wood Storage Stand for Canvas Boards, Bamboo Display Rack for Painting Canvas, Paint Art Organizer-2 Pack
【High-quality Material】: Made of natural and environmentally friendly bamboo. The wood texture is beautiful and elegant. It is…
As an affiliate, we earn on qualifying purchases.
As an affiliate, we earn on qualifying purchases.
Hanging Techniques for Different Wall Types
Choosing the right nails and hooks depends on your wall type, so you get secure support without damage. Make sure to match surface materials with compatible hardware, whether it’s drywall, plaster, or brick. Knowing these surface compatibility tips helps you hang your art safely and confidently. For added assurance, consider appropriate hanging techniques that suit your specific wall surface.
Nail and Hook Options
Different wall types require different nail and hook options to hang artwork securely. Choosing the right nail types and hook styles guarantees your art stays in place without damage. For drywall, use picture hooks or nails with a sturdy grip. Masonry walls need specialized anchors or masonry nails. For plaster walls, opt for lightweight hooks or nails to prevent cracking. Metal hooks are ideal for hanging heavier pieces, while adhesive hooks work well for lightweight art on smooth surfaces. Additionally, understanding contrast ratio can help you select appropriate lighting and display conditions for your artwork.
Surface Compatibility Tips
To hang artwork securely, it’s important to match your hanging techniques to your wall type. Different wall textures and artwork weight require specific methods. For example, drywall supports standard nails for lightweight pieces, while textured walls may need adhesive hooks or drywall anchors. Heavy artwork demands heavy-duty hooks or anchors to prevent damage or falls. Additionally, considering space optimization can help in arranging artworks to create a balanced and cohesive display.
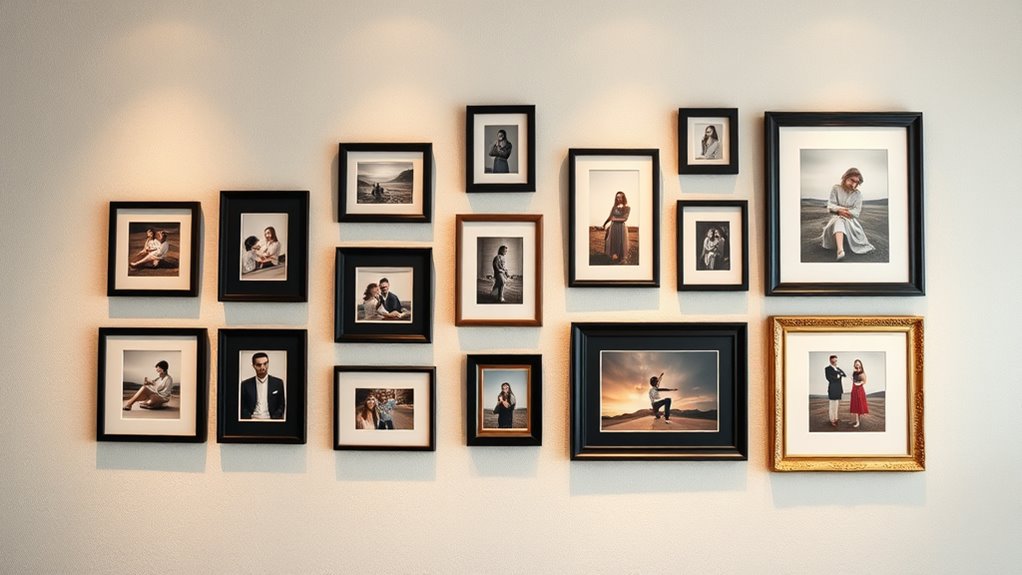
Arranging Art at the Optimal Height
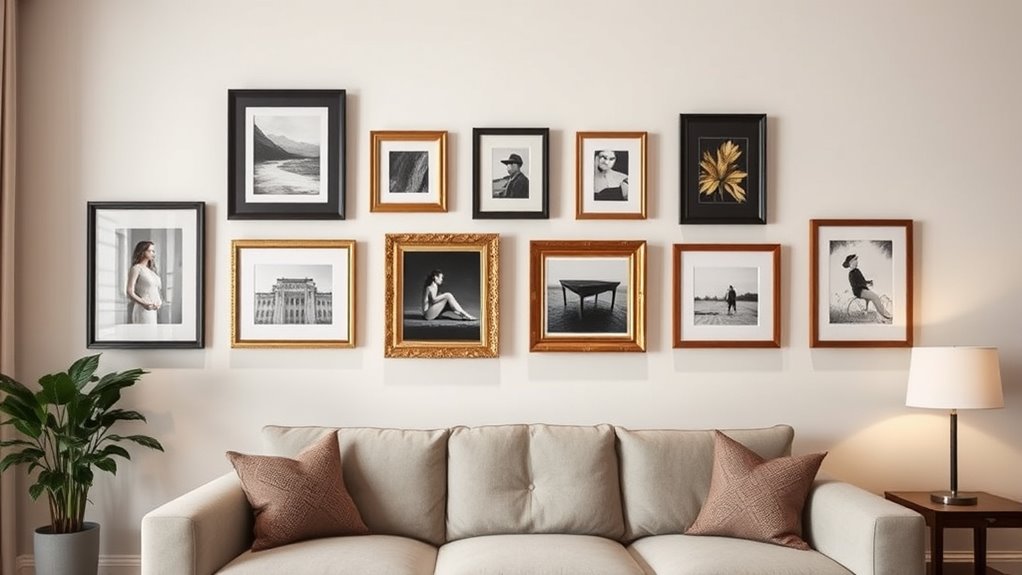
Have you ever hung a picture only to find it feels awkward or out of place? Achieving the perfect arrangement depends on understanding art height standards and eye level placement. To help you get it right:
- Measure your eye level—usually about 57-60 inches from the floor.
- Use this as your baseline for the center of each piece.
- For multiple artworks, align their centers at this height to create harmony.
- Adjust for furniture: if hung above a sofa or console, lower the art slightly so it feels balanced.
- Remember that art hanging standards can vary based on personal preference or specific room design.
Creating Balance and Visual Flow
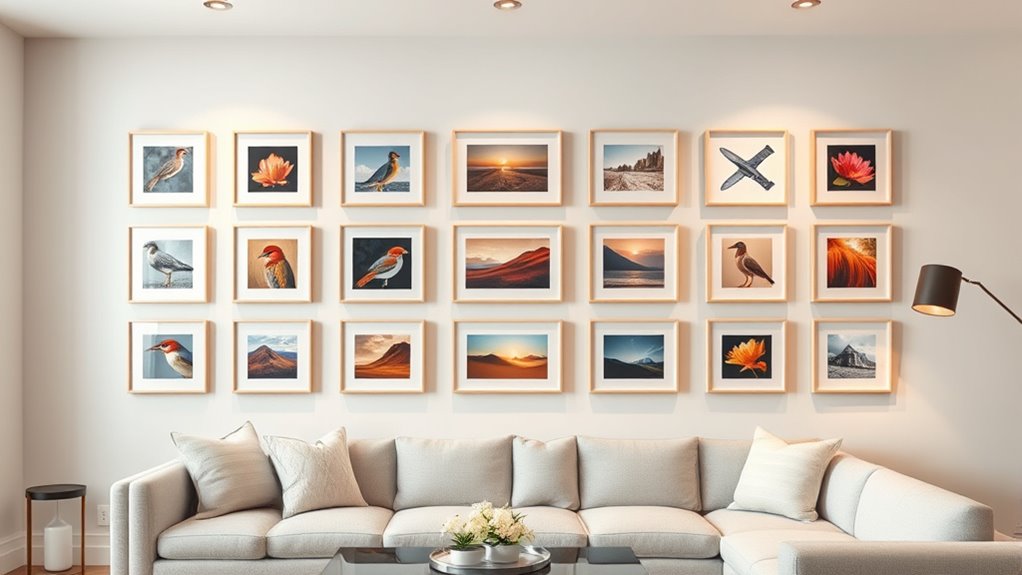
Achieving balance and visual flow in your art arrangement guarantees your space feels harmonious and inviting. Start by considering color harmony; choose artworks with complementary or cohesive colors to create a seamless feeling. Distribute focal points evenly across your wall, ensuring no single piece dominates unless intentionally highlighted. Group similar pieces to guide the eye smoothly from one area to another, maintaining a natural rhythm. Vary sizes and frame styles to add interest and prevent visual clutter. Trust your intuition—step back frequently to assess how your pieces interact, adjusting as needed to maintain a balanced flow. Incorporating interior design basics such as effective preparation and understanding space functionality can further enhance your arrangement. Remember, a well-curated arrangement encourages viewers to move naturally through your space, making your art feel integrated and thoughtfully curated.
Using Tools and Hardware for Secure Hanging
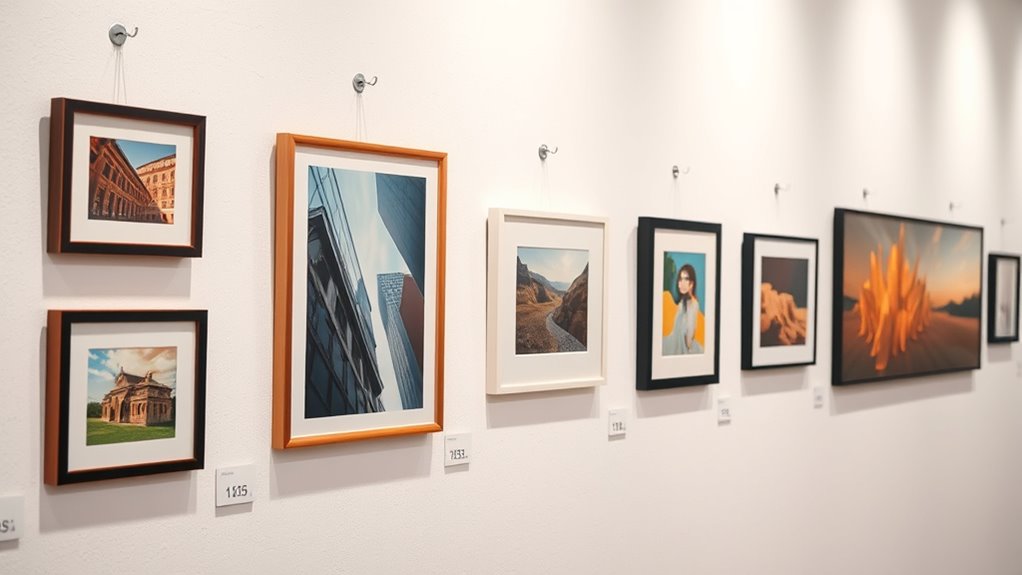
Using the right tools and hardware is essential to guarantee your artwork stays securely in place. Proper selection guarantees stability and safety. First, choose the correct drill bit based on your wall type: masonry, drywall, or plaster. Second, pick the right wall anchor type: toggle bolts, plastic anchors, or molly bolts, depending on weight and wall material. Third, use sturdy hooks or picture hangers rated for your artwork’s weight. Fourth, always double-check measurements before drilling to avoid misalignment. By selecting appropriate drill bits and wall anchors, you prevent damage and ensure your art stays secure. Additionally, using automotive screwdrivers can be helpful for precise adjustments or repairs around your hanging hardware. Remember, investing in quality hardware makes all the difference for a professional-looking display that endures over time.
Mixing Art Sizes and Styles for an Eclectic Look
Mixing art sizes and styles creates a dynamic and personalized display that reflects your unique taste. Don’t be afraid to combine different-sized pieces—large, bold works alongside smaller, intricate ones—to add visual interest. Incorporate diverse art styles, such as abstract, vintage, and modern, to create a layered, eclectic look. Using mixed frame materials, like wood, metal, and acrylic, enhances this diversity and adds texture. Arrange your pieces thoughtfully, balancing larger pieces with smaller accents to avoid clutter. Play with different orientations and spacing to keep the display lively and engaging. The key is to blend these elements seamlessly, creating a curated yet spontaneous gallery that showcases your personality and style.
Frequently Asked Questions
How Can I Prevent Artwork From Slipping or Falling Over Time?
To prevent your artwork from slipping or falling over time, make certain you use proper framing techniques that secure the piece firmly. Adjust gallery lighting to avoid heat or moisture damage that can loosen adhesives or frames. Use quality hangers and anchors suited for your wall type, and regularly check the stability of your displays. This way, your art stays securely in place, maintaining its appearance and safety for years to come.
What Are Eco-Friendly Options for Hanging Art Securely?
Think of eco-friendly art hanging options as a gentle hug for the planet. You can choose reusable hooks made from stainless steel or bamboo, which are durable and eco-conscious. Recycled materials like repurposed wood or metal hooks reduce waste and provide secure support. These options not only keep your artwork safe but also help you make sustainable choices, turning your display into a statement of care for the environment.
How Do I Hang Artwork in a Rental Property Without Damage?
You can hang artwork in a rental without damage by using wall-mounted shelves or adhesive hooks. Wall-mounted shelves provide a sturdy display option without nails, while adhesive hooks are perfect for lightweight pieces and won’t leave marks when removed. Make sure to follow the weight limits and instructions for each. This way, you protect your walls and keep your landlord happy, all while showcasing your favorite art.
What Are Tips for Displaying Artwork in High-Moisture Areas?
When displaying artwork in high-moisture areas, you want to prioritize humidity control and moisture-resistant framing. Use dehumidifiers or fans to keep humidity levels stable. Select frames made from waterproof or moisture-resistant materials to prevent warping or damage. Avoid placing art near direct water sources, and consider using protective glass or acrylic to shield your pieces. These steps help preserve your art’s beauty and integrity despite the humid environment.
How Can I Best Protect Artwork From Sunlight and Fading?
To protect your artwork from sunlight and fading, you should use UV protection glass glazing to block harmful rays. Keep artwork out of direct sunlight, and consider installing UV-filtering films on windows. Regularly rotate pieces to minimize exposure, and hang them away from heat sources. These steps help preserve colors and details, ensuring your art stays vibrant for years to come.
Conclusion
Did you know that art hung at eye level tends to engage viewers more effectively? By following these tips, you’ll create a gallery wall that’s both stylish and secure. Remember, a well-planned display can boost your space’s vibe and make your favorite pieces stand out. So, take your time, measure carefully, and enjoy the process of transforming your walls into a stunning art gallery. Your perfect display is just a few steps away!