
Even when your tile is perfectly installed, factors like lighting, shadows, and material variations can make it appear uneven or off. Bright or directional lighting emphasizes grout lines and edges, while natural aging or surface prep issues may cause subtle misalignments. Finishes and wear over time alter how the surface reflects light, affecting uniformity. Understanding these elements helps you recognize what influences your tile’s appearance—and there’s more to uncover if you keep exploring.
Key Takeaways
- Variations in tile thickness or grout application can create uneven surfaces despite precise installation.
- Lighting, shadows, and reflections influence how tile color and surface flatness are perceived.
- Material properties like aging, wear, and environmental effects alter the tile’s appearance over time.
- Inconsistent grout color or uneven line thickness can disrupt visual harmony even with proper technique.
- Surface preparation and surface leveling are critical; inadequate prep causes subtle imperfections that appear “off.”
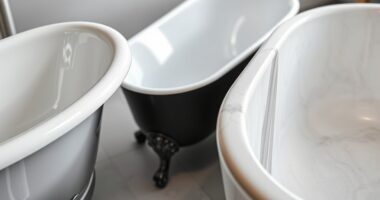
Top picks for "tile look even"
Open Amazon search results for this keyword.
As an affiliate, we earn on qualifying purchases.
Why Does My Tile Look Off or Uneven?
Even if your tile was installed perfectly, it might still look off or uneven due to several factors. One common issue is variations in tile thickness, which can create uneven surfaces even with precise installation. If tiles are of inconsistent thickness, some may sit higher or lower, disrupting the smooth appearance. Additionally, grout consistency plays a significant role. If the grout is too thick or too thin, it can cause uneven joints and gaps, making the surface look misaligned. Properly measuring and applying grout guarantees a uniform finish. Also, keep in mind that slight differences in tile thickness or grout application can be subtle but noticeable, especially under certain lighting. Awareness of vendor quality standards can help in selecting tiles with more consistent dimensions, reducing these issues. Furthermore, understanding manufacturing tolerances can assist in choosing tiles less prone to irregularities. Being aware of installation techniques can also ensure a more even and polished look. Paying attention to material properties such as expansion and contraction can prevent future unevenness. Additionally, considering environmental conditions during installation can help maintain a consistent appearance over time. Addressing these factors can help your tiles look more even and polished.
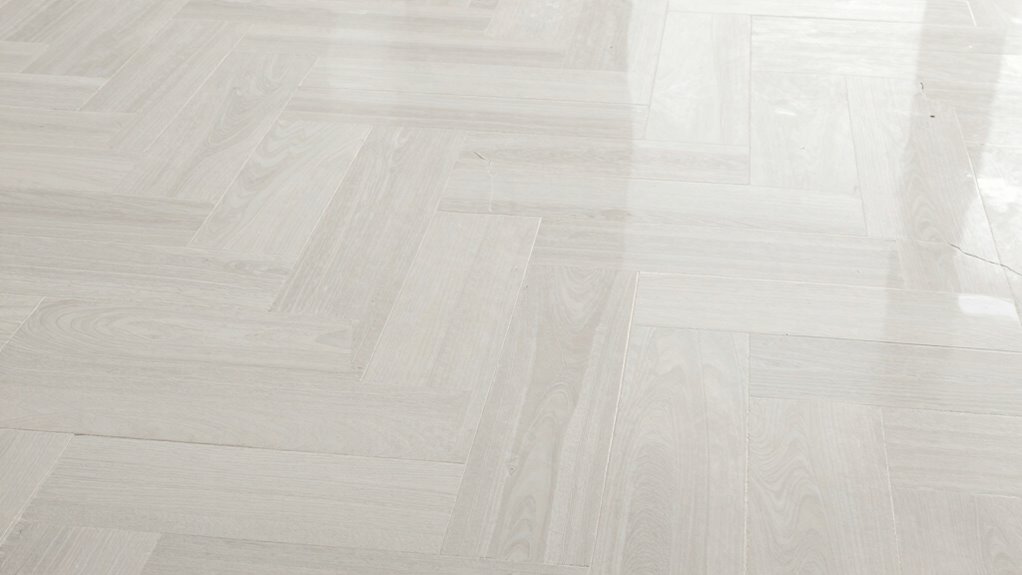
How Lighting and Shadows Change the Way Tile Looks
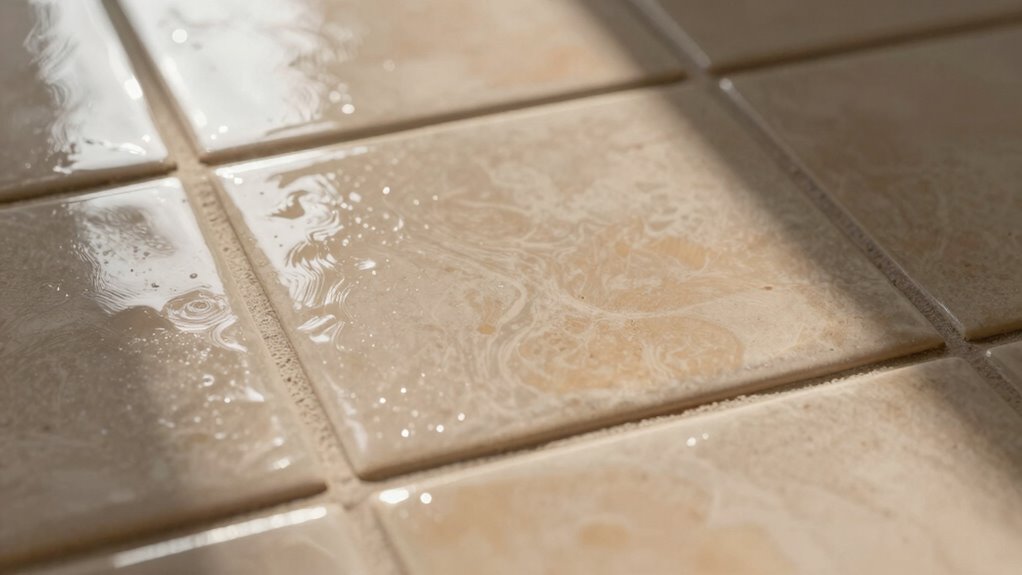
Lighting and shadows can profoundly alter how your tile appears, even if the installation is flawless. The way light interacts with your tile affects its perceived color contrast and highlights texture variation. For example:
Lighting and shadows can dramatically change your tile’s appearance, even with perfect installation.
- Bright lighting can intensify color contrast, making grout lines and tile edges stand out more.
- Shadows cast by uneven lighting can distort the perception of flatness, emphasizing texture variation.
- Soft, diffuse light minimizes shadows, creating a more uniform appearance.
- Directional lighting can emphasize or hide imperfections, changing how surface details are perceived.
- Understanding lighting effects can help you anticipate how your tile will look under different conditions and adjust your lighting setup accordingly. Recognizing how lighting conditions influence appearance can help you make informed decisions about your space.
- Proper lighting design can enhance the overall aesthetic and ensure your tile looks its best in every setting.
- Being aware of lighting influences allows you to optimize your space for the best visual impact, regardless of the installation quality. Additionally, different lighting setups can be used strategically to showcase the texture and color variations of your tile in a way that complements your design vision. Understanding these effects helps you recognize that lighting conditions considerably influence your tile’s look, which might seem “off” despite perfect installation. Adjusting your lighting setup can make your tile appear just as intended.
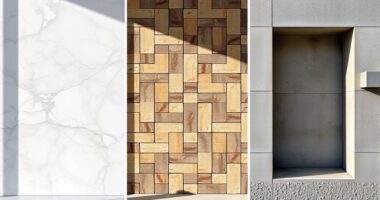
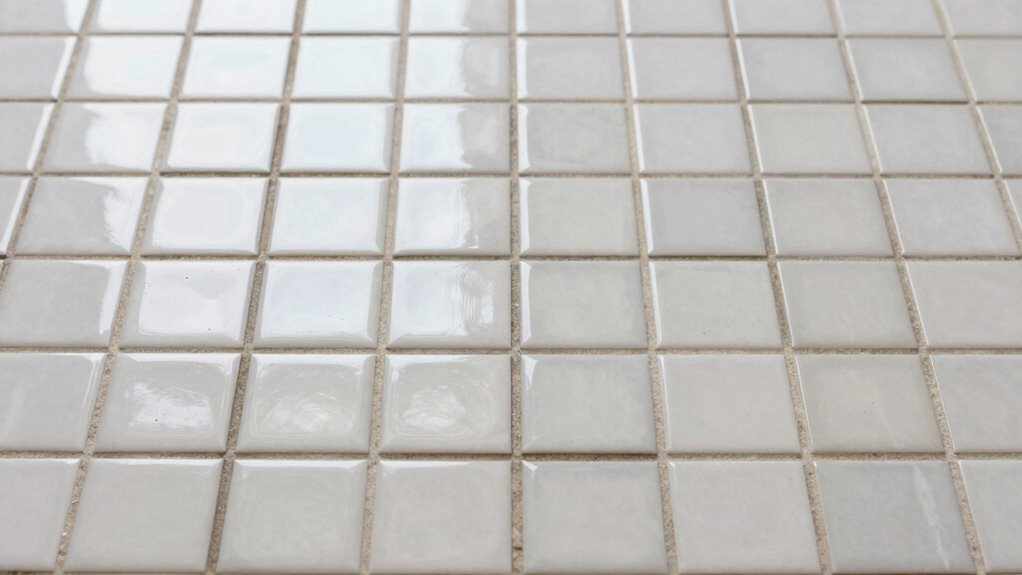
How Tile Material and Finish Impact Its Appearance
The material and finish of your tile play a significant role in how it looks once installed. Different materials, like ceramic, porcelain, or natural stone, affect tile durability and how easily you’ll need to perform tile maintenance. Finishes also influence appearance; matte finishes hide fingerprints but may trap dirt, while glossy finishes reflect more light, making colors pop. For example:
| Material | Finish | Impact on Appearance |
|---|---|---|
| Ceramic | Matte | Softer look, conceals imperfections |
| Porcelain | Glossy | Brightens space, enhances colors |
| Natural Stone | Honed or Polished | Adds texture or shine |
Choosing the right combination guarantees your tile maintains its aesthetic and longevity. Additionally, proper sealing techniques can help preserve the appearance and prevent staining over time. Being aware of how different tile materials and finishes respond to environmental factors can also help you make informed choices for your space, especially when considering material-specific care to maintain their look. Understanding material durability is essential for selecting tiles suited to high-traffic or moisture-prone areas. For instance, selecting resistant finishes for humid environments can extend the lifespan of your tile installation.
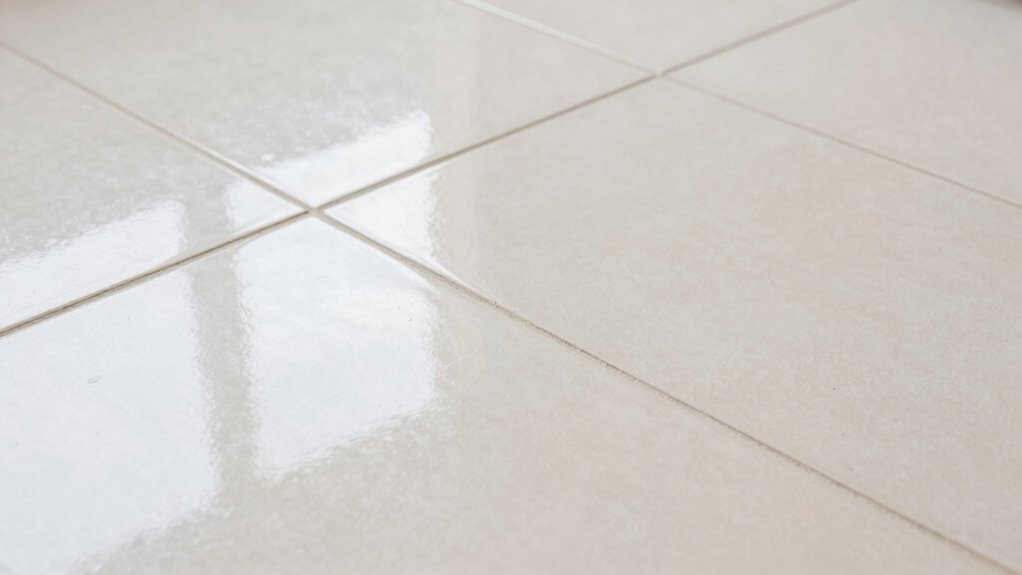
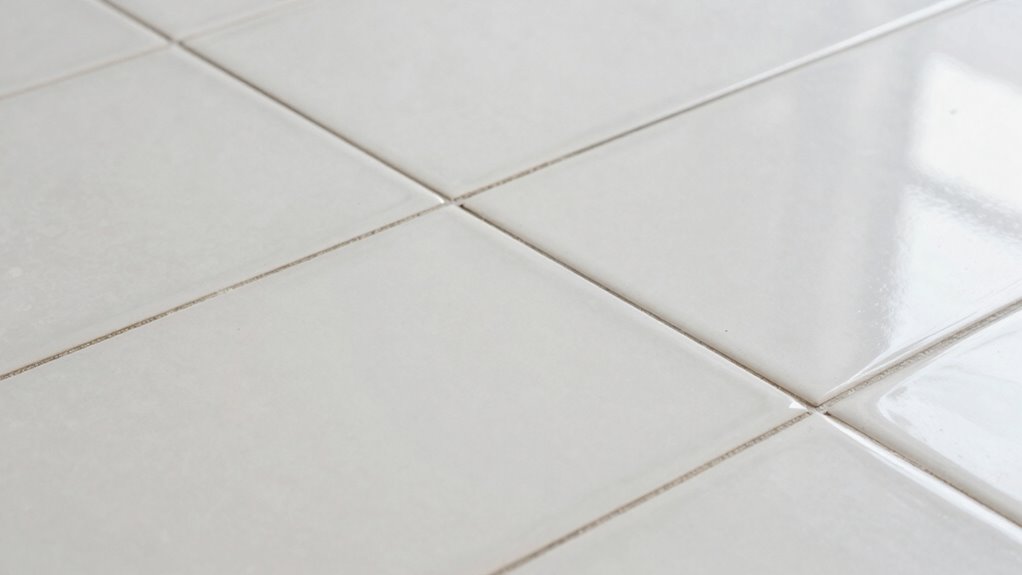
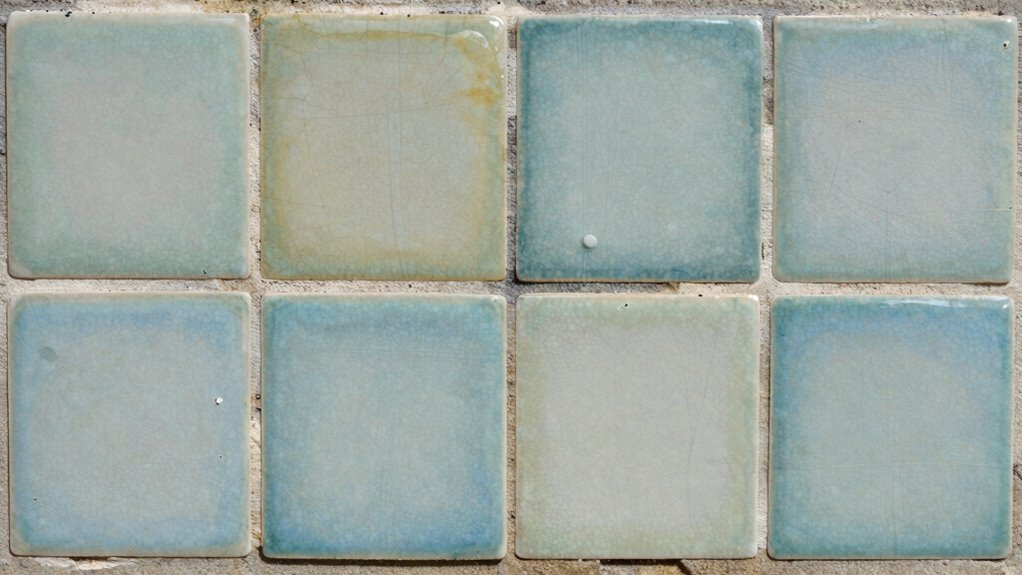
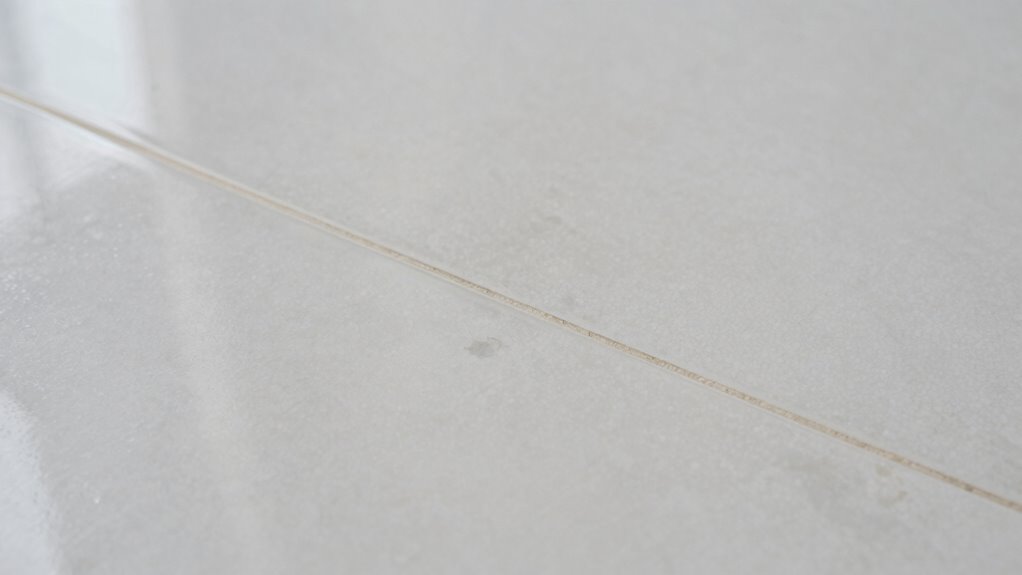
Why Grout Color and Line Thickness Matter for a Seamless Look
Choosing the right grout color and line thickness can make or break the seamless appearance of your tile. Consistent grout shades and proper line widths help create a clean, uniform look, while variations can draw unwanted attention. Paying attention to these details guarantees your installation looks smooth and professional.
Consistent Grout Color Choices
Maintaining consistent grout color is essential for achieving a seamless tile installation because it helps the joints blend smoothly with the tiles. Variations in grout consistency can lead to uneven color absorption, disrupting color uniformity across the surface. To guarantee a cohesive look, consider these factors:
- Use the same batch of grout for the entire project to prevent color discrepancies.
- Mix grout thoroughly to maintain consistent texture and color.
- Test small sections before full application to check for uniformity.
- Clean excess grout promptly to avoid staining and uneven coloration.
Proper Line Width Techniques
Achieving a seamless tile look heavily relies on proper line width techniques, as consistent grout line thickness creates visual harmony across the surface. When your grout lines are uniform, the tiles appear more cohesive, enhancing the overall aesthetic. To maintain this, focus on precise spacing during installation and avoid over-grouting, which can make lines uneven. Proper grout maintenance involves regular cleaning to prevent grime buildup that can distort line appearance. Using the right tools for tile cleaning ensures you don’t damage the grout or tiles, keeping lines sharp and uniform. Remember, inconsistent line widths draw attention and break the flow, so careful attention during installation and upkeep is key to achieving a flawless, seamless look. Additionally, understanding grout flow techniques can help ensure even distribution and thickness, contributing to a more professional finish.
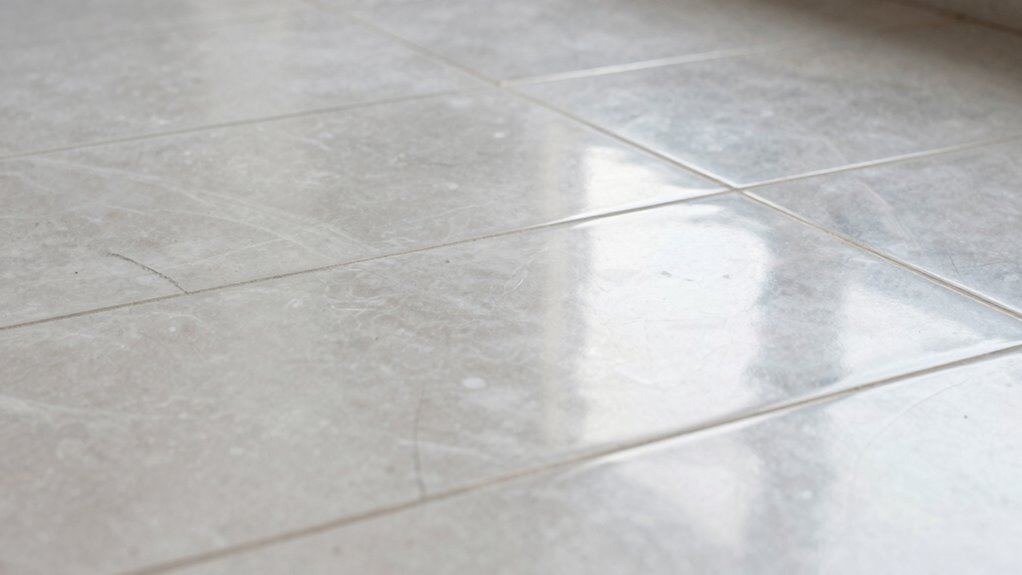
Impact of Grout Shade Variations
Even when tiles are perfectly installed, variations in grout shade and line thickness can disrupt the seamless appearance you’re aiming for. Inconsistent grout color breaks the visual flow, making joints stand out rather than blend. Additionally, uneven line thickness affects the perception of uniformity and craftsmanship. To maintain a cohesive look, consider these factors:
- Ensure color consistency by selecting high-quality grout and verifying batch uniformity.
- Match grout shade to the tile material texture for a harmonious finish.
- Use precise tools to achieve consistent line widths across all joints, which also helps prevent installation errors that can lead to uneven grout lines.
- Regularly inspect for subtle color or thickness discrepancies that can affect overall harmony.
- Paying close attention to installation techniques can help prevent uneven grout lines and ensure a smooth, uniform appearance. Incorporating quality craftsmanship into your process can also significantly enhance the final aesthetic and durability of your tile work. Furthermore, understanding the importance of material texture can help you select the appropriate grout shade for a more seamless look. Being aware of market trends in tile design can also inform your choices to better match current styles and expectations.
Addressing these details helps preserve the intended seamless aesthetic and underscores your attention to material texture and finish quality.
How Subfloor and Surface Prep Affect Tile’s Final Look
The quality of your tile’s final appearance heavily depends on how well the subfloor and surface are prepared beforehand. If the subfloor isn’t stable, tiles can shift or crack over time, ruining the look. Ensuring subfloor stability means checking for weak spots, removing debris, and reinforcing loose sections. Surface leveling is equally critical; an uneven surface creates lippage, making tiles appear mismatched or crooked. Use proper leveling compounds and tools to create a smooth, even base. Skipping these steps can lead to uneven grout lines and distorted patterns, even if your tile installation is technically perfect. Taking the time to properly prepare the subfloor and surface sets the foundation for a flawless, professional-looking finish that lasts. Additionally, understanding surface prep techniques can help prevent issues caused by improper installation and ensure a long-lasting, attractive result. Proper surface preparation also involves verifying adhesion properties, which are vital for durable tile bonding and preventing future issues.
How Tile Pattern and Layout Influence Visual Perfection
Your choice of tile pattern and layout plays a crucial role in how your finished space looks. The right pattern can create a sense of order and visual harmony, while the wrong one may cause dissonance. Consider these key factors:
- Pattern complexity – Simple patterns like straight lay enhance clarity, while intricate designs add character but can disrupt harmony.
- Tile size and shape – Uniform sizes promote seamless flow, whereas contrasting shapes may create visual tension.
- Alignment and grout lines – Precise alignment boosts symmetry, making the layout appear cohesive.
- Focal points – Strategic placement of accent tiles draws attention and balances the overall aesthetic.
Choosing the appropriate tile pattern and layout ensures your space feels harmonious, preventing the “off” appearance even when the installation is perfect.
What Aging and Wear Do to Your Tile’s Appearance Over Time
Over time, the appearance of your tile can change markedly due to aging and wear, even if the initial pattern and layout were flawless. Historic wear, caused by foot traffic and daily use, gradually dulls the surface’s original shine and vibrancy. Surface aging leads to small chips, scratches, and staining, which can make tiles look mismatched or less uniform. Additionally, the natural oxidation process can alter the color and texture of some tile materials, contributing to a less consistent appearance. This process is often accelerated by environmental factors such as humidity and temperature fluctuations, which can cause further material degradation. Grout lines may darken or crack, further affecting the overall appearance. These changes are natural and unavoidable but can be mistaken for installation flaws. Recognizing that surface aging and historic wear alter your tile’s look helps set realistic expectations. Regular cleaning and maintenance can slow some of these effects, but over time, your tile’s character evolves, reflecting its history and use. Understanding the natural progression of surface aging helps you appreciate the unique character that develops over time.
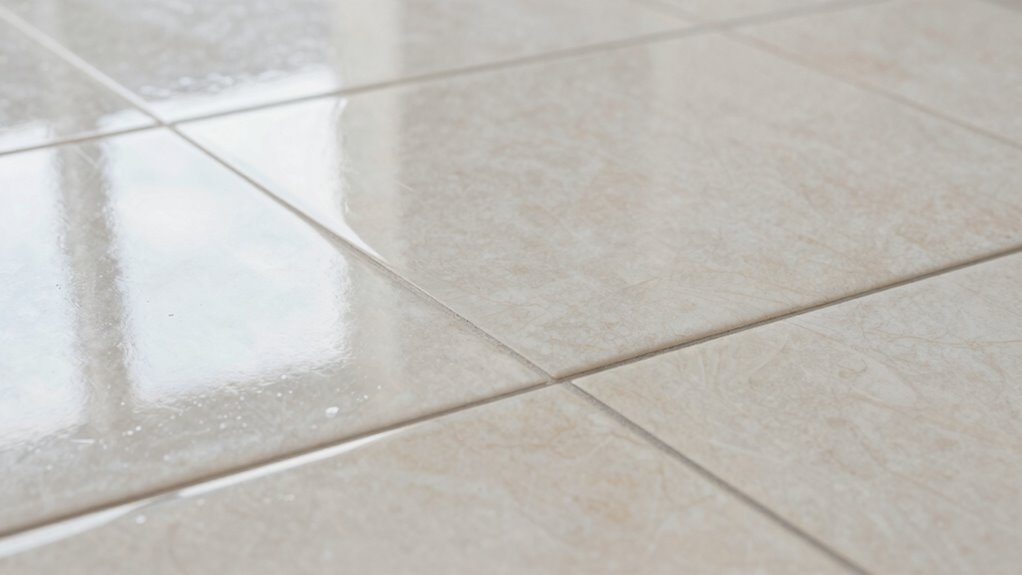
Why Lighting Conditions Can Make Tile Look Different
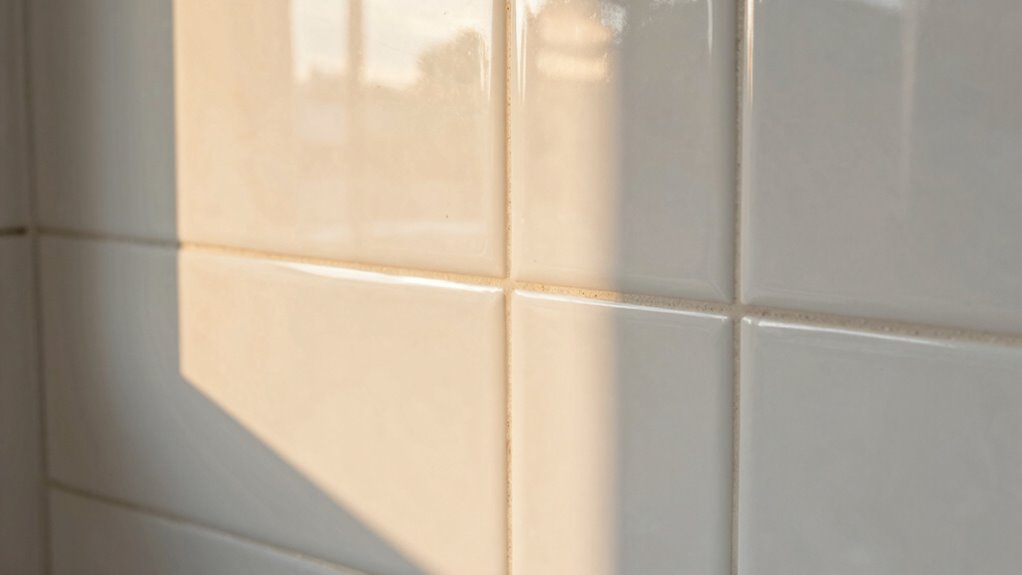
Lighting conditions can considerably influence how your tile appears, even if it’s perfectly installed. Natural light from windows can highlight color variations and textures, making tiles look different at various times of day. Conversely, artificial lighting—such as incandescent or LED bulbs—can cast warm or cool tones that alter your tile’s true color. To understand these effects:
- Natural light enhances true color and texture, but varies throughout the day.
- Artificial lighting can add warmth or coolness, changing perception.
- Shadows cast by furniture or fixtures may emphasize or hide surface details.
- The intensity and angle of light can make grout lines more or less prominent.
Being aware of these factors helps you appreciate your tile’s appearance under different lighting conditions.
How to Spot Subtle Tile Installation Issues
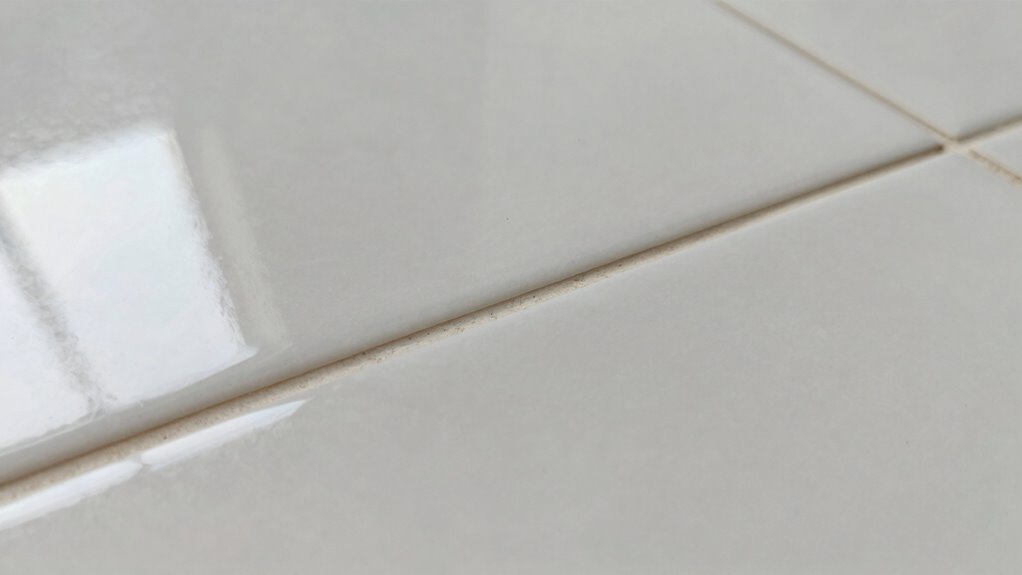
Even skilled installers can leave behind subtle issues that aren’t immediately noticeable but can affect the longevity and appearance of your tile. Look closely for uneven grout lines or inconsistent tile spacing, which can cause visual imbalance over time. Check if the grout has been properly sealed; gaps or cracks in the tile sealing may lead to water damage or mold growth. Pay attention to areas where grout appears discolored or stained, indicating poor grout cleaning or incomplete sealing. Slight lippage, where tiles aren’t perfectly level, can also be a sign of installation issues. These small details can influence how your tile looks and performs long-term. Regularly inspecting these elements helps you catch problems early, ensuring your tile remains beautiful and durable.
How to Fix and Improve the Look of Your Tiles
If your tiles look off despite a seemingly proper installation, there are straightforward ways to improve their appearance. First, perform a thorough tile cleaning to eliminate dirt and grout haze that can dull their look. Next, consider adding decorative accents like mosaics or borders to draw attention away from minor imperfections and enhance visual interest. You can also use grout colorants to refresh or change grout lines, making the tiles appear more uniform. Finally, adjusting lighting can make a significant difference; well-placed lighting highlights the tiles’ best features and minimizes flaws. By combining these steps, you’ll elevate your tile’s appearance, making imperfections less noticeable and creating a polished, cohesive look.
Frequently Asked Questions
Can Slight Misalignments Be Hidden After Installation?
Yes, slight misalignments can often be hidden after installation. You might choose a grout color that blends well with your tiles or opt for tile pattern choices that distract from minor imperfections. Additionally, professional grouting can fill small gaps and create a seamless look, helping to conceal misalignments. These techniques can make your tile installation appear more uniform and polished, even if there are tiny inconsistencies.
How Does Humidity Affect Tile Appearance Long-Term?
Humidity effects can cause long-term tile issues by expanding or contracting the materials, leading to cracks or uneven grout lines. If you live in a humid environment, you might notice tiles gradually shifting or discoloring over time. To prevent this, make certain proper ventilation and use suitable sealants. Regular maintenance helps keep your long-term tile appearance consistent, avoiding the adverse effects humidity can have on your flooring.
Are There Specific Tile Styles That Hide Imperfections Better?
If you want tiles that hide imperfections, choose mosaic patterns or textured surfaces. Imagine a mosaic’s intricate design or a textured surface’s subtle variations—these distract the eye from flaws, making imperfections less noticeable. These styles add visual complexity, drawing attention away from uneven lines or slight misalignments. By opting for these tile types, you create a beautiful, forgiving surface that maintains its charm even if some imperfections sneak in.
What Tools Are Best for Checking Tile Levelness?
To verify your tile levelness, you should use levelness tools like a spirit level or a bubble level for quick, manual checks. For more precision, laser guides are excellent—they project straight lines that help you spot uneven tiles easily. Place these tools along the edges and across the surface to identify any deviations. Regularly checking with these tools ensures your tiles stay perfectly level, giving your floor a professional finish.
How Often Should I Reseal or Maintain My Tile for Optimal Look?
Think of your tile like a fine suit—regular maintenance keeps it sharp. You should reseal your tile every 1-2 years to maintain its look and protect against stains. Regular grout cleaning is essential to keep the grout lines fresh and vibrant. By staying consistent with tile sealing and grout cleaning, you’ll preserve the beauty and longevity of your tile, ensuring it always looks polished and new.
Conclusion
Even a perfectly installed tile can seem off if lighting, grout, or surface prep aren’t just right. Think of your tile as a canvas — small imperfections or shadows can turn it into a different picture altogether. Pay attention to these details, and with some tweaks, your tile will shine like a star on a clear night. Remember, sometimes it’s just the way the light dances that makes all the difference.