
To make your remodels feel seamless, focus on choosing the right transition strips that match your flooring material and style. Proper installation is key—you want the strips to sit flush and provide a smooth, even connection between different surfaces. Whether you opt for metal, wood, vinyl, or rubber, paying attention to detail guarantees durability and a polished look. If you keep exploring, you’ll discover tips to perfect your transitions and create a professional finish.
Key Takeaways
- Use matching transition strips that complement the flooring material and design for a cohesive look.
- Ensure precise measurement and proper installation to achieve a flush, gap-free transition.
- Choose the appropriate type of transition strip based on flooring height and material to prevent unevenness.
- Select finishes that blend seamlessly with adjacent floors to enhance visual continuity.
- Properly installed transition strips protect flooring edges and maintain a polished, professional appearance.
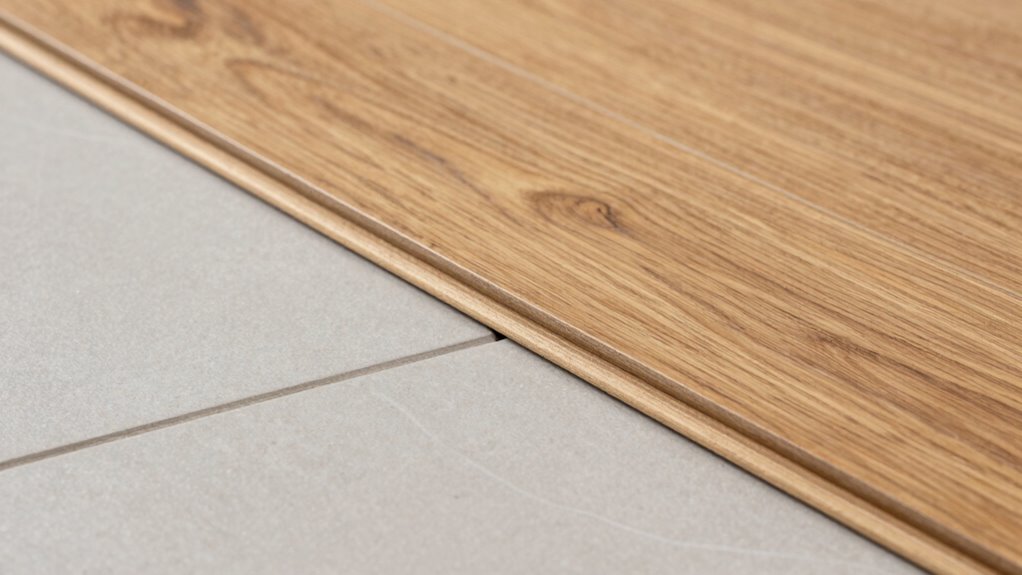
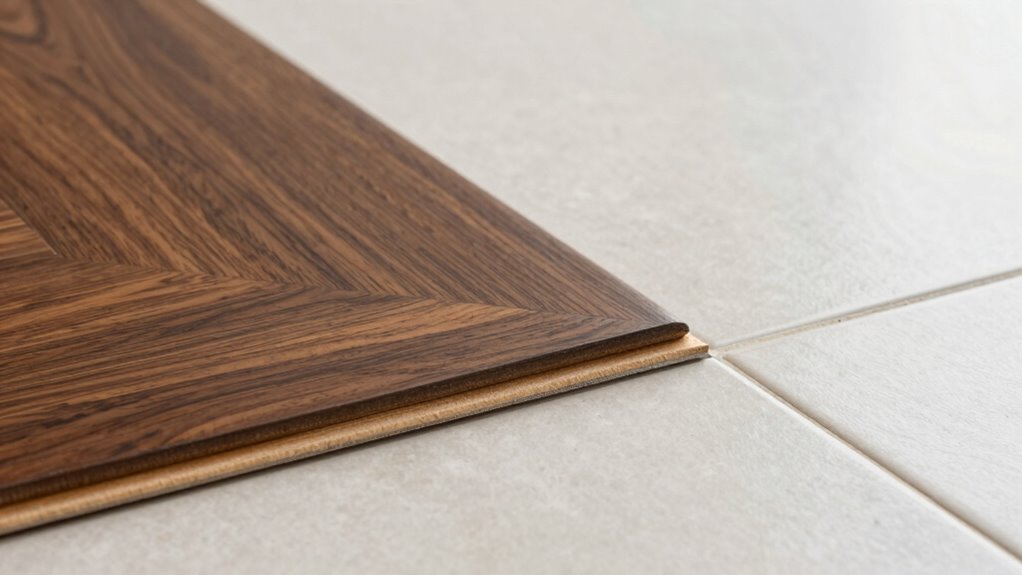
A seamless flooring shift detail guarantees your floors look polished and professional, no matter the materials or spaces involved. When you’re remodeling, the goal is to create a smooth flow that ties different areas together, and the key to that is paying attention to how the flooring materials meet. The right transition strip acts as a bridge between two different flooring types, whether you’re transitioning from hardwood to tile or vinyl to carpet. It’s more than just a functional piece; it’s a finishing touch that can elevate the overall look of your space. Using flooring transition details can make a significant difference in achieving a professional and cohesive appearance. Choosing the appropriate transition strip depends on the flooring material you’re working with. For example, a metal or wood transition strip can work well with hardwood or laminate floors, providing a sleek, modern look. On the other hand, a flexible vinyl or rubber strip might be better suited for areas prone to moisture, like kitchens or bathrooms. The key is to match the transition strip to both the flooring material and the space’s functional needs. When installed correctly, it guarantees that the different floors align perfectly, helping to prevent tripping hazards and areas where dirt or debris might get trapped. Proper installation techniques are essential to ensure the transition remains secure and maintains its appearance over time. Proper installation practices also help to extend the lifespan of the transition strip and protect your flooring investments. Additionally, selecting the right materials for your transition strip can help ensure durability and aesthetic harmony. Installing a transition strip isn’t complicated, but it does require precision. You want the strip to sit flush with both flooring surfaces, with no gaps or unevenness. Measure carefully and choose a strip that fits the width of the gap between your floors. If you’re working with uneven surfaces or different heights, some transition strips are designed to accommodate these differences, making the transition even smoother. The right strip not only provides a visual separation but also acts as a protective barrier, preventing damage to the edges of your flooring material over time. Additionally, selecting the appropriate finish can enhance the overall aesthetic of your remodel. In addition to functionality, a transition strip can add a decorative element to your remodel. Select a finish that complements your flooring material, whether that’s a sleek metallic look, a warm wood tone, or a neutral color that blends seamlessly. When you pay attention to details like the transition strip, you create a cohesive look that makes your entire space feel thoughtfully designed. It’s a small investment that makes a big difference, especially when you want your remodel to feel seamless and integrated. Recognizing the importance of proper installation techniques can help ensure your transition strip performs and looks its best for years to come.

ZEYUE Flexible PVC T-Molding Transition Strips for Hard Wood Floor,Laminate,Tile,LVP. Self-Adhesive Vinyl Flooring Edging Trim 10ft,Wood Grain B
- Length and Width: 10ft long, 5cm wide
- Self-Adhesive Design: Easy to install and seal gaps
- Suitable for Various Floors: Tile, wood, laminate, vinyl, bamboo, LVP
As an affiliate, we earn on qualifying purchases.
As an affiliate, we earn on qualifying purchases.
Frequently Asked Questions
How Do I Choose the Right Transition for Different Flooring Materials?
To choose the right shift for different flooring materials, focus on color coordination and material compatibility. Pick a transition strip that complements the hues of both floors, ensuring a seamless look. Consider the materials’ durability and flexibility—hardwood meets tile, for example—using metal or rubber strips that accommodate expansion and contraction. This approach creates a smooth, cohesive flow, making your remodel feel polished and professional.
Can Transition Details Be Customized to Match My Home’s Style?
Yes, shift details can be customized to match your home’s style by incorporating decorative accents that complement your design. You can choose materials that are compatible with your flooring types, creating a seamless look. Custom options like metal, wood, or rubber trims allow you to enhance the aesthetic while ensuring durability and functionality. Work with a professional to select shift details that reflect your style and blend beautifully with your overall decor.
What Maintenance Is Required for Various Transition Types?
You should regularly clean your transition zones to maintain their appearance and durability. For most types, a simple sweep and damp mop suffice, but avoid excessive water to prevent damage. If you have metal or rubber transitions, check for wear and tear periodically. Proper transition cleaning helps preserve flooring durability, prevents debris buildup, and keeps your remodel looking seamless. Always follow manufacturer recommendations for specific transition cleaning and maintenance needs.
Are There Cost Differences Between Transition Options?
Yes, there are cost differences between changeover options. Your budget considerations play a key role, as more intricate or custom changeovers tend to cost more. Additionally, material compatibility affects expenses—you might need special trims or additional prep work if flooring types aren’t compatible, increasing costs. Choosing a simple, standard changeover usually saves money, while more sophisticated designs can elevate aesthetic appeal but at a higher price.
How Long Does It Take to Install a New Flooring Transition?
Ever wondered how long it takes to install a new flooring changeover? Typically, it takes a few hours, depending on the type of changeover moldings you choose. Using quality flooring adhesives guarantees a secure fit, while precise installation of changeover moldings assures a seamless look. Proper preparation and the right tools can speed up the process, making your remodel quick and efficient without sacrificing quality.
Conclusion
Mastering the flooring shift detail transforms your remodel into a flawless masterpiece, where every step feels like walking on air, utterly seamless and inviting. It’s the secret that turns a good space into an extraordinary one, making your home feel more cohesive and polished than you ever imagined possible. Don’t settle for anything less—embrace this tiny detail, and watch your entire space come alive with perfection. Your dream home is just a changeover away from being breathtakingly complete.