
To install a suction pool cleaner, start by turning off your pool pump and removing the skimmer basket. Attach the cleaner securely to the skimmer or suction port, then connect the hose sections, making sure they lock in place. Attach the hose to the cleaner and connect the other end to the skimmer or suction line. Turn the pump back on and monitor the cleaner’s movement. Following proper steps guarantees efficient operation—continue exploring for detailed tips.
Key Takeaways
- Turn off the pool pump and remove the skimmer basket to access the suction line.
- Attach the cleaner securely to the skimmer or dedicated suction port.
- Connect and fully assemble the hose sections, ensuring secure locking and no leaks.
- Reconnect the hose to the cleaner and the suction line, then turn the pump back on.
- Observe the cleaner’s movement, check for proper operation, and troubleshoot any issues.
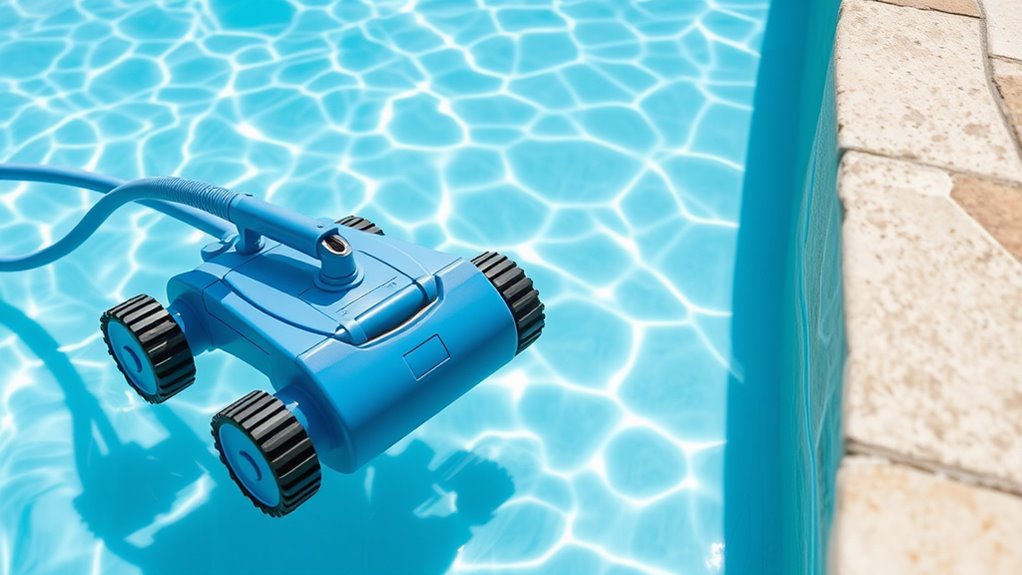
Installing a suction pool cleaner is a straightforward process that can save you time and effort on pool maintenance. Once set up correctly, it will help keep your pool clean by automatically removing debris from the bottom and sides. Before you begin, gather all necessary equipment, including the cleaner, hose, and any adapters. Making sure you have everything ready makes the installation smoother and minimizes interruptions.
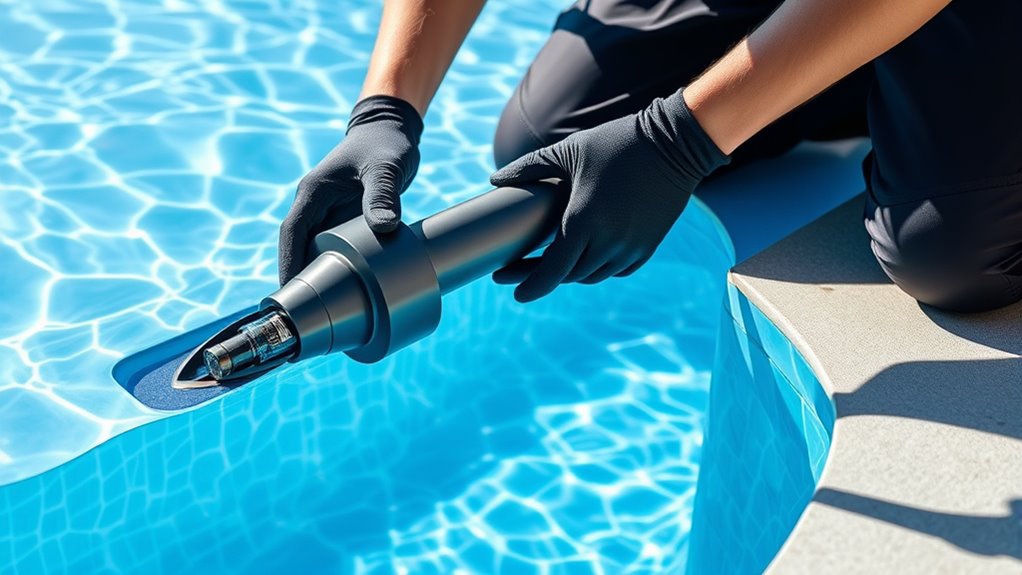
Start by turning off your pool pump to avoid any accidents or equipment damage. Then, locate the skimmer or dedicated suction port where you’ll connect the cleaner. Most suction pool cleaners attach directly to the skimmer basket or a dedicated suction line. If you’re using the skimmer basket, remove it carefully to access the suction port. Next, connect the hose sections together, twisting or locking them according to the manufacturer’s instructions. Make sure the hose is fully assembled without leaks, as leaks can hinder proper suction and cleaning performance.
Turn off your pump, then connect the cleaner to the skimmer or suction port securely.
Attach the hose to the cleaner, ensuring the connection is secure but not overly tight, which could damage the fittings. Then, connect the other end of the hose to the suction port or skimmer line. When attaching the hose, keep it as straight and free of kinks as possible to maintain optimum water flow. Once everything is connected, turn the pool pump back on. Observe the cleaner as it begins to move along the pool surface. If it doesn’t start moving or seems to be stuck, you might need to troubleshoot the equipment.
Troubleshooting is a common part of pool maintenance, especially with suction cleaners. Make sure all connections are tight and free of obstructions. Check the hose for kinks or air leaks, which can cause loss of suction. If the cleaner isn’t moving correctly, try repositioning the hose or adjusting the flow rate through the pump’s valve. Sometimes, air gets trapped in the hose, so you can bleed the air out by submerging the hose in water and removing any air bubbles before reconnecting. Additionally, understanding the role of contrast ratio in pool equipment can help you optimize your system for better performance.
Monitoring the cleaner during its initial operation helps you identify issues early. Regularly inspect the hose, cleaner, and connections to prevent clogs or leaks that can reduce efficiency. It’s also wise to periodically clean the filter or skimmer basket to ensure the system maintains proper suction. With proper installation and routine troubleshooting, your suction pool cleaner will keep your pool in top shape, making pool maintenance easier and more efficient.
Frequently Asked Questions
Can I Use a Suction Pool Cleaner on All Pool Types?
You might wonder if a suction pool cleaner works on all pool types. Generally, they suit most pool surfaces, including concrete, vinyl, and fiberglass, providing effective debris removal. However, some pool surfaces like delicate tiles or textured finishes might require special care. Before using one, check your pool’s surface compatibility to guarantee the best debris removal and prevent damage, ensuring your cleaner works efficiently regardless of your pool type.
How Often Should I Clean or Replace the Cleaner’S Filter?
For ideal filter maintenance, you should clean your pool cleaner’s filter regularly, ideally once a week, to prevent debris buildup. Replacement frequency depends on usage and debris levels, but typically, you should replace the filter every 1 to 2 years. Keep an eye on performance; if the cleaner slows down or struggles, it’s time for a new filter. Proper maintenance ensures your cleaner runs efficiently and lasts longer.
Is It Safe to Leave the Cleaner in the Pool Overnight?
Leaving your pool cleaner in overnight may seem convenient, but it’s not always safe. While it keeps the pool clean, it could cause safety issues or damage equipment if not monitored. For proper pool maintenance, follow safety precautions by removing the cleaner after use, especially if children or pets are around. This prevents accidents and prolongs your cleaner’s lifespan. Always prioritize safety to enjoy a clean, safe swimming environment.
Do Suction Pool Cleaners Work With Automatic Pool Covers?
Automatic covers can sometimes interfere with suction pool cleaners, as they may block the cleaner’s access to the water or disrupt suction compatibility. To guarantee proper cleaning, check if your cleaner is compatible with automatic covers and consider adjusting the cover or cleaner placement. You might need to remove or temporarily disable the cover during cleaning sessions to optimize suction and prevent damage, ensuring your pool stays clean and well-maintained.
What Should I Do if the Cleaner Gets Stuck or Stops Moving?
Think of your pool cleaner as a diligent explorer; when it gets stuck or stops, it’s like hitting a dead end. First, check if the brushes need cleaning or replacement, and inspect the hose for kinks or obstructions. Proper brush maintenance and hose inspection keep it moving smoothly. Gently free it from obstacles, straighten the hose, and restart. Regular upkeep prevents future stalls and guarantees your cleaner keeps exploring your pool effortlessly.
Conclusion
So, after all that effort, you’ve got your suction pool cleaner up and running. Who knew that something so simple could feel like a small victory? Now, you can sit back and enjoy your sparkling pool, all thanks to your newfound DIY skills. Ironically, what once seemed intimidating is now just another task you’ve conquered. It’s almost funny how a little installation can make you feel like a pool-cleaning pro—until next time, of course.