
If your robotic pool cleaner shows signs like decreased cleaning efficiency, unusual noises, or visible damage to brushes and tracks, it’s time to replace the worn parts. First, unplug the device and carefully remove the old components, noting their placement. Next, install the new parts correctly, ensuring they fit securely and smoothly. Finally, test the cleaner to confirm everything runs properly. Keep going for detailed steps to keep your cleaner in top shape.
Key Takeaways
- Conduct a thorough inspection of brushes, tracks, wheels, and filters to identify worn or damaged components.
- Gather compatible replacement parts and essential tools, ensuring safety and proper fit.
- Carefully disconnect power and remove old parts, noting their placement for accurate reinstallation.
- Install new parts by aligning them properly, tightening screws evenly, and checking for proper seating.
- Test the cleaner’s operation, including movement, filtration, and battery performance, to confirm successful replacement.

6101641-R2 Front Rear Brush Set Compatible with Maytroics Dolphin Nautilus cc Plus Parts, for Dolphi-n DX3 DX4 M200 M400 M500 Pool Cleaner Replacement Robotic Climbing Brushes,Grey (2 Pack)
Pool Cleaner Parts: The Replacement Climbing Brush , for fit Maytronics Dolphin Grey Active Brush Parts (6101641-R2) is…
As an affiliate, we earn on qualifying purchases.
As an affiliate, we earn on qualifying purchases.
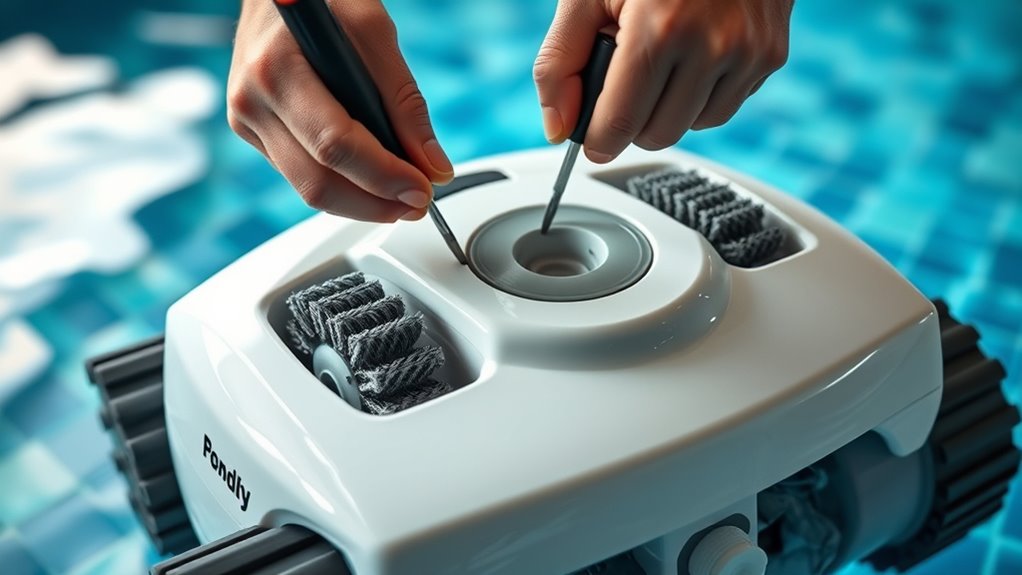
Identifying Signs of Wear and Damage
Since worn or damaged parts can affect your robotic pool cleaner’s performance, it’s important to be able to recognize the signs early. Start with a thorough damage inspection of key components like brushes, tracks, and wheels. Look for wear indicators such as cracks, chips, or frayed edges that signal deterioration. Pay attention to any unusual noises or decreased cleaning efficiency, which may indicate internal damage. If you notice parts sticking, skipping spots, or difficulty moving, these are signs that something’s worn out. Regularly inspecting these areas helps prevent further damage and ensures your cleaner operates smoothly. Catching early signs of wear allows you to replace parts promptly, maintaining excellent performance and prolonging the lifespan of your robotic pool cleaner. Additionally, monitoring filter condition and cleaning or replacing filters as needed can prevent clogs and maintain optimal operation. Being aware of maintenance schedules also aids in early detection of potential issues before they escalate. Performing routine inspection routines can further improve the longevity of your device and avoid costly repairs.

4 Pack for Hayward Sharkvac Filters RCX70101PAK2 Replacement Pool Filter Cartridges Compatible with Hayward Robotic in-ground Pool Cleaners AquaVac, TigerShark and SharkVac
Pool Cleaner Filters Model Number : RCX70101, RCX70101PAK2;
As an affiliate, we earn on qualifying purchases.
As an affiliate, we earn on qualifying purchases.
Gathering the Necessary Replacement Parts and Tools
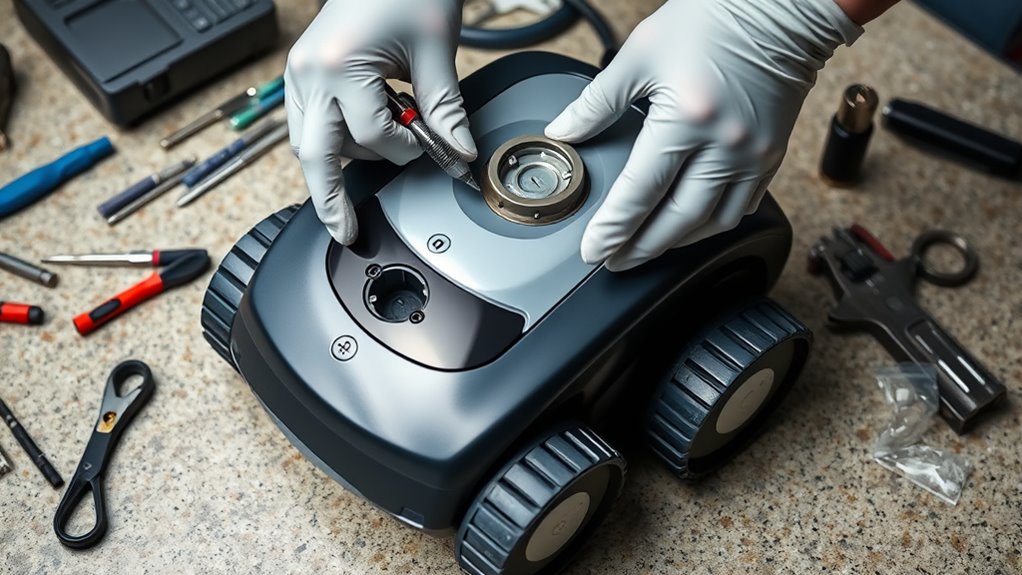
Before beginning the replacement process, gather all the necessary parts and tools to guarantee a smooth and efficient repair. Being prepared ensures your DIY repairs go smoothly and minimizes downtime in your pool maintenance routine. First, identify the specific replacement parts your robotic pool cleaner needs, such as brushes, filters, or wheels. Second, gather essential tools like screwdrivers, pliers, and a cleaning cloth. Third, double-check that you have compatible parts by consulting the manufacturer’s guide or website. Having everything on hand prevents interruptions and makes the process faster. Proper preparation is key to successful DIY repairs and keeps your pool cleaner functioning ideally. Additionally, verifying the safety features of your equipment ensures safe handling during repairs. Once everything’s ready, you can confidently proceed with replacing worn parts, saving money and extending the life of your equipment. Incorporating recommended maintenance practices can also help prevent future issues and prolong the lifespan of your cleaner. Regularly inspecting internal components and understanding performance metrics like suction power can help identify when repairs are needed early. To further ensure optimal operation, consider reviewing manufacturer guidelines for specific troubleshooting tips and recommended service intervals.

Calvana (2 Pack) Replacement Gray Tracks for Maytronics Dolphin Robotic Pool Cleaners with Part Number 9983152-R2 Dolphin Parts
REPLACEMENT GRAY TRACKS FOR MAYTRONICS DOLPHIN – Dolphin brand part number 9983152-R2 is for a wide variety of…
As an affiliate, we earn on qualifying purchases.
As an affiliate, we earn on qualifying purchases.
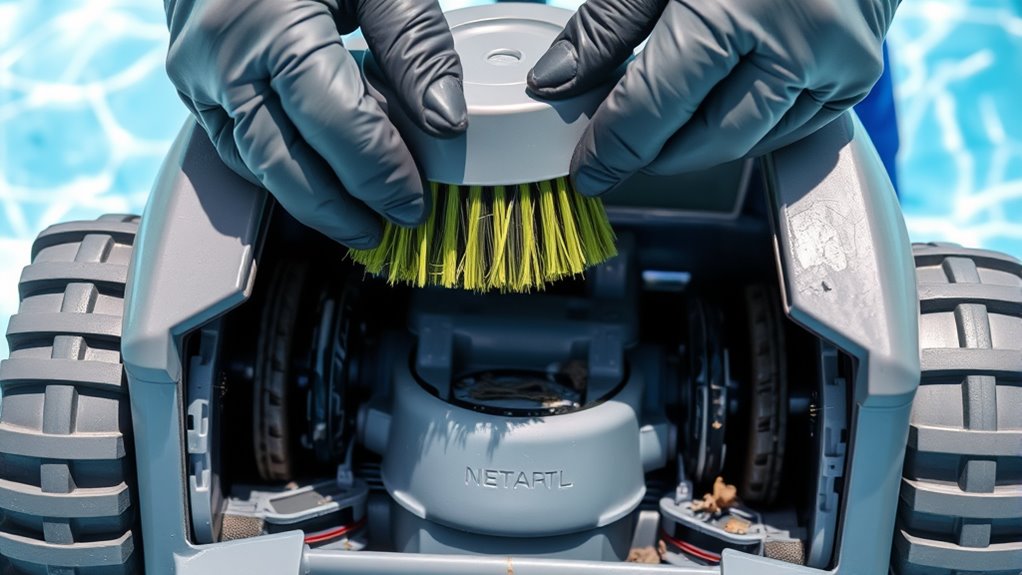
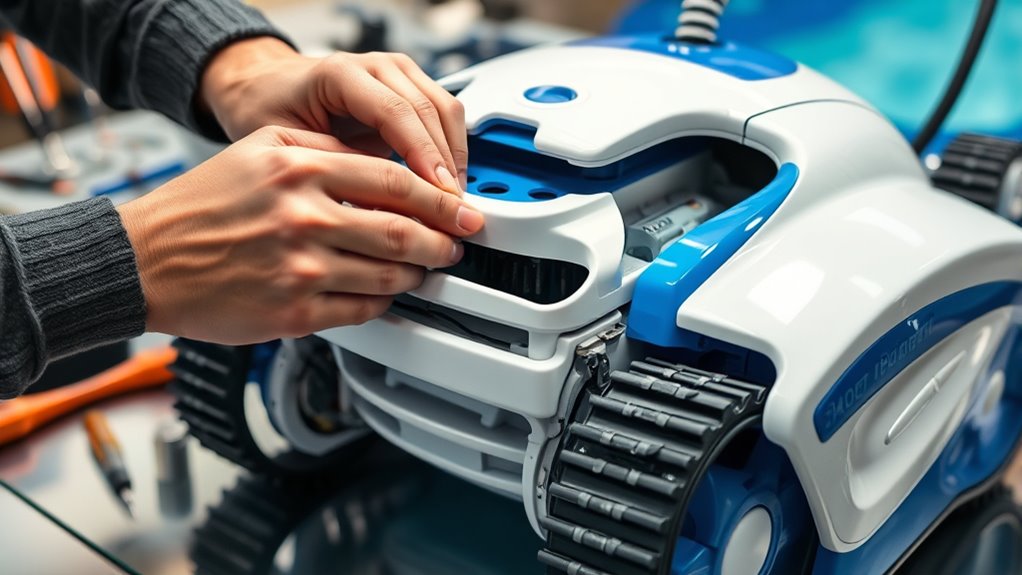
Removing the Old Components Safely

To remove the old components safely, start by unplugging the robotic pool cleaner from the power source to prevent electrical hazards. Once unplugged, carefully disconnect the battery, ensuring you handle it with care to avoid leaks or damage, which is vital for proper battery maintenance. Remove any worn brushes, filters, or worn-out wheels, noting their placement for easy reinstallation. While doing this, avoid forcing parts that may be stuck, and check for corrosion or debris that could interfere with new parts. If your cleaner has outdated software, consider updating it before installing new components. This guarantees peak performance and compatibility. Always work in a dry, well-lit area, and keep track of small screws or clips to prevent losing them during disassembly. Additionally, perform a proper maintenance check to ensure the overall functionality of your robotic pool cleaner before reassembling. Incorporating a systematic inspection can help identify hidden issues that might affect operation, and being aware of electrical safety protocols can further prevent accidents during the process. Regularly consulting the user manual can provide specific guidance tailored to your model. Also, consulting all Waterparks information can offer insights into optimal care and maintenance for your equipment.

Aqua Comb Pool Filter Cartridge Cleaning Tool
DESIGNED AND BUILT FOR LONG LIFE AND USE: The Aqua Comb body is made of UV protected ABS…
As an affiliate, we earn on qualifying purchases.
As an affiliate, we earn on qualifying purchases.
Installing New Parts Correctly
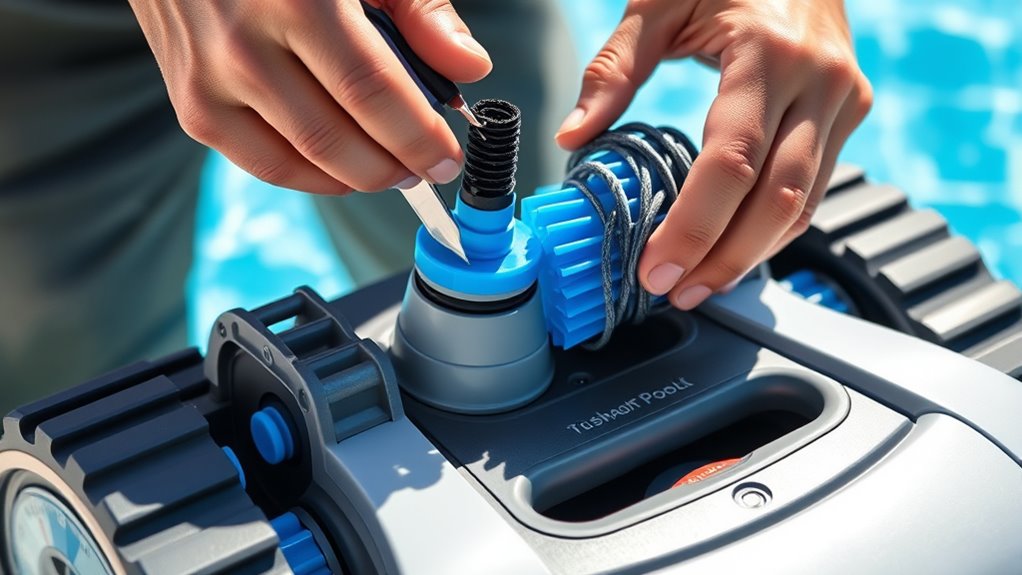
Align the new parts carefully with the existing slots and mounting points. Verify each component fits snugly without forcing it, which helps prevent damage. Follow your maintenance checklist to confirm all connections are secure before proceeding. When installing, double-check that seals and gaskets are properly positioned to avoid leaks. Here are some key steps:
- Confirm correct orientation of parts before securing.
- Tighten screws or clips evenly to prevent misalignment.
- Use troubleshooting tips if parts don’t seat properly or if the cleaner operates abnormally. Additionally, understanding airless sprayer maintenance can be helpful for maintaining optimal performance and avoiding common installation issues. Proper installation ensures peak performance and reduces the risk of future issues. Taking your time during this process minimizes mistakes and keeps your robotic pool cleaner running smoothly. Always review your maintenance checklist to confirm all steps are completed correctly, especially considering the importance of sustainable materials in the longevity of your equipment.
Testing the Cleaner to Ensure Proper Functioning
Once you’ve installed the new parts, it’s vital to test your robotic pool cleaner to guarantee everything functions correctly. Begin by turning it on and observing its movement to ensure smooth operation. Check the water filtration system to confirm it’s filtering debris effectively; clean or replace filters if needed. Inspect the battery maintenance by verifying the battery charges fully and holds power during operation. Run the cleaner through a typical cycle to see if it covers the entire pool area without issues. Listen for unusual noises, and observe if the brushes and wheels move properly. After testing, review any error indicators or messages. Properly functioning parts guarantee your cleaner works efficiently, prolongs its lifespan, and maintains ideal water quality in your pool. Additionally, ensure that the essential oils used in maintenance or cleaning do not interfere with the cleaner’s components or filtration system. Regular maintenance and careful testing help prevent operation issues, ensuring your robotic pool cleaner remains effective and reliable. It is also beneficial to monitor the device’s performance regularly to catch any potential problems early. To further enhance performance, consider checking the local laws regarding pool cleaning devices and their disposal or maintenance requirements.
Frequently Asked Questions
How Often Should I Replace Parts on My Robotic Pool Cleaner?
You probably wonder about replacement intervals for your robotic pool cleaner. Typically, parts like brushes, filters, and seals have a certain part lifespan, often lasting several months to a year depending on usage. Regularly inspect your cleaner and follow manufacturer guidelines to determine when to replace worn parts. Doing so guarantees peak performance and longevity, preventing breakdowns and maintaining clean, clear water in your pool.
Can I Use Generic Replacement Parts Instead of Manufacturer-Specific Ones?
You might consider using generic parts to save money, but be aware of potential compatibility issues. Generic parts aren’t always designed to match your pool cleaner’s specifications, which could lead to poor performance or damage. Always check whether the generic replacement parts are compatible with your model. If you’re unsure, sticking to manufacturer-specific parts ensures ideal function and longevity for your robotic pool cleaner.
What Safety Precautions Should I Take During Replacement?
Remember, safety always comes first. When replacing parts, prioritize electrical safety—turn off the power supply before starting, and avoid water contact with electrical components. Use proper tool handling techniques, wearing gloves and eye protection to prevent injury. Follow manufacturer instructions carefully, and keep your workspace dry and organized. By staying cautious, you’ll protect yourself and make sure the job gets done right, like a craftsman tending to their masterpiece.
How Do I Troubleshoot if the New Parts Don’t Improve Performance?
If your robotic pool cleaner still has performance issues after replacing parts, you need to troubleshoot effectively. Start by inspecting the new parts for proper installation and cleanliness. Check for clogs or obstructions in the filters or brushes. Use troubleshooting tips like resetting the device or examining the power supply. If problems persist, consult the manufacturer’s guidelines or contact support to identify if further repairs or adjustments are needed.
Are There Recommended Maintenance Schedules After Replacing Parts?
You should establish a regular maintenance schedule to keep your robotic pool cleaner running smoothly. After replacement, check the parts every few months to guarantee they’re working properly. Follow the manufacturer’s recommended replacement timing for key components, like brushes and filters, to prevent breakdowns. Keeping up with routine inspections and timely part replacements helps maintain peak performance and extends your cleaner’s lifespan.
Conclusion
Replacing worn parts keeps your pool cleaner running smoothly, just like a well-oiled machine. It’s satisfying to see it glide effortlessly again, contrasting with the frustration of a sluggish, malfunctioning device. By staying proactive, you prevent bigger problems and enjoy a cleaner pool without the hassle. Think of it as giving your robotic helper a quick tune-up—simple, effective, and worth the effort for sparkling results.