
To set up and program your new robotic pool cleaner, start by unboxing and inspecting it for any damage, then prepare your pool by balancing chemicals and removing debris. Assemble the parts securely, then connect the device to power and fully charge the battery. Use the app or control panel to select cleaning modes and schedules. Calibrate, test the device, and perform regular maintenance to keep it running smoothly. Keep exploring for detailed tips to optimize your cleaner’s performance.
Key Takeaways
- Unbox, inspect components, and ensure all parts are included and undamaged before assembly.
- Prepare the pool by testing water chemistry, removing debris, and brushing walls for effective cleaning.
- Assemble the device components securely, connecting power, brushes, and sensors according to instructions.
- Fully charge the robot, monitor the battery indicator, and connect it to the mobile app or control panel.
- Set cleaning modes, schedules, and calibrate sensors via app or control panel for optimal operation.

REVA AI Gyroscopic Robotic Pool Vacuum Cleaner, Smartphone APP Control, Horizontal Waterline/Wall/Floor Deep Cleaning, Upgraded 2024 Auto Navigation, 2-Layers Fine Filtration, for Pools up to 35ft
[HORIZONTAL WATERLINE CLEANING] – Waterline is probably the most dirty part of any pool, which poses health risks…
As an affiliate, we earn on qualifying purchases.
As an affiliate, we earn on qualifying purchases.
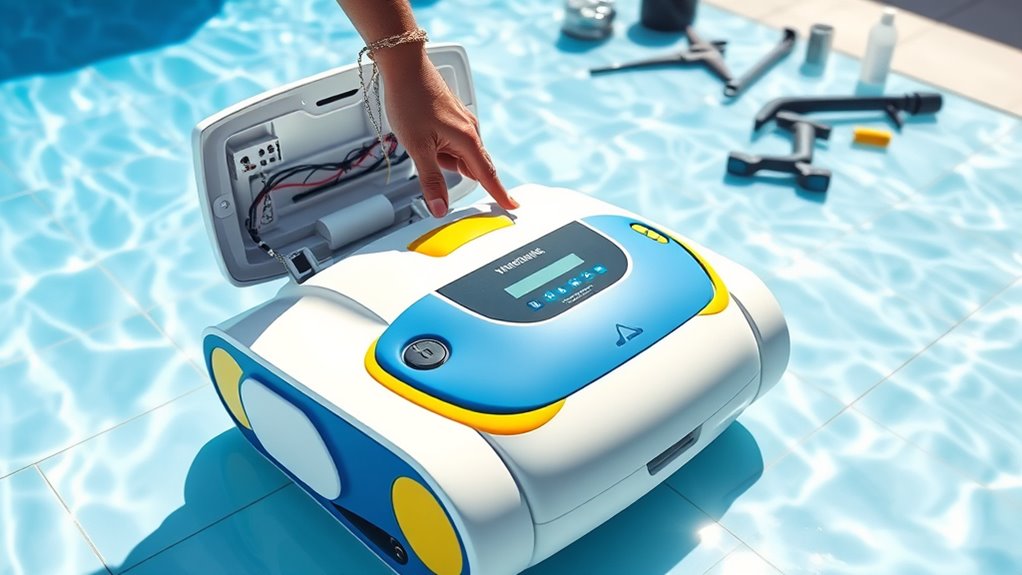
Unboxing and Inspecting Your Robotic Pool Cleaner
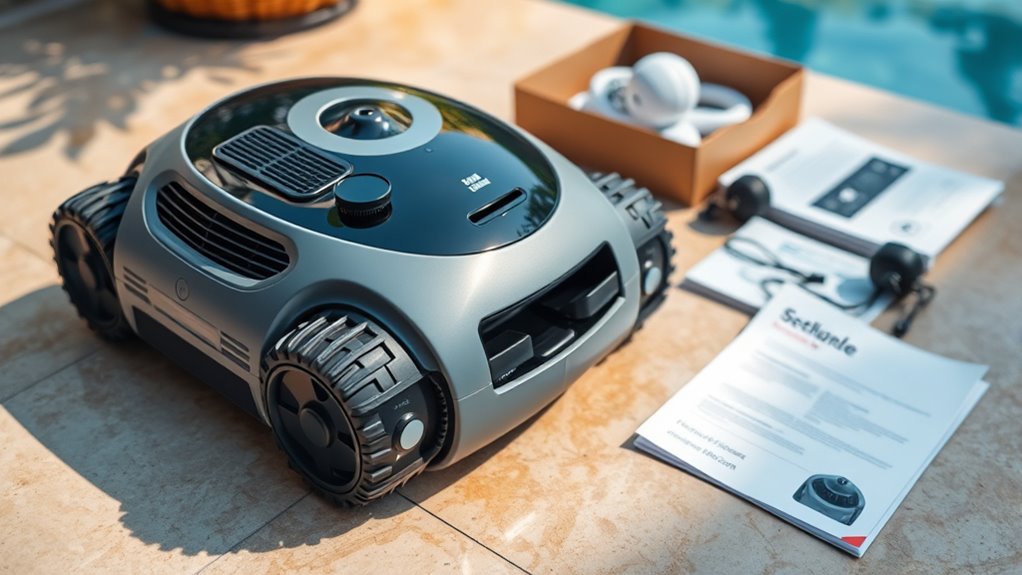
Have you ever wondered what to expect when you first unbox your robotic pool cleaner? As you open the package, check that all components are included and undamaged. Pay close attention to material safety; verify the parts feel sturdy and free of sharp edges. Inspect the power cord and brushes for any visible defects. Reading the warranty coverage details is also essential at this stage—know what’s protected should you encounter early issues. Handling the device carefully prevents damage and helps you understand its build quality. Confirm that the cleaner meets safety standards and that the packaging includes clear instructions. This initial inspection sets the foundation for a smooth setup and ensures your investment is protected with appropriate warranty coverage. Recognizing angel numbers related to protection can also provide reassurance during this process. Additionally, consulting product safety standards can help verify that your device complies with necessary regulations. Being aware of self watering plant pots features can inspire future gardening projects or maintenance tips. Knowing about dog breeds can also help you select the right pet if you’re considering adding a furry friend to your household.

BUBLUE Bubot 300P Coedless Pool Vacuum for Above Ground Pools, Robotic Pool Cleaner with Bluehole Suction, Dual Motors, DirtLock 2.0, Smart Sensor, Double Filtering, Up to 850 Sq.Ft, Light White
Revolutionary Suction Power: Transform your pool cleaning experience with our next-gen Bluehole technology! Delivering double the overall power,…
As an affiliate, we earn on qualifying purchases.
As an affiliate, we earn on qualifying purchases.
Preparing Your Pool for the Cleaner
To guarantee your robotic pool cleaner works effectively, you need to prepare your pool beforehand. Start by checking the pool chemical balance—ensure pH, alkalinity, and chlorine levels are within ideal ranges. This helps the cleaner operate efficiently and prevents buildup. If you’re using a seasonal pool cover, remove it carefully to avoid debris falling into the water. Clear out large debris like leaves and sticks from the surface and bottom. Also, brush the pool walls and floor to loosen dirt. Use the table below as a quick guide:
| Task | Purpose |
|---|---|
| Test chemical levels | Ensure proper chemical balance |
| Remove seasonal cover | Prevent debris from entering |
| Skim surface debris | Keep water clean and debris-free |
| Brush walls and floor | Loosen dirt for better cleaning |
| Remove large debris | Prevent clogging and damage |
Additionally, consider differentiating solid masses and cysts when inspecting your pool to ensure all debris types are addressed before starting the cleaning cycle. Regularly inspecting for contaminants can help maintain a healthier pool environment and improve the overall effectiveness of your robotic cleaner. Recognizing the presence of microorganisms can guide you in taking appropriate sanitation measures. Incorporating proper maintenance routines will also extend the lifespan of your equipment and ensure optimal performance. Remember that remote work setups and a well-organized space can make pool maintenance more enjoyable and less stressful, especially when multitasking.

ATIE Pool Leaf Vacuum/Leaf Eater/Leaf Catcher/Leaf Gulper/Leaf Bagger/Leaf Master Brush Replacement (3 Pieces)
Fit most pool leaf vacuum / eater / gulper including Poolmaster, Pentair, and other aftermartet brand
As an affiliate, we earn on qualifying purchases.
As an affiliate, we earn on qualifying purchases.
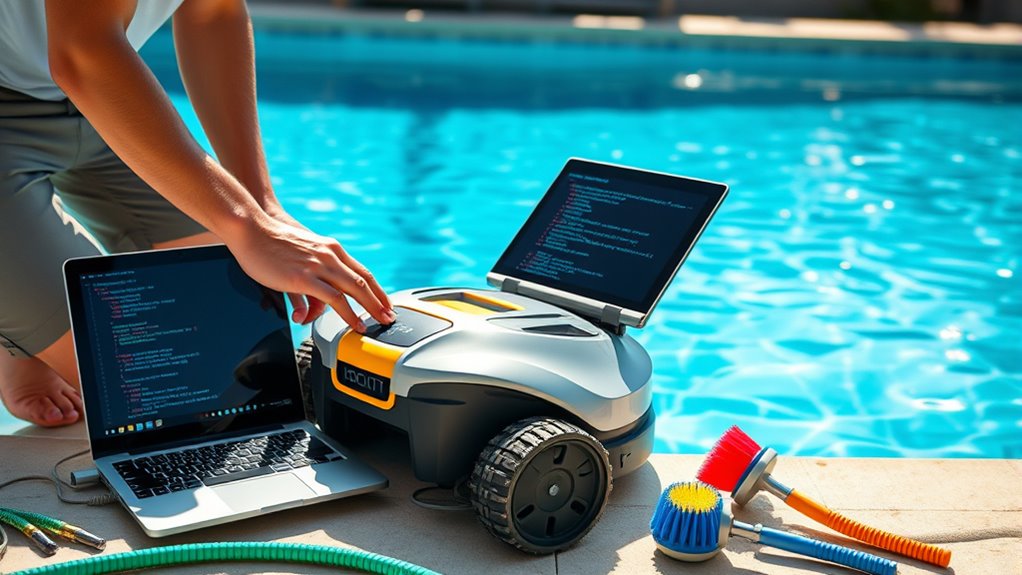
Assembling the Device Components
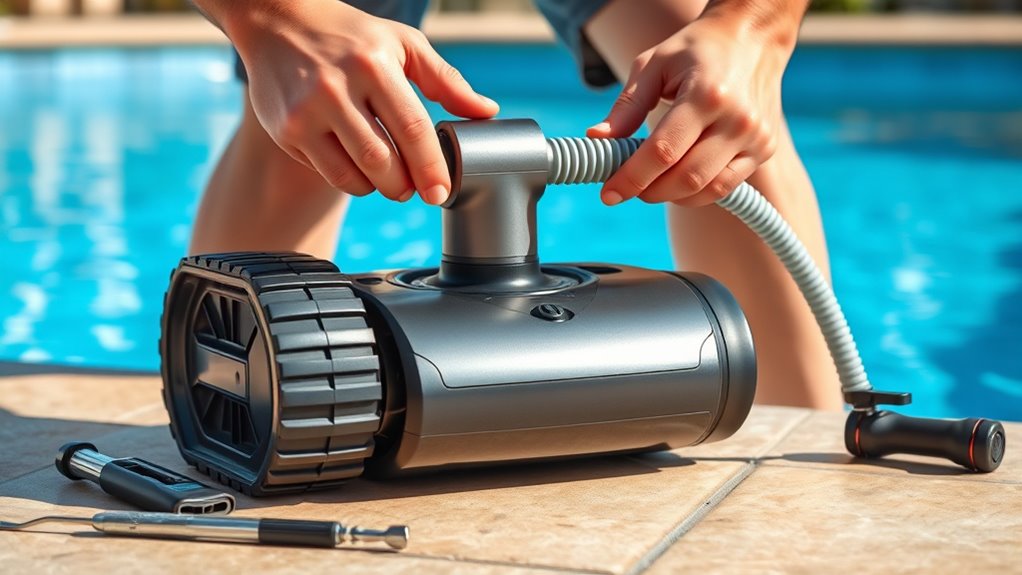
Before you begin assembling your robotic pool cleaner, gather all the device components and make certain you have the necessary tools on hand. Carefully review the assembly instructions provided with your unit. Start by connecting the power supply to the main body of the cleaner, ensuring all connectors are secure. Follow the step-by-step instructions to attach the brushes, wheels, and any other removable parts. Make sure each component fits snugly and is properly aligned. Double-check that the power supply connections are tight, but avoid forcing anything. Proper assembly is vital for peak operation and durability. Confirm that the flushing mechanism and other key features are correctly integrated to ensure optimal performance. Additionally, refer to regional resources to understand local guidelines and support options if needed. It’s also helpful to review appliance safety tips to prevent common setup issues. Once assembled, verify that all parts are secure and correctly positioned before moving on to the next setup phase. This ensures your cleaner will work effectively and safely.
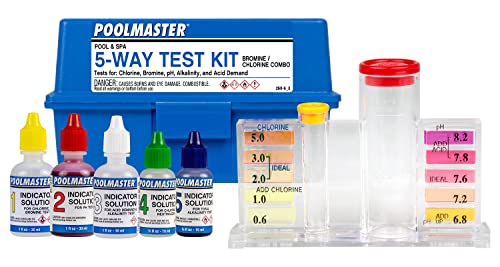
Poolmaster 22260 5-Way Swimming Pool or Spa Water Chemistry Test Kit with Case, Essential Collection
For maintaining proper water chemistry; tests for Chlorine, Bromine, pH, Acid Demand, and Total Alkalinity
As an affiliate, we earn on qualifying purchases.
As an affiliate, we earn on qualifying purchases.
Charging or Powering Up the Cleaner
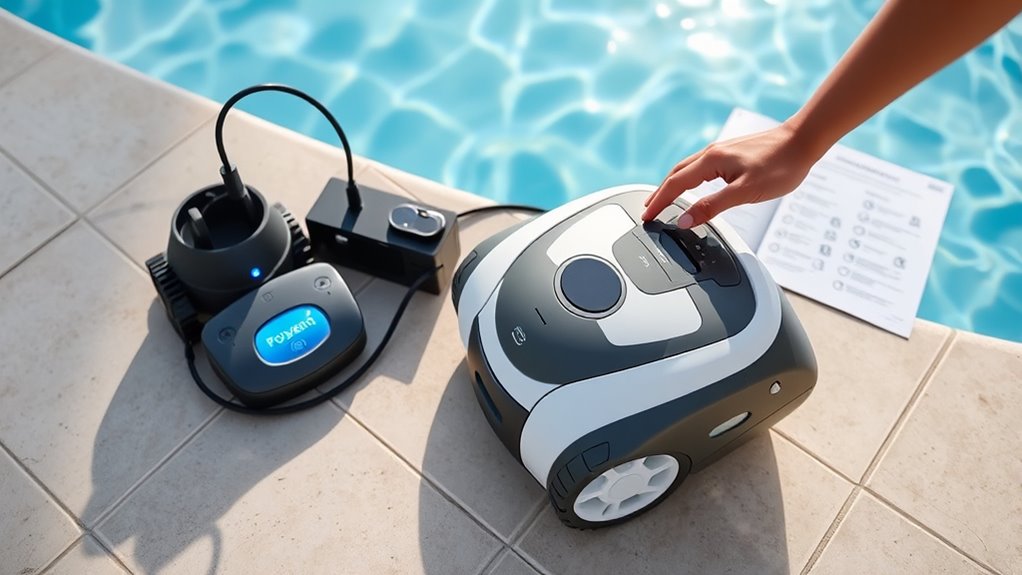
To get your cleaner ready, start by connecting it to the proper power source. Keep an eye on the battery level indicator to know when it’s fully charged, and follow the recommended charging time guidelines. Once charged, your device will be prepared to tackle your pool cleaning tasks efficiently. Additionally, ensure that your robotic cleaner has the appropriate filter replacement indicators to maintain optimal performance during use. Regularly inspecting your device and staying aware of industry trends can help prolong its lifespan and improve cleaning results. Staying informed about marketing strategies and technological advancements enables you to optimize your device’s capabilities and ensure a more effective cleaning experience. Being aware of pinball machine weights can also assist when moving or installing the cleaner, especially in larger pools or when maintenance is required. Moreover, understanding the Kia Tuning options can provide insights into customizing your equipment for better efficiency and longevity.
Connecting Power Source
Connecting the power source is a straightforward step in setting up your robotic pool cleaner. First, ensure you plug the charger or power cord into a reliable power outlet. For added safety, use a surge protector to prevent electrical damage from power surges or outages. Avoid connecting directly to an extension cord, as this can cause instability or pose safety risks. Make sure the outlet is dry and free of moisture before plugging in. Once connected, verify that the charger or power cable is securely attached to the cleaner. Some models may have indicator lights that signal when power is properly supplied. Taking these precautions ensures your robotic pool cleaner is safely powered up and ready for operation. Additionally, confirm that the power connection is free of damage to prevent any malfunctions. Proper electrical safety practices are essential when handling any electrical devices. Ensuring the power supply meets the required specifications can also help maintain optimal performance and prevent potential issues. Regularly inspecting the electrical components helps avoid unexpected failures and prolongs the device’s lifespan.
Charging Time Guidelines
Typically, robotic pool cleaners require about 2 to 4 hours to fully charge, depending on the model. Proper charging guarantees you maximize your cleaner’s battery lifespan and maintain peak performance. To promote charging safety, always use the recommended charger and avoid overcharging the battery. Keep an eye on the time to prevent damage to the internal components.
- Use only the charger provided by the manufacturer for safe and efficient charging.
- Avoid charging in extreme temperatures to protect the battery.
- Disconnect the cleaner once fully charged to extend battery lifespan and ensure safety.
Following these guidelines helps maintain your cleaner’s longevity and prevents potential safety hazards during charging. Proper charging habits keep your robotic pool cleaner ready for efficient cleaning sessions.
Battery Level Indicator
Wondering how to tell if your robotic pool cleaner is charging or powering up? The battery level indicator is your best tool. Most models have indicator lights that display the battery status clearly. When you connect your cleaner to the charger, these lights usually flash or change color to show charging progress. A steady green light often indicates a full battery, while a red or orange light signals the battery is still charging. During startup, the indicator lights may briefly blink to confirm the power-up process. Keep an eye on these indicator lights to guarantee your cleaner is properly charging before use. Monitoring the indicator lights is especially important for robotic pool cleaner efficiency, ensuring your device operates at optimal performance. Additionally, understanding the battery capacity helps you predict how long your cleaning sessions can last and plan accordingly. Properly managing RMDs and battery levels can extend the lifespan of your device and maintain its effectiveness. Being aware of charging times can also help you schedule maintenance and avoid interruptions during cleaning cycles.
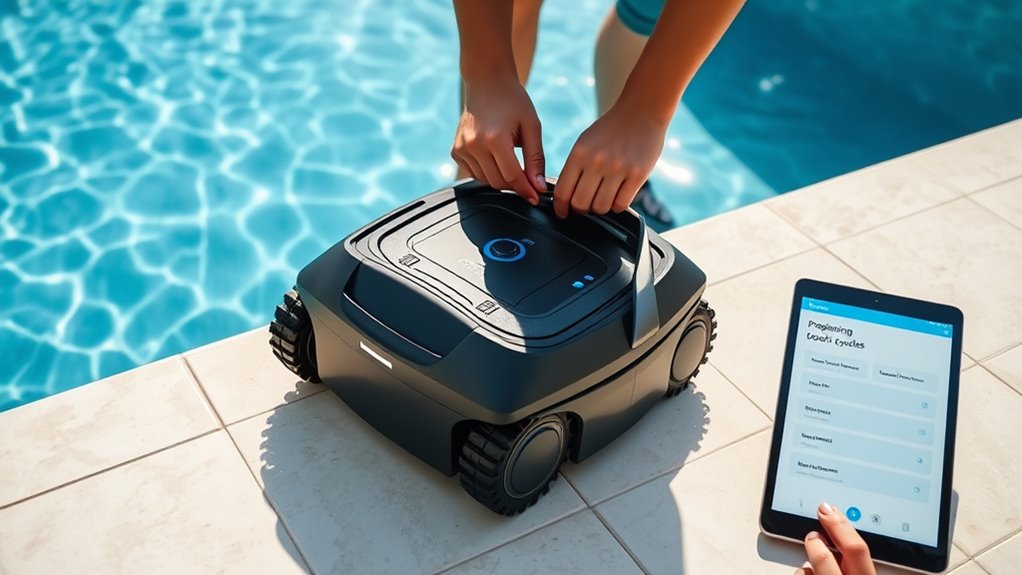
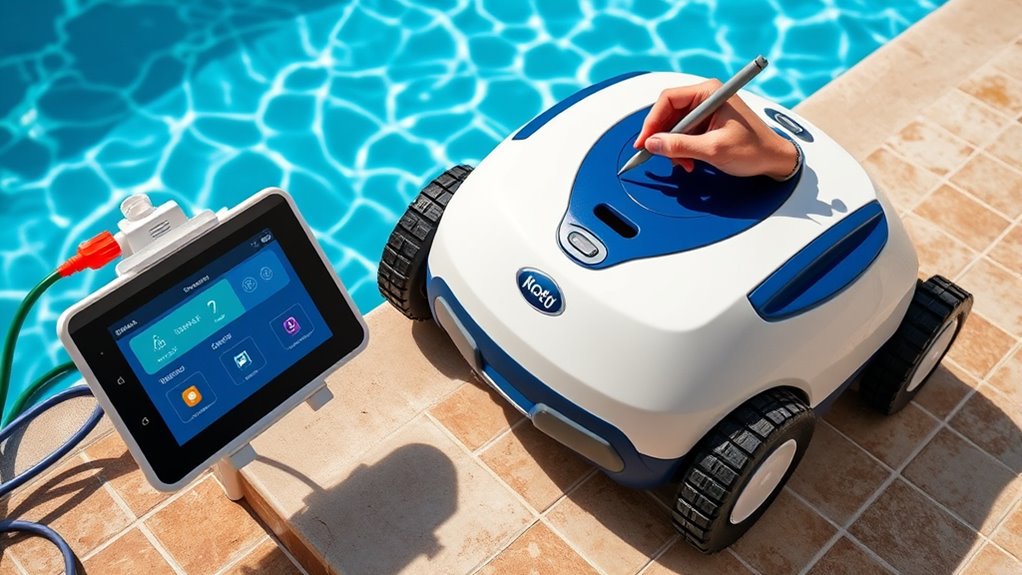
Connecting to the Mobile App or Control Panel

To connect your pool cleaner to the app or control panel, start by downloading the designated app and completing the setup process. Next, follow the wireless connectivity steps to pair your device successfully. If you encounter issues, troubleshooting tips can help you resolve common connection problems quickly. Additionally, staying informed about digital asset trends can provide insights into emerging technologies that may influence future updates or features.
App Download & Setup
Before setting up your robotic pool cleaner, you need to download the corresponding mobile app or connect via the control panel. Start by installing the app on your smartphone or tablet, then create an account if needed. Once installed, open the app to explore the intuitive app interface, which simplifies device management. Make sure to check for firmware updates during setup, as these improve performance and fix bugs. The app guides you through connecting your cleaner to your Wi-Fi network and pairing it with your device. Familiarize yourself with the main features, such as scheduling and cleaning modes, within the app. Proper setup ensures seamless control and keeps your cleaner up to date for optimal operation.
Wireless Connectivity Steps
Connecting your robotic pool cleaner to your mobile app or control panel is a straightforward process that guarantees you can manage your device effortlessly. First, confirm your device is powered on and within the signal range. The cleaner uses wireless protocols like Wi-Fi or Bluetooth to connect. Keep in mind, signal range varies depending on your environment—walls or obstructions can weaken the connection. For peak performance, position your router near the pool area or use a Wi-Fi extender if needed.
| Wireless Protocol | Signal Range |
|---|---|
| Wi-Fi | Up to 100 feet (30 meters) |
| Bluetooth | Up to 33 feet (10 meters) |
| Zigbee | Up to 10-20 meters |
| Z-Wave | Up to 30 meters |
| Proprietary | Varies by manufacturer |
Troubleshooting Connection Issues
Even with the correct setup, connection issues can still arise when trying to link your robotic pool cleaner to your mobile app or control panel. Wi-Fi interference or weak signals may prevent proper syncing, and Bluetooth pairing can be tricky if devices aren’t close enough or if the signal is blocked. To troubleshoot:
- Ensure your Wi-Fi network is stable and avoid interference from other electronics or large metal objects.
- Move your device closer to the cleaner during Bluetooth pairing, and remove any obstructions.
- Restart both your mobile device and the robotic cleaner to reset their connections.
Setting Up Cleaning Modes and Schedules
Setting up the cleaning modes and schedules on your robotic pool cleaner guarantees it operates efficiently and fits your pool maintenance needs. First, choose the appropriate cleaning modes, such as spot cleaning, full pool coverage, or targeted areas, depending on your pool’s condition. Most models allow you to customize these modes via the control panel or app. Next, set your scheduling preferences to automate cleaning sessions. Determine the frequency and timing that best suits your pool’s usage and debris levels. Proper scheduling ensures your pool stays clean without overworking the device. Regularly review and adjust the cleaning modes and schedules as needed, especially after weather changes or pool usage shifts. This setup guarantees maximum performance and keeps your pool consistently pristine.
Calibrating the Device for Optimal Performance

After you’ve configured your cleaning modes and schedules, calibrating the device guarantees it performs at its best. Proper sensor calibration ensures your robotic pool cleaner accurately detects obstacles and pool surfaces, enhancing overall performance optimization. To calibrate effectively, follow these steps:
Calibrate your robotic pool cleaner regularly for optimal obstacle detection and performance.
- Adjust sensor settings according to the manufacturer’s instructions for precise obstacle detection.
- Test the sensors in different pool areas to confirm they respond correctly.
- Regularly update the device’s firmware, as updates often improve sensor accuracy and performance.
Testing the Robotic Cleaner in Your Pool
Before fully relying on your robotic pool cleaner, it’s essential to verify it in your pool to guarantee everything functions correctly. Start by placing the cleaner in the water and turning it on. Observe how it moves to confirm proper water circulation and coverage. Check that the brushes and suction work effectively by inspecting cleaned areas afterward. It’s also important to ensure your pool’s chemistry is balanced, as proper pH and chlorine levels improve cleaning efficiency. If the cleaner isn’t steering well or leaving debris behind, consider adjusting water circulation or rerouting return jets. Testing helps identify any initial issues with movement or suction, so you can make necessary adjustments early on. This step guarantees your robotic cleaner performs at its best and keeps your pool sparkling.
Regular Maintenance and Troubleshooting Tips
Regular maintenance keeps your robotic pool cleaner running smoothly and extends its lifespan. To guarantee maximum performance, regularly check and clean the filter to prevent clogging and improve cleaning efficiency. Keep an eye on software updates; installing them keeps your device current with bug fixes and new features. Troubleshoot common issues like poor navigation or missed spots by inspecting brushes and sensors. If your cleaner isn’t functioning properly, restart it and verify connections. Additionally, schedule periodic filter maintenance to avoid debris buildup. Staying on top of software updates and routine checks helps prevent major problems and prolongs your cleaner’s life.
- Clean the filter regularly and replace when necessary
- Update software when prompted for best performance
- Inspect brushes and sensors for debris or damage
Frequently Asked Questions
How Do I Update the Robotic Pool Cleaner’s Firmware?
To update your robotic pool cleaner’s firmware, first check the manufacturer’s app or website for the latest software version. Download the firmware update, ensuring it’s compatible with your model to avoid software compatibility issues. Connect your cleaner to Wi-Fi if needed, then follow the instructions to install the update. Regular firmware updates improve performance and fix bugs, so keep your device current for best cleaning.
Can I Manually Override the Cleaning Schedule?
Ever wondered if you can manually override the cleaning schedule? Yes, you can! Most robotic pool cleaners let you do a manual override, giving you control when you need it. Simply access the control panel or mobile app, then select the manual mode or override option. This temporarily suspends the programmed cleaning schedule, allowing you to manually direct the cleaner. Just remember to reset it back to automatic when you’re done.
What Safety Precautions Should I Take During Setup?
During setup, prioritize pool safety by keeping the area clear of obstacles and making sure children or pets stay away. You should also follow electrical precautions carefully, unplugging power sources before connecting or adjusting your robotic cleaner. Always read the manufacturer’s instructions for specific safety tips. Taking these steps helps prevent accidents, safeguards your equipment, and ensures a smooth, safe setup process for your robotic pool cleaner.
How Do I Store the Cleaner During Off-Season?
Storing your robotic pool cleaner is like tucking away a treasured book for the season. For proper seasonal maintenance, remove the cleaner from the pool, rinse off debris, and dry it thoroughly. Store it in a cool, dry place away from direct sunlight. Use the recommended storage tips from your manual, and make sure the power cord is loosely coiled. This keeps your cleaner in top shape for when pool season returns.
Is There a Warranty or Service Plan Available?
You should definitely check if your robotic pool cleaner comes with warranty options and service plans. Many manufacturers offer limited warranties covering defects and repairs, giving you peace of mind. Service plans can include regular maintenance or repairs, saving you money in the long run. Be sure to review the specific warranty details and service plan options available for your model, so you’re protected and can enjoy a trouble-free pool cleaning experience.
Conclusion
Now that your robotic pool cleaner is set up and ready to go, you’re about to conquer the entire pool universe! With just a few simple steps, you’ll have a cleaning superstar that works tirelessly, leaving your pool sparkling brighter than a diamond in the sun. Get ready for the most effortless, jaw-dropping clean you’ve ever seen—your pool will thank you, and your neighbors will envy your pristine, shimmering oasis!