Professional paint finishers pay close attention to details most DIYers often overlook, like perfect edges, seamless blending, and the uniformity of brush strokes. They meticulously prep surfaces, use high-quality tools, and carefully inspect each area to guarantee a flawless look. Small touches—like fixing imperfections, matching sheen, and handling edges with precision—make all the difference. If you want to elevate your paint job beyond ordinary, keep going to discover the expert techniques that can transform your space.
Key Takeaways
- Professional designers meticulously prepare surfaces and choose durable, cohesive paints to ensure a flawless, long-lasting finish.
- They use expert techniques like precise edging, seamless blending, and proper tool selection for a polished look.
- Attention to environmental factors and thorough surface cleaning prevent imperfections and improve paint adhesion.
- Designers conduct color testing and proper mixing to achieve consistent, vibrant shades without streaks or mismatches.
- They perform detailed finishing touches, such as inspecting, blending, and refining edges, for a truly professional final appearance.

Paltren 12-Inch Paint Edger & Trim Guard | Stainless Steel Straight Edge Tool | Painters Tape Alternative | Creates Crisp, Clean Pro-Grade Lines on Walls & Ceilings
SAY GOODBYE TO PAINTERS TAPE: Stop wasting hours on tedious prep work. This 12-inch paint guard lets you…
As an affiliate, we earn on qualifying purchases.
As an affiliate, we earn on qualifying purchases.
Why a Professional Paint Finish Changes Everything

A professional paint finish can transform a space far beyond what DIY efforts typically achieve. When you work with a pro, they help you make the right color selection to complement your room’s style and mood, ensuring a cohesive look. They also prioritize paint durability, choosing high-quality products that resist fading, cracking, and peeling over time. Professionals use expert techniques to create smooth, flawless surfaces, avoiding streaks, drips, or uneven coverage. Additionally, a high contrast ratio in paint or wall finishes can enhance the depth and vibrancy of your room’s colors, making your space feel more dynamic and inviting. This level of professional expertise in applying finishes ensures a consistent and high-quality result that DIYers often find difficult to replicate. Moreover, they understand the importance of surface preparation, which is critical to achieving a perfect finish. Proper equipment maintenance, such as ensuring filters and spray tips are clean, plays a vital role in the quality of the final look. Investing in professional techniques not only saves time but also guarantees your space looks polished, sophisticated, and long-lasting—well worth the investment in a finish that elevates your entire room.

GACDR Gilding Brush Set, 7 Pieces Versatile Goat Hair Blending Mop Brushes for Acrylic Painting Wartercolor Foil Gold Leaf Flakes Sheets
【High Quality Material 】 Crafted with high-quality natural goat hair bristles and 100% birch wood handle,our gilding brush…
As an affiliate, we earn on qualifying purchases.
As an affiliate, we earn on qualifying purchases.
The Top Finishing Details That Make Your Room Look Polished

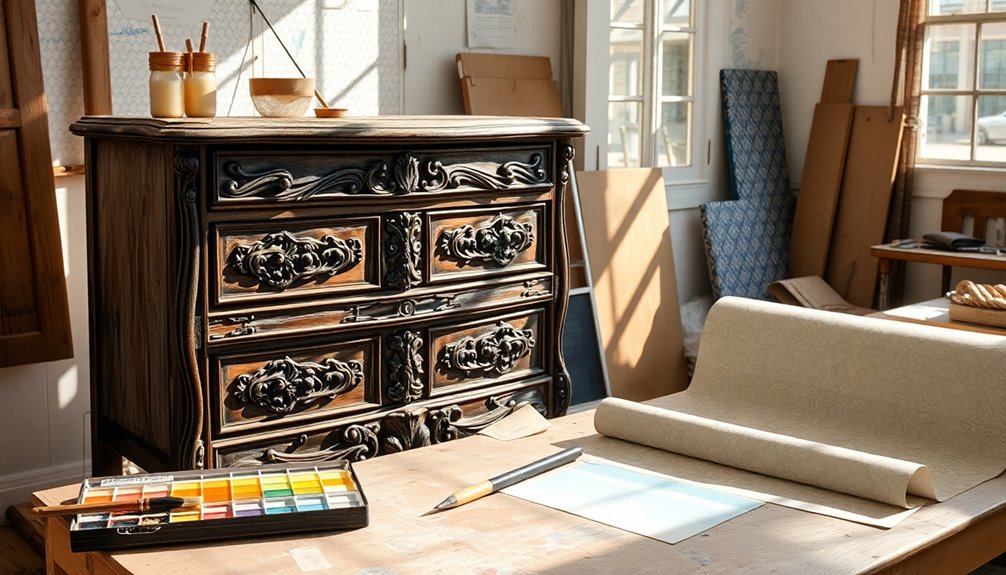
The smallest finishing details can dramatically elevate the look of your room, making it appear polished and professionally crafted. One key element is thoughtful color selection; choosing hues that complement each other creates harmony and visual cohesion. Pay attention to how wall colors coordinate with your furniture—matching tones or subtle contrasts can make the space feel intentional. Fine-tuning these details ensures that your room looks intentional rather than haphazard. Additionally, consider how furniture placement and color influence the overall aesthetic, tying everything together seamlessly. These finishing touches may seem minor, but they considerably impact the room’s polished appearance. When you focus on color coordination and subtle details, your space feels curated and finished, elevating it from basic to beautifully designed. Recognizing how these small elements contribute to a cohesive environment is similar to understanding underlying manipulation tactics that influence perception and behavior in psychology. Incorporating attention to detail into your design process can help ensure every element works harmoniously. For example, paying close attention to visual flow can guide the eye naturally through the space, enhancing its overall harmony.

Heirloom Traditions Deglosser Surface Prep Wipes, heavy duty Degreaser, 40CT
Liquid Sandpaper
As an affiliate, we earn on qualifying purchases.
As an affiliate, we earn on qualifying purchases.
How to Achieve Perfectly Smooth Edges and Lines

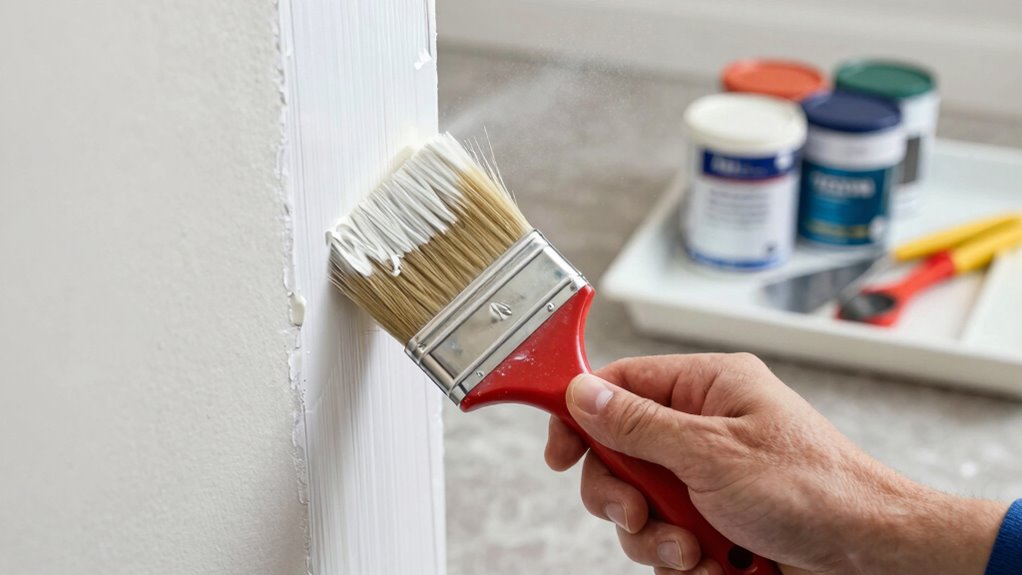
Achieving perfectly smooth edges and lines is essential for a polished finish in your painting projects. Start by using proper brush techniques—use a high-quality, angled brush and apply steady, even strokes along the edges. Keep a light touch to prevent paint buildup and build your line gradually. Edge masking is vital; tape off areas carefully and press down firmly to prevent bleed-through. Remove the tape slowly before the paint fully dries to avoid smudging. For sharp lines, work quickly and don’t overwork the brush. If you make a mistake, gently smooth the edge with a damp brush or a small detail tool. Precision and patience ensure crisp, clean edges that elevate your project’s professional look. Proper lighting during painting can also help you see imperfections clearly and achieve a more precise finish. Incorporating quality tools can further enhance the smoothness and accuracy of your lines. Paying attention to surface preparation also plays a crucial role in achieving a flawless edge.

FoamPRO 120 Color Tester Sample Board – Paint Sample Boards for Comparing & Matching Colors – Portable Wall Paint Tester Sheets – 24-Pack
PAINT COLOR SAMPLE BOARDS – Organize paint colors while exploring and comparing them effortlessly with this 24-pack paint…
As an affiliate, we earn on qualifying purchases.
As an affiliate, we earn on qualifying purchases.
Tips for Consistent Brush Strokes and Seamless Blending

To guarantee your brush strokes are consistent and your blending seamless, start by preparing your paint mixture thoroughly. Proper brush consistency is key—if the paint is too thick or too thin, blending becomes difficult. Use these tips to improve your blending techniques:
- Maintain a wet edge to avoid visible seams and ensure smooth transitions.
- Use the right brush size for your surface, which helps control brush consistency.
- Apply even pressure during each stroke to keep strokes uniform.
- Work in sections, blending each area before the paint dries, to prevent harsh lines.
- Monitor paint quality to maintain a calm and organized workflow, making it easier to achieve professional results.
- Consistently checking your brush maintenance practices will help preserve the quality of your tools and improve your overall technique. Regularly inspecting and cleaning your brushes ensures they stay in optimal condition, which directly impacts your painting precision and overall finish. Additionally, understanding paint properties such as drying time and adhesion can help you adjust your technique for better results. Being aware of the history of pinball machines can also inspire creative design elements and finishing touches for your project.
- These steps will help you achieve professional-looking results, with consistent brush strokes and seamless blending. Practice makes perfect, so take your time and refine your technique.
Why Clean Lines Are Critical for a Flawless Finish

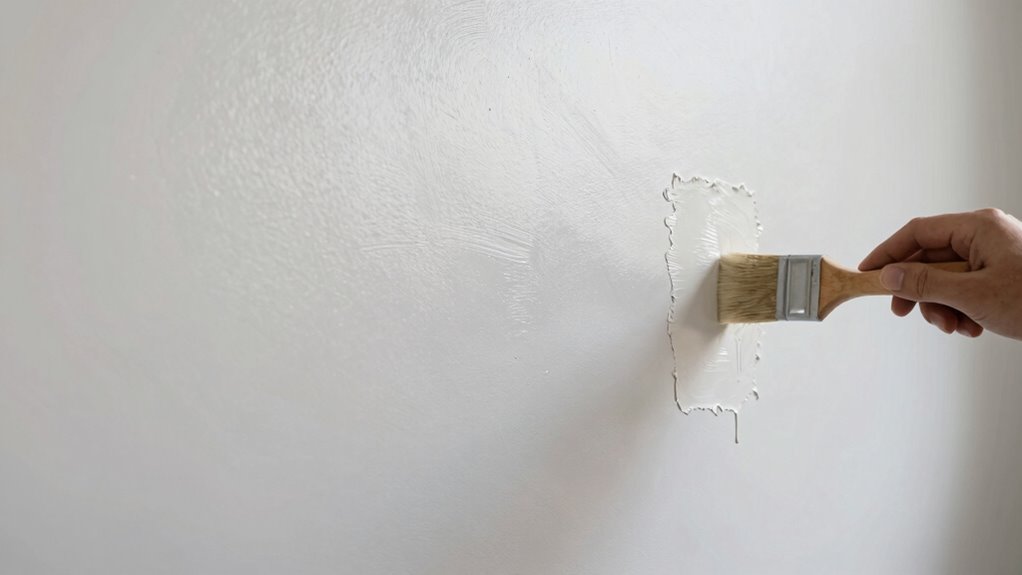
Clean lines are vital because they define the crisp, professional look of your finished work. Achieving sharp edges depends on good tape application, guaranteeing paint doesn’t bleed into unwanted areas. Proper tape placement and pressing down firmly prevent gaps that ruin clean lines. Your brush control also plays an important role; steady, deliberate strokes help maintain crisp borders. When you use controlled brush movements, you avoid overspreading or creating uneven edges. Skipping these steps results in a sloppy finish that takes extra touch-up work. Clear, defined lines make your project look polished and professional. Taking the time to apply tape carefully and practicing good brush control ensures your edges stay sharp. Mastering paint edge techniques can significantly improve your results and save time on corrections. Using quality tools and understanding paint application methods can further enhance your overall finish. This attention to detail markedly enhances the overall appearance of your painted surfaces. Additionally, understanding proper surface preparation helps ensure that your paint adheres smoothly and reduces the likelihood of imperfections that can compromise your clean lines. Paying close attention to tape removal techniques also ensures that your crisp lines remain intact without smudging or peeling. Incorporating techniques for controlling paint bleed can further help in achieving a truly flawless edge.
Common Finishing Mistakes DIYers Should Avoid

Even experienced DIYers can make mistakes that compromise the quality of their finishing work. One common error is neglecting proper paint selection, which can lead to poor durability or color mismatches. Another mistake is rushing color matching, resulting in noticeable uneven tones. Additionally, skipping surface prep before applying finishing coats causes imperfections that stand out. Proper surface preparation is essential to ensure adhesion and a smooth finish. Proper paint application techniques help maintain a consistent appearance and prevent issues like roller marks or brush strokes. Moreover, paint curing conditions such as temperature and humidity can significantly affect the final outcome if not properly managed. Finally, ignoring the importance of consistent paint application—such as uneven brush strokes or roller marks—can ruin a polished look. To avoid these pitfalls, take time to choose the right paint for your project, carefully match colors, prepare surfaces thoroughly, and apply finishes consistently. Staying mindful of these mistakes helps ensure your project ends with a professional-looking, flawless finish. Incorporating smart home automation can also help monitor and control environmental factors like humidity and lighting, which influence paint curing and overall quality.
Easy Tips for Achieving a Professional-Looking Paint Job

Achieving a professional-looking paint job becomes much easier when you follow a few simple, effective tips. Start with proper color mixing; blend your paints thoroughly to avoid streaks or uneven shades. Test your colors on scrap material to ensure they match your vision before applying them to your walls. When it comes to brush selection, choose the right size and type for your project—smooth, high-quality brushes help create clean, crisp lines and reduce brush marks. Use angled brushes for edges and corners, and opt for softer brushes for larger surfaces. Taking these small steps guarantees your paint application is smooth and even, giving your space a polished, professional finish. These tips save time and improve your results considerably.
Tools and Techniques Used by Pros for Perfect Results
To achieve flawless results, you need to focus on precise surface preparation and advanced painting techniques. Pros rely on specialized tools and methods to guarantee smooth, even finishes. Mastering these approaches can make a noticeable difference in your projects.
Precise Surface Preparation
Preparing a surface correctly is essential for a flawless paint job, and professionals rely on a variety of tools and techniques to guarantee ideal adhesion and finish. Proper surface prep assures paint adheres smoothly and lasts longer. Start by cleaning the area thoroughly to remove dust and grease. Use the right sandpaper to smooth rough spots, then wipe away dust with a damp cloth. When applying primer, employ precise brush techniques to avoid streaks and ensure even coverage. Selecting the appropriate paint type for your surface also matters; professionals choose paint tailored to the material to improve durability.
Consider these tools and techniques:
- High-quality brushes for detailed work
- Fine-grit sandpaper for surface smoothing
- Degreasers for cleaning greasy areas
- Correct paint selection based on surface type
Advanced Painting Techniques
After guaranteeing your surface is properly prepared, using advanced painting techniques can elevate your results to a professional level. One key skill is precise color matching, which involves mixing or selecting paints to seamlessly blend shades and achieve uniformity. Proper paint storage is also essential; storing leftover paint in airtight containers prevents drying out and makes future touch-ups easier. Pros often use tools like high-quality brushes, rollers, and sprayers to apply paint smoothly and avoid streaks. Techniques such as feathering edges, glazing, and layering help create flawless finishes. By mastering these methods, you ensure your colors stay vibrant and consistent, and your project looks polished. Implementing advanced techniques guarantees your DIY work rivals professional results every time.
How to Fix Common Painting Imperfections and Flaws
Even experienced painters encounter imperfections like drips, roller marks, or uneven edges. To fix these issues, start by evaluating the flaw carefully. Then, follow these tips:
- For drips or runs, lightly sand the area with fine-grit sandpaper, then repaint, ensuring proper color matching and blending.
- To smooth roller marks, lightly sand the surface and reapply paint with even pressure, paying attention to maintaining consistent paint sheen.
- Fix uneven edges by using painter’s tape and a steady hand, blending the new paint into the existing finish.
- When touch-ups are needed, match the existing paint color precisely and pay attention to the paint sheen to ensure a seamless finish.
Final Steps: How to Add Those Extra Finishing Touches

Once you’ve addressed all major imperfections, the final step is to add those finishing touches that elevate your paint job from good to professional. Start by carefully inspecting your work for any spots where color matching isn’t perfect; touch up these areas for uniformity. Next, focus on the paint sheen—ensure it’s consistent across all surfaces. If you used a satin finish on walls, don’t forget to match it on trims and moldings. Use a clean brush or roller for these details to avoid streaks or uneven texture. Small adjustments, like refining edges and perfecting the gloss level, make a big difference. These finishing touches give your project a polished, cohesive look that truly stands out.
Frequently Asked Questions
What Are the Best Tools for Achieving a Professional Paint Finish?
To achieve a professional paint finish, use the right tools like high-quality brushes suited for your project and select roller types that match your surface, such as smooth or textured. Opt for brushes with fine bristles for detailed work and rollers with appropriate nap lengths for even coverage. These choices help you apply paint smoothly and efficiently, giving your walls a flawless, professional look.
How Long Should I Wait Between Coats for Optimal Results?
You should wait about 2 to 4 hours between coats, but don’t rush—patience is key for a flawless finish. Ironically, the drying times depend on paint compatibility, so check the manufacturer’s recommendations. If you apply the next coat too soon, you risk streaks or peeling. Give each layer enough time to dry thoroughly, ensuring your paint job looks professional and lasts longer.
Can DIYERS Replicate Professional Finishing Techniques at Home?
Yes, you can replicate professional finishing techniques at home by mastering brush techniques and careful color mixing. Focus on smooth, controlled strokes to avoid streaks, and use high-quality brushes for a polished look. Practice blending colors seamlessly for a professional finish. Take your time, prep surfaces well, and learn from tutorials. With patience and attention to detail, you’ll achieve results similar to those of skilled painters.
What Are the Most Common Causes of Paint Imperfections?
Paint imperfections often originate from poor preparation, inconsistent application, or hurried handling. You might notice brush strokes that leave uneven coverage, which makes your walls look streaky or blotchy. These issues happen when you skip surface sanding, don’t mix paint thoroughly, or rush the process. To avoid this, take your time, use quality brushes, and apply thin, even coats—ensuring a smooth, flawless finish that looks professional and polished.
How Do Lighting Conditions Affect the Appearance of a Painted Surface?
Lighting effects substantially impact how your painted surface appears. Bright, direct light can enhance surface reflectivity, making imperfections more noticeable, while softer, diffused lighting minimizes flaws and creates a smoother look. You should consider the lighting conditions in your space when choosing paint finishes and colors, as they can alter the surface’s appearance and overall ambiance, helping you achieve the desired aesthetic with confidence.
Conclusion
Remember, those finishing details may seem small, but they’re the brushstrokes that complete your masterpiece. Skipping them is like leaving a sentence unfinished—missing the full impact. By paying attention to every edge, line, and touch-up, you turn a good paint job into a truly professional look. Don’t underestimate the power of the details; they’re the secret ingredients that make your room stand out—and last. Finish strong, and enjoy the flawless results!