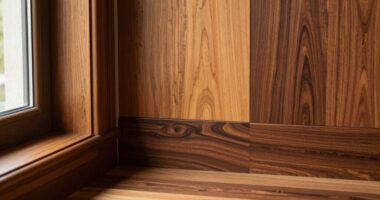

To create that gorgeous plaster wall, you start by preparing the surface, cleaning and applying a primer for good adhesion. Next, you carefully mix your plaster with water until smooth, then apply multiple thin coats with skilled tools, allowing each to set slightly before adding the next. Proper curing is essential for durability and a flawless finish. Curious about finer details? Keep going to discover exactly how professionals achieve that perfect look.
Key Takeaways
- Traditional plaster walls are built through multiple smooth, skillful coats, each carefully finished before applying the next for a polished look.
- Surface preparation involves thorough cleaning, priming, and ensuring proper adhesion to prevent cracks and ensure durability.
- Materials like lime, sand, or modern cement and polymers are mixed to achieve the desired consistency and finish.
- Application tools such as trowels and floats are used to spread and smooth the plaster in even, sweeping motions.
- Proper layering, curing, and maintenance are essential for a long-lasting, flawless plaster wall.
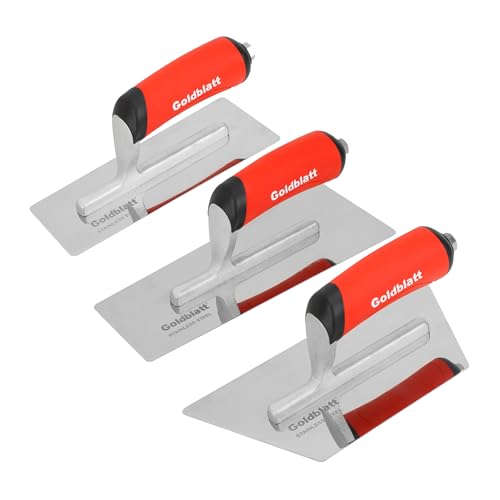
Goldblatt Venetian Plaster Finishing Trowel Set, 3 Pieces Polished Stainless Steel Drywall & Concrete Trowels with Soft Grip Handle, Paint Plastering & Marmorino Finishing Tools, Trapezoid Blade
Beveled & Trapezoid Blade for Premium Finish: The working edge of the blade is beveled to prevent aggregate…
As an affiliate, we earn on qualifying purchases.
As an affiliate, we earn on qualifying purchases.
How Traditional Plaster Walls Are Made: A Step-by-Step Guide

Traditional plaster walls are built through a careful, multi-step process that combines skill and patience. Historically, artisans used techniques passed down through generations, emphasizing craftsmanship and attention to detail. These historical techniques involve applying multiple coats of plaster, each carefully smoothed and finished before the next layer. As you work, you can incorporate artistic finishes, adding texture or decorative touches that highlight craftsmanship. The process begins with preparing the wall surface, followed by applying a rough coat called the base. Once dry, you add successive layers, each more refined, culminating in a smooth or textured finish. This traditional method creates a durable, aesthetically pleasing surface rich with character and artistry, reflecting centuries of craftsmanship and cultural heritage in every wall you craft. Additionally, modern AI-powered tools can assist artisans in planning and designing intricate finishes to enhance their work with automation and precision], ensuring that traditional techniques remain relevant and adaptable in today’s creative processes.

MATEWORK Putty knife,10 Piece Stainless Steel Paint Scraper Tool Set,14" Mud Pan for Repairing Drywall, Removing Wallpaper, Applying Putty, Plaster, Cement, Adhesive
【WHAT YOU GET SET】:1inch,2inch,3inch,4inch,6inch,8inch,10inch,12inch,14inch putty scraper +14" Mud Pan come with 10 different sizes drywall tools meet your…
As an affiliate, we earn on qualifying purchases.
As an affiliate, we earn on qualifying purchases.
Materials Needed for Building Plaster Walls
To build plaster walls, you need specific materials like lime, sand, and water. You’ll also need proper mixing techniques and preparation to guarantee a smooth application. Additionally, understanding the sound vibrations involved in sound healing can help optimize the environment where your plaster walls are installed, promoting a more calming and healthful space. Using appropriate application methods ensures a uniform and durable finish. Incorporating consistent feedback during the application process can help achieve better results. Being aware of the essential oils for respiratory health can also be beneficial if you want to incorporate calming scents into your space, enhancing the overall atmosphere. Moreover, selecting quality tools**** can significantly impact the ease and precision of your work. Finally, having the right tools on hand makes the process easier and more efficient.
Essential Material Components
Building sturdy plaster walls requires selecting the right materials, as each component plays a crucial role in guaranteeing durability and a smooth finish. Traditionally, historical plaster techniques relied on lime, sand, and water, creating breathable walls with natural flexibility. Today, modern plaster innovations incorporate cement, gypsum, and polymer additives to enhance strength, adhesion, and drying time. Lime and sand remain foundational for a natural, breathable layer, while gypsum-based plasters offer quick setting and smooth surfaces. Cement mixes provide increased durability for high-traffic areas. You’ll also need reinforcing materials like burlap or fiberglass mesh to prevent cracks. Understanding the odor characteristics of materials like certain additives can help you choose the best options for your project. Knowing the application methods of different plaster types can further improve the finish and longevity of your wall. Additionally, selecting appropriate mixing techniques ensures a consistent and optimal plaster mixture. Properly controlling the application environment can also influence drying and curing, leading to a better overall result. Incorporating quality materials testing can help verify the suitability of your chosen components for specific conditions. Choosing the correct combination of these essential components, based on your project’s needs, ensures your plaster wall will stand the test of time and deliver that flawless finish you desire.
Mixing and Preparation
Before you start mixing your plaster, gather all the necessary materials and tools to guarantee a smooth process. Understanding the plaster wall history helps you appreciate traditional methods, but modern plaster innovations have simplified mixing. Begin with a clean mixing container and a sturdy tool, like a trowel or paddle. Use high-quality plaster powder, which often combines lime, gypsum, or cement, depending on your project. Add water gradually, aiming for a smooth, lump-free consistency. Proper mixing ensures strength and durability, essential for a flawless finish. Remember, consistent preparation is key, whether you’re replicating historical plaster techniques or applying contemporary innovations. Incorporating accurate measurement techniques helps achieve optimal proportions and a consistent mixture, setting the foundation for a seamless application, resulting in a stunning plaster wall that stands the test of time. Additionally, understanding traditional plaster methods can provide valuable insights into achieving authentic finishes. Paying attention to power consumption insights can also help ensure your tools operate efficiently during the mixing process.
Application Tools Needed
Having the right tools is essential for applying plaster effectively and achieving a smooth, professional finish. Your main tool will be a good trowel, which allows you to use proper trowel techniques for spreading and smoothing the plaster. A hawk can help hold and transport the plaster as you work. For detailed work or decorative touches, consider using plaster sculpting tools to create textures or patterns. A sponge float can smooth surfaces and blend edges, while a hawk and a taping knife assist with control and precision. Make sure your tools are clean and in good condition to prevent imperfections. Proper tool maintenance is also crucial to keep your tools in optimal condition and achieve the best results. Additionally, using appropriate safety gear such as gloves and masks can protect you from dust and skin irritation during application. Mastering trowel techniques and plaster sculpting with these tools ensures your wall looks flawless and professionally finished. Remember that good quality tools can make a significant difference in the final appearance of your plaster wall, especially when working with natural materials that require careful handling. Proper technique and consistent practice are key to mastering plaster application.
Paint & Mortar Mixer| 16" L,3" Dia Compound,Sealer,Grout,Thinset,Plaster,Mud,Cement Mixer Stirring Paddle -Professional Paint Mixer Attachment-Zinc Plated Steel (Style# 03)
【Measurements】- Length 16" (40cm) top to bottom. No need to worry about not getting to the bottom of…
As an affiliate, we earn on qualifying purchases.
As an affiliate, we earn on qualifying purchases.
Preparing the Wall Surface for Plaster
Before applying plaster, you need to clean the wall surface thoroughly to remove dust and debris. Next, you’ll apply a base coat to create a stable foundation for the plaster. Proper surface preparation guarantees your finish will be smooth and durable. Additionally, ensuring the surface is clean and dust-free helps the plaster adhere better and results in a more even finish. Incorporating proper ventilation during preparation can also reduce airborne dust and improve indoor air quality, preventing dust from settling on the surface during preparation. Maintaining good indoor air quality throughout the process can also help minimize respiratory irritation and promote a healthier environment. Using techniques aligned with building safety standards ensures a safe and effective application process.
Surface Cleaning Techniques
Proper surface cleaning is essential to guarantee good adhesion between the wall and the plaster. You want a clean, stable surface that promotes proper wall texture and ensures paint adhesion later on. Start by removing dust, grease, and loose paint with a vacuum or brush. If the wall has any peeling paint or wallpaper, strip it away. Wash the surface with a mild detergent solution to eliminate residues that could interfere with plaster bonding. Rinse thoroughly and let it dry completely. To help visualize, here’s a quick guide:
| Step | Action | Purpose |
|---|---|---|
| 1 | Remove loose debris | Improve wall texture |
| 2 | Clean with mild detergent | Enhance paint adhesion |
| 3 | Rinse and dry | Ensure surface stability |
| 4 | Inspect for remaining issues | Achieve a smooth, clean base |
Additionally, ensuring the surface is free of moisture and contaminants helps maintain the surface integrity necessary for a durable plaster finish.
Applying a Base Coat
To guarantee a strong bond between the plaster and the wall, you need to apply a suitable base coat. This layer smooths out imperfections and enhances adhesion, ensuring your plaster texture develops evenly. Start by mixing the base coat material, typically a bonding slurry or primer, according to the manufacturer’s instructions. Use a brush or roller to evenly spread the coat across the entire surface, paying attention to corners and edges. Allow it to dry completely before proceeding. A well-prepared surface with a proper base coat prevents cracks and uneven finishes, which is essential if you plan to add decorative finishes later. This step creates a solid foundation that supports the beauty and durability of your plaster wall.

Polar Clear Binding Primer – 33 Fl Oz – High-Adhesion Primer for Drywall, Plaster, Cement, Stucco & Wood – Interior & Exterior Clear Base Coat & Paint Prep
Seals & Stabilizes: Designed to seal and stabilize damaged surfaces, this high adhesion primer forms a durable membrane…
As an affiliate, we earn on qualifying purchases.
As an affiliate, we earn on qualifying purchases.
How to Mix and Apply the First Coat of Plaster
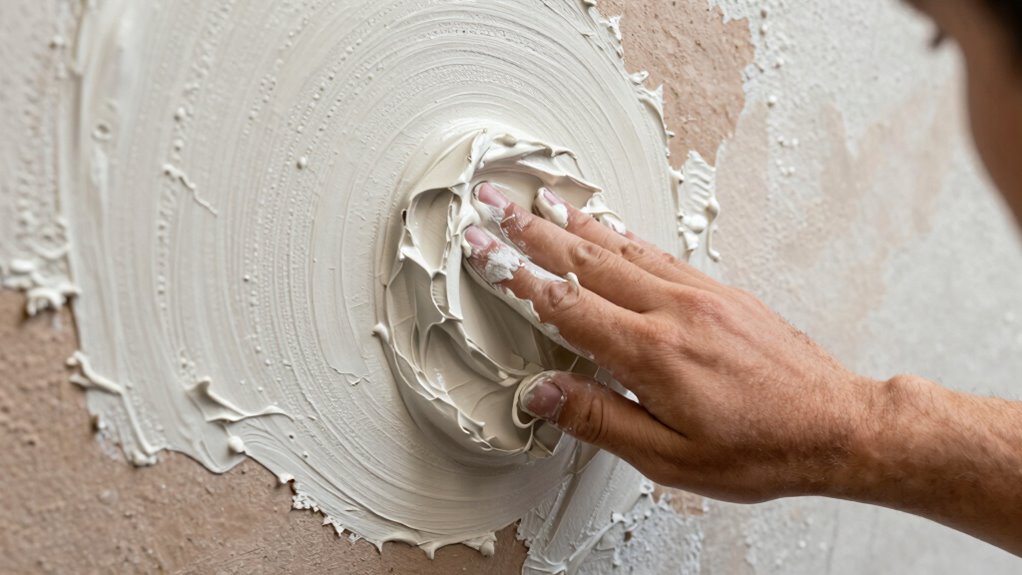
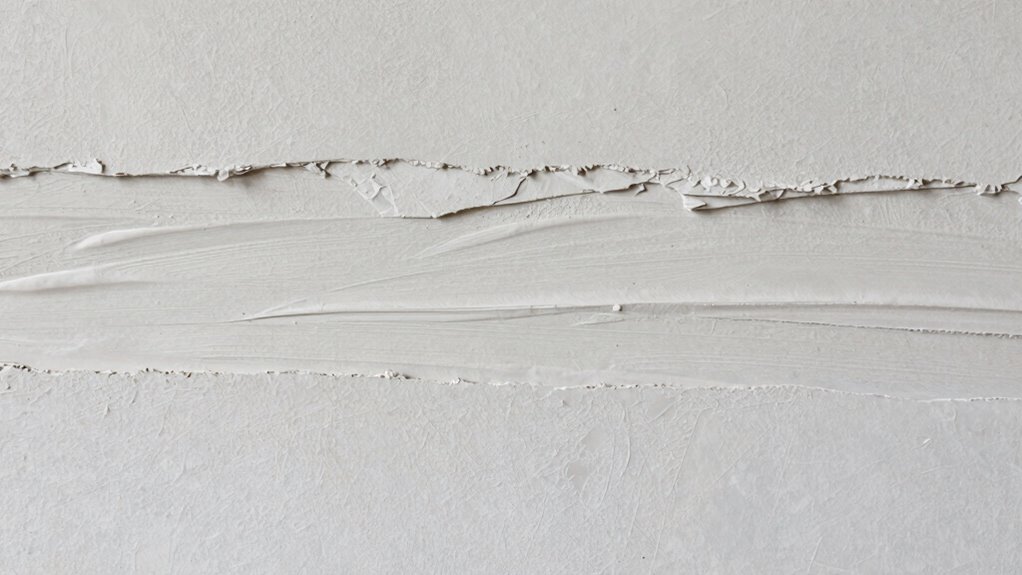
Mixing and applying the first coat of plaster requires careful attention to consistency and technique. You want a smooth, workable mixture that adheres well and matches the wall’s color, preserving the aesthetic. Use a clean mixing bucket and add plaster powder gradually to water, stirring until you achieve a creamy, lump-free consistency. To visualize, consider these steps:
- Mix thoroughly to ensure uniform texture, mimicking the consistency of thick cream.
- Check color matching against the wall to prevent uneven tones later.
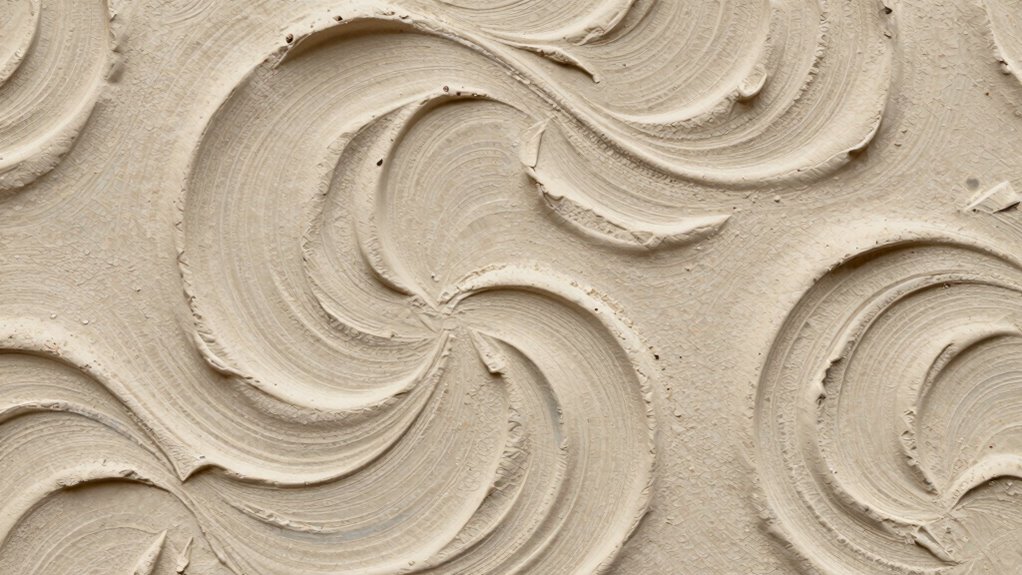
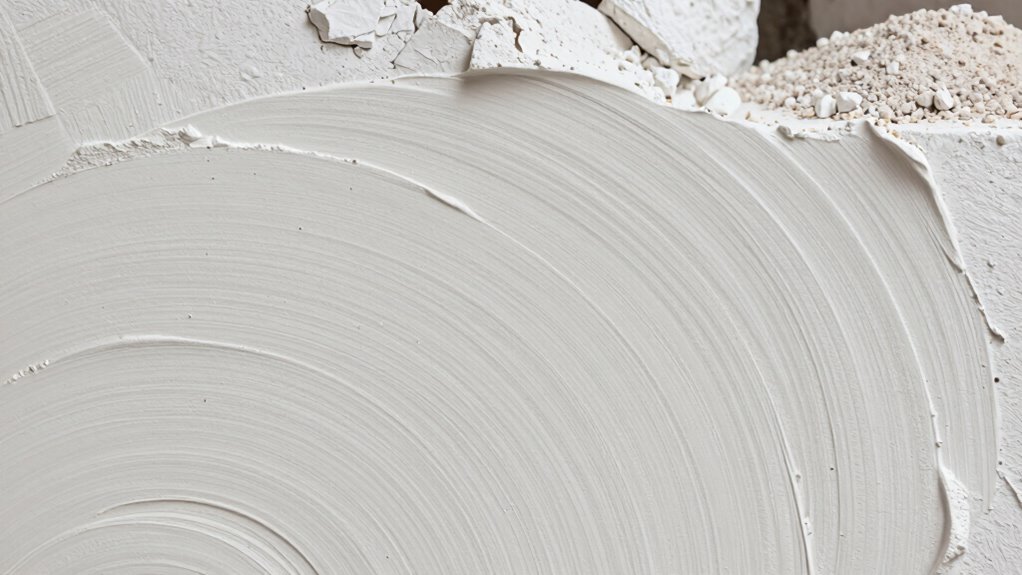
- Apply with a trowel in even, sweeping motions, following traditional, historical techniques for a seamless finish.
- Work quickly but carefully to maintain consistency before the plaster begins to set. This approach respects classic methods while ensuring a durable, beautiful first coat.
Layering Plaster for Strength and a Smooth Finish
Layering plaster is essential for building both strength and achieving a smooth, professional finish. Proper layering enhances plaster durability and guarantees a sleek surface free of imperfections. You should apply multiple thin coats, allowing each to set slightly before adding the next. This method improves finish smoothing and reduces cracking. To visualize, consider this table:
| Layering Step | Purpose |
|---|---|
| Base coat | Foundation for strength |
| Intermediate coat | Adds durability |
| Finish coat | Creates smooth surface |
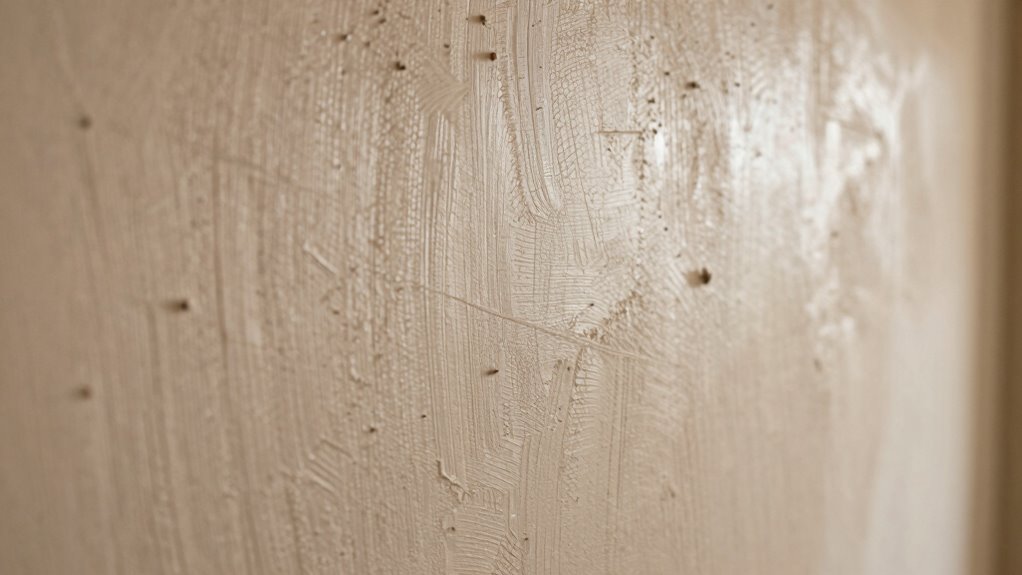
Letting the Plaster Dry and Cure Properly
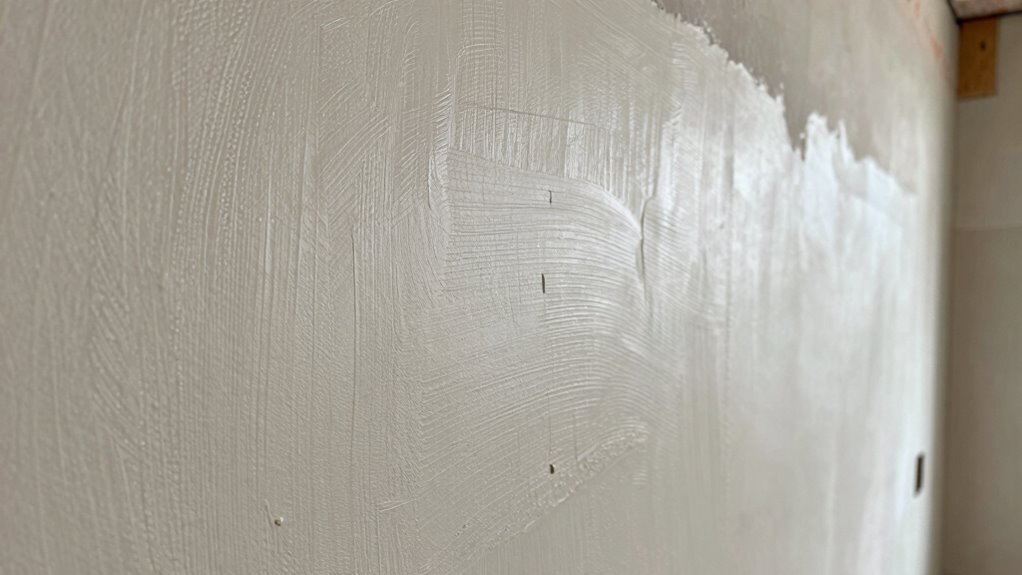
After applying multiple thin coats to build strength and achieve a smooth surface, it’s important to allow the plaster to dry and cure properly. This guarantees durability and a flawless finish. During the drying process, you’ll notice the surface gradually becomes less damp and more firm. To optimize curing techniques, keep the environment stable—avoid drafts, direct sunlight, or excessive humidity.
Here are key steps to follow:
- Maintain consistent temperature and humidity levels.
- Allow at least 24-48 hours for initial drying.
- Keep the plaster surface protected from rapid air movement.
- Wait longer for full curing, sometimes up to a week, depending on thickness.
Proper drying and curing are essential for a resilient, beautiful plaster wall.
Troubleshooting Common Plastering Problems

Despite your careful efforts, plastering can sometimes lead to common problems that affect the finish and durability. Cracking issues are a frequent concern, often caused by rapid drying, structural movement, or improper mixing. To prevent cracks, ensure the plaster is applied in thin layers and allowed to dry slowly. Moisture problems also pose a threat, leading to surface deterioration or mold growth. Excess moisture can come from high humidity, water leaks, or poor curing conditions. To troubleshoot these issues, check for signs of excess moisture and improve ventilation or repair leaks promptly. Proper surface preparation and consistent application help minimize cracking and moisture-related problems, keeping your plaster wall looking smooth and lasting longer. Address issues early to maintain your wall’s appearance and strength.
Maintaining and Restoring Your Plaster Walls

Maintaining and restoring your plaster walls is essential to keep them looking their best and guarantee long-lasting durability. Proper care guarantees your paint color stays vibrant and your decorative accents remain striking. To do this effectively, consider these steps:
- Regularly inspect for cracks or chips and repair them with a suitable plaster patch.
- Clean the surface gently to remove dust and dirt without damaging the finish.
- Repaint using high-quality paint to refresh the color and protect the surface.
- Preserve decorative accents by carefully cleaning and, if needed, restoring or retouching them.
Frequently Asked Questions
Can Plaster Walls Be Painted Immediately After Finishing?
You shouldn’t paint plaster walls immediately after finishing. To guarantee a smooth, lasting paint job, wait for the plaster to cure fully, which usually takes about 2-4 weeks. During this time, follow a proper painting schedule, including surface preparation like cleaning and priming. Rushing the process can cause peeling or cracking, so patience is key for a beautiful, durable finish.
What Are the Environmental Impacts of Traditional Plaster Materials?
Traditional plaster materials considerably impact the environment, with around 40% of global CO2 emissions linked to cement production. You should consider sustainable sourcing when choosing plaster, as it reduces pollution and conserves resources. Using eco-friendly materials decreases the environmental footprint and promotes pollution reduction. By opting for environmentally conscious options, you help protect the planet and support healthier building practices, making your project more sustainable and eco-friendly.
How Long Does a Typical Plaster Wall Last Before Needing Repairs?
A typical plaster wall lasts around 30 to 50 years before needing repairs, depending on durability factors like application quality and environmental conditions. You should regularly inspect for cracks or chips and address issues promptly. Keep the wall clean and avoid excess moisture to extend its lifespan. Proper maintenance tips, such as sealing cracks early and repainting when needed, help preserve its beauty and durability over time.
Are There Eco-Friendly Alternatives to Traditional Plaster?
You’re in luck—there are eco-friendly alternatives to traditional plaster, and they’re gaining ground. You can opt for plasters made with recycled materials and natural additives, which reduce environmental impact and improve indoor air quality. These options are better for the planet and your health, proving that going green doesn’t mean sacrificing style or durability. It’s a win-win situation, and with a little research, you’ll find sustainable choices that fit your needs.
How Does Humidity Affect the Plaster Curing Process?
Humidity effects can considerably impact plaster curing. If the humidity is too high, it slows down the evaporation process, causing the plaster to take longer to set and potentially weaken the finish. Conversely, low humidity accelerates curing, risking cracks and surface imperfections. You need to maintain ideal humidity levels to guarantee proper plaster curing, preventing issues like cracking or uneven drying, and achieving a smooth, durable wall finish.
Conclusion
As you craft your plaster wall, remember it’s like tending a delicate garden—you need patience and care. I once watched a craftsman spend days perfecting a single wall, and it turned out to be the most stunning feature in the home. Your dedication will transform raw materials into a beautiful, durable surface that feels like art. Stick with it, nurture your project, and you’ll create a timeless masterpiece worth every effort.